This post may contain affiliate links. Please read our disclosure policy.
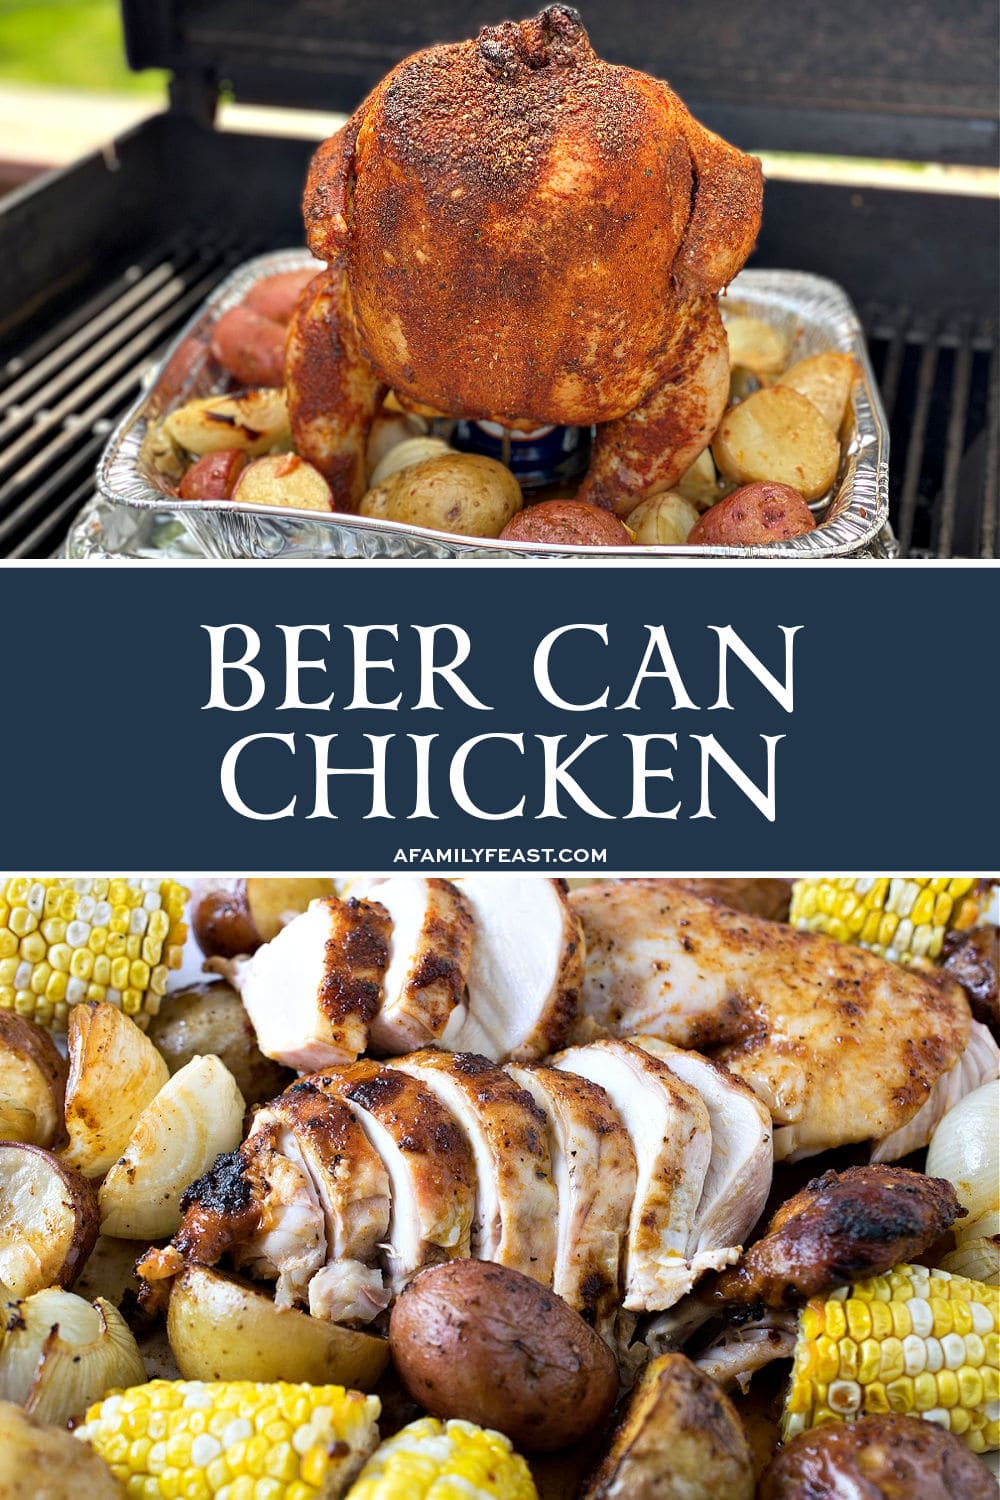
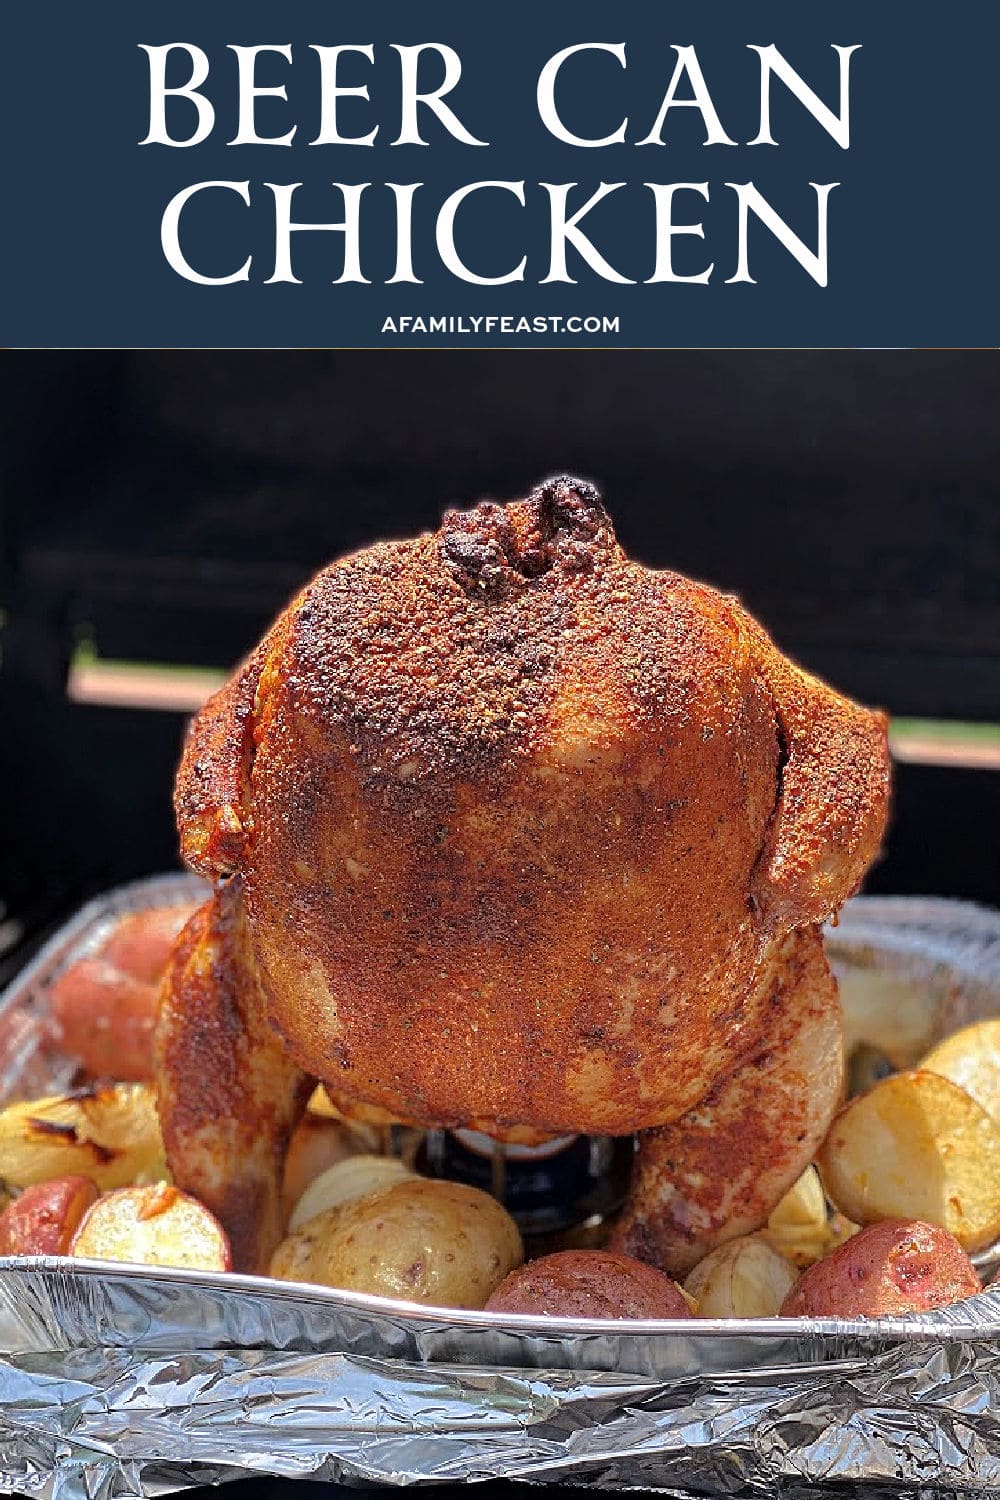
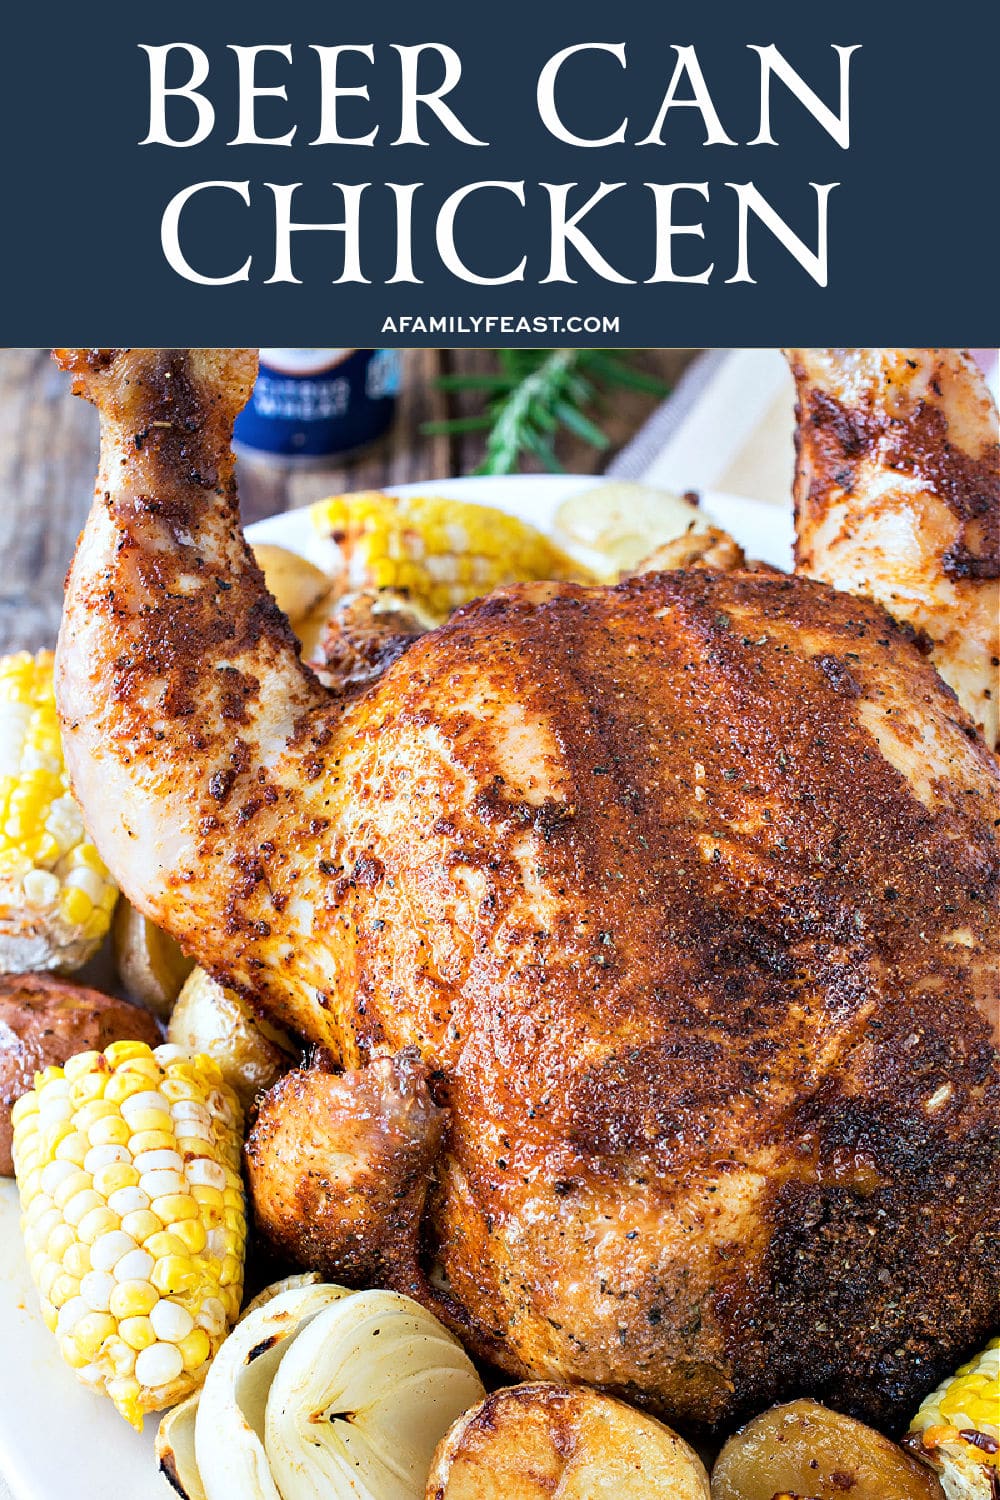
Beer Can Chicken cooks up super juicy on the inside and crispy on the outside. An overnight brine and a zesty rub both add delicious flavors to this simple chicken recipe.
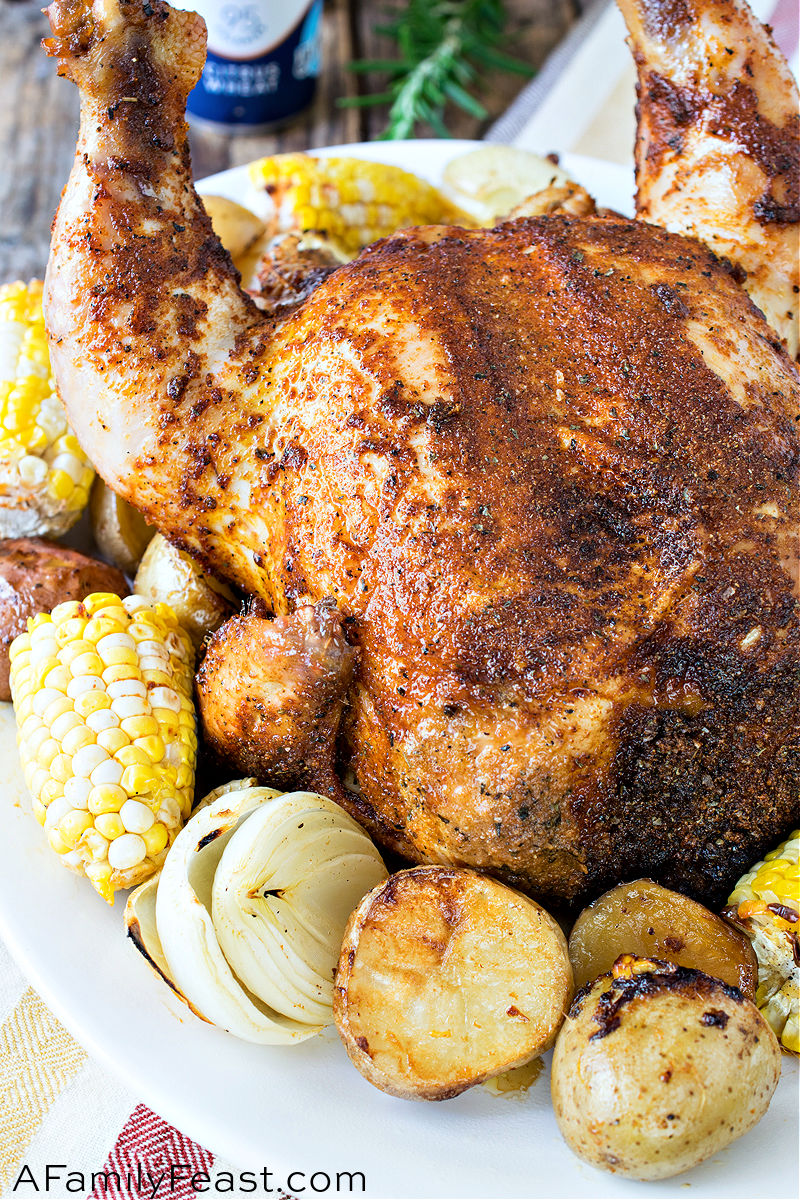
With a weather forecast of temperatures in the 90’s-plus this week – the last thing we want to do is heat up our kitchen by turning on the oven. Good news – you can roast a whole chicken on the grill with our Beer Can Chicken recipe!
The idea is simple…you’ll insert an open can of beer into the “butt” of a whole chicken. (Sometimes ‘beer can chicken’ is called ‘beer butt chicken’.)
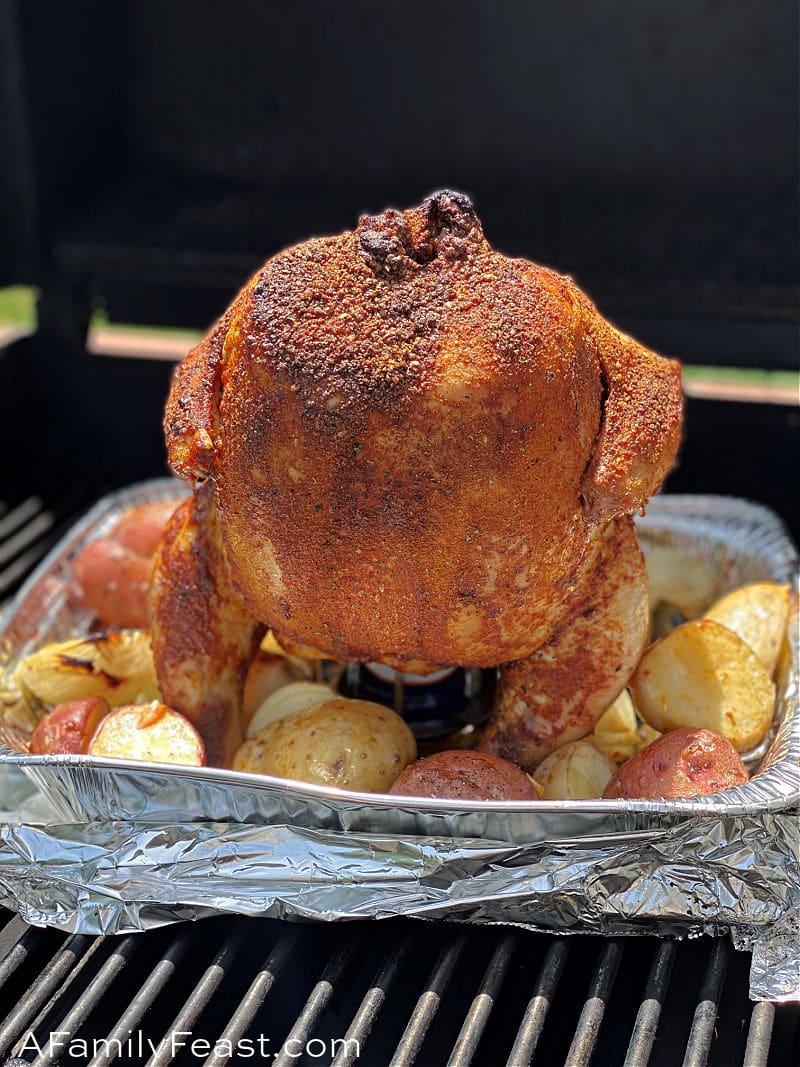
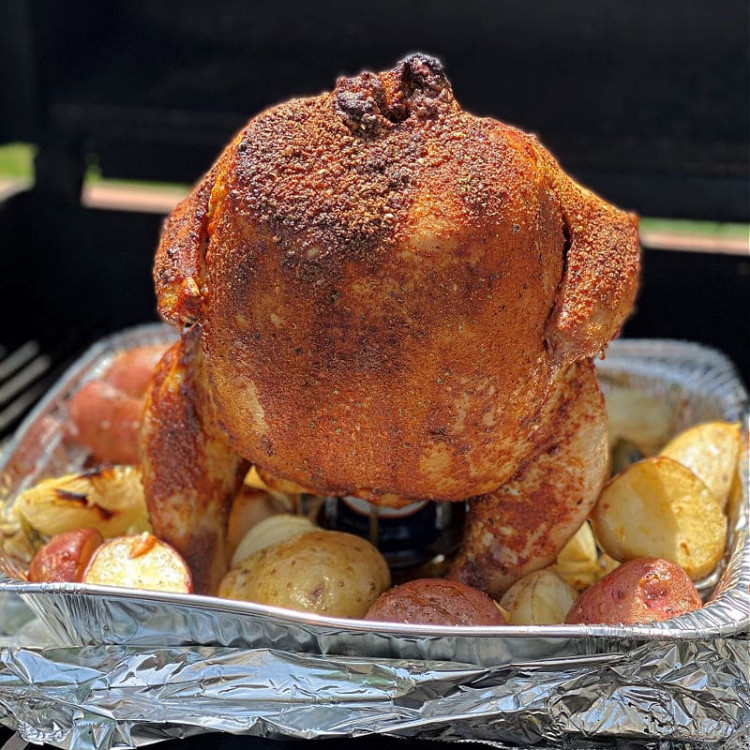
The beer can holds the chicken upright so the heat of the grill can circulate around the bird – evenly roasting the chicken meat and crisping the skin. The moisture from the beer inside keeps the meat tender and juicy with a touch of malt flavor.
Our son Tim perfected this recipe by suggesting that we brine the chicken before grilling, and adding vegetables to roast alongside the chicken – so it’s a complete meal.
Chef’s Tip –
While this easy chicken recipe gives specific instructions for your grill, you can also make beer can chicken in the oven.
Key Ingredients and Substitutions
- Whole roasting chicken about 6 to 7 pounds to feed a family of four with some leftovers. Adjust your cooking time if you buy a smaller bird.
- Beer – No need to buy an expensive craft beer for this recipe. We used a taller can of beer (another great suggestion from our son Tim) so the chicken would sit higher off the grill for even cooking.
- Brine – We used our favorite turkey brine recipe to brine the chicken overnight. You can use any other favorite chicken marinade or brine recipe you prefer.
- Chicken rub – You can use your favorite store-bought poultry rub (this one from Traeger is our favorite) or, follow this recipe to make your own spice rub for chicken from spices and herbs in your cabinet.
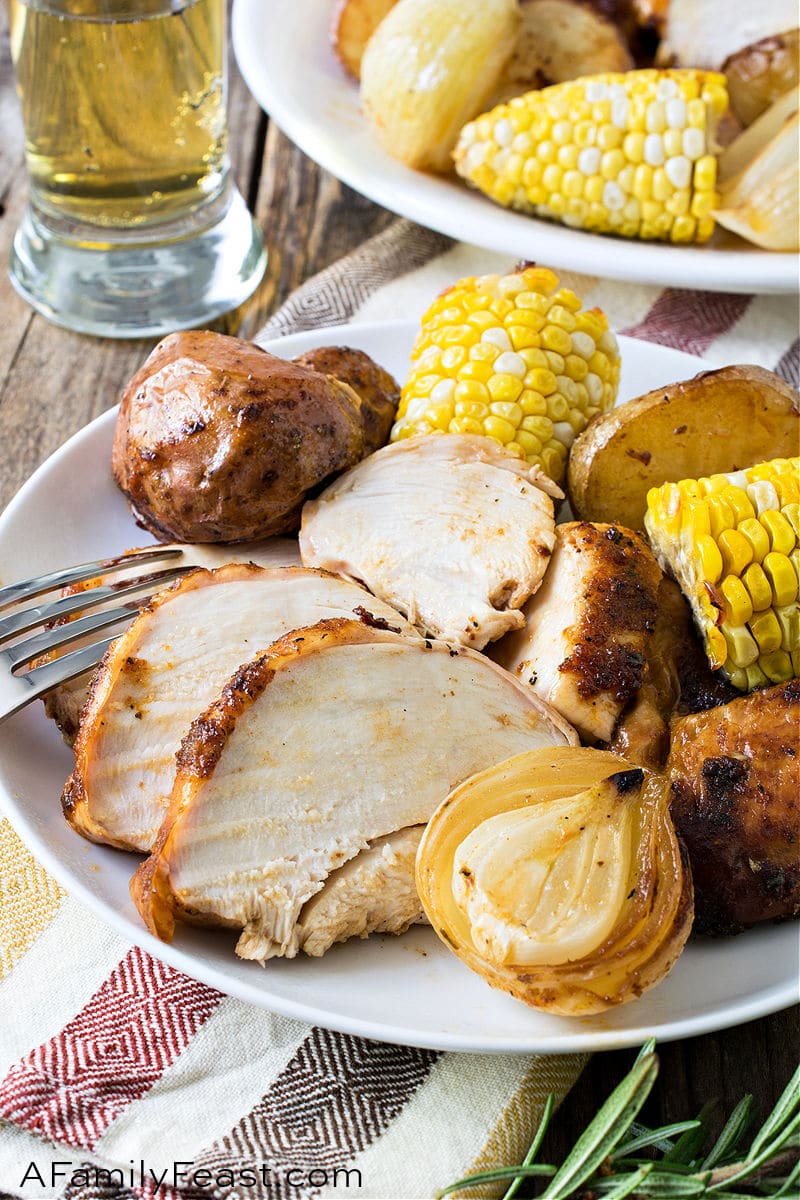
- Roasted Vegetables – To make this a complete meal, we roasted potatoes, onions and corn in the pan along with the chicken.
Special supplies needed
- A beer can chicken holder is helpful, although not completely necessary as long as you buy tall, slim cans of beer. This is the rack we used and it helped keep the chicken upright with the legs suspended. Note that we did not use the can that came with the kit as we felt it was too low to hold the chicken fully upright.
- Larger Gas Grill – While you can use a charcoal grill with a high domed lid, a gas grill will be easier for this recipe because you’ll want to keep the roasting temperature consistent throughout the cooking time. It’s much harder to do that with a charcoal grill. Also make sure that the upright chicken will fit inside your gas grill with the lid closed. If your grill has an upper rack, you may need to remove that.
- Probe Thermometer or Instant-Read Thermometer – The very best way to tell if any meat is done cooking is to go by internal temperature, rather than by time listed in a recipe. To measure internal temperature of a roast chicken, use either a probe thermometer attached to a remote alarm that alerts you to the exact temperature set (the probe stays in the meat as it cooks), or an instant-read thermometer that is inserted briefly in the meat to measure the internal temperature.
Chef’s Tip –
Suspending the chicken over the beer can is crucial for even cooking. If the legs are not suspended, the breast will be done before the dark meat. A tall slender beer can works great for larger chickens. The can that comes with the beer can chicken holder may work for smaller chickens.
How do I make Beer Can Chicken?
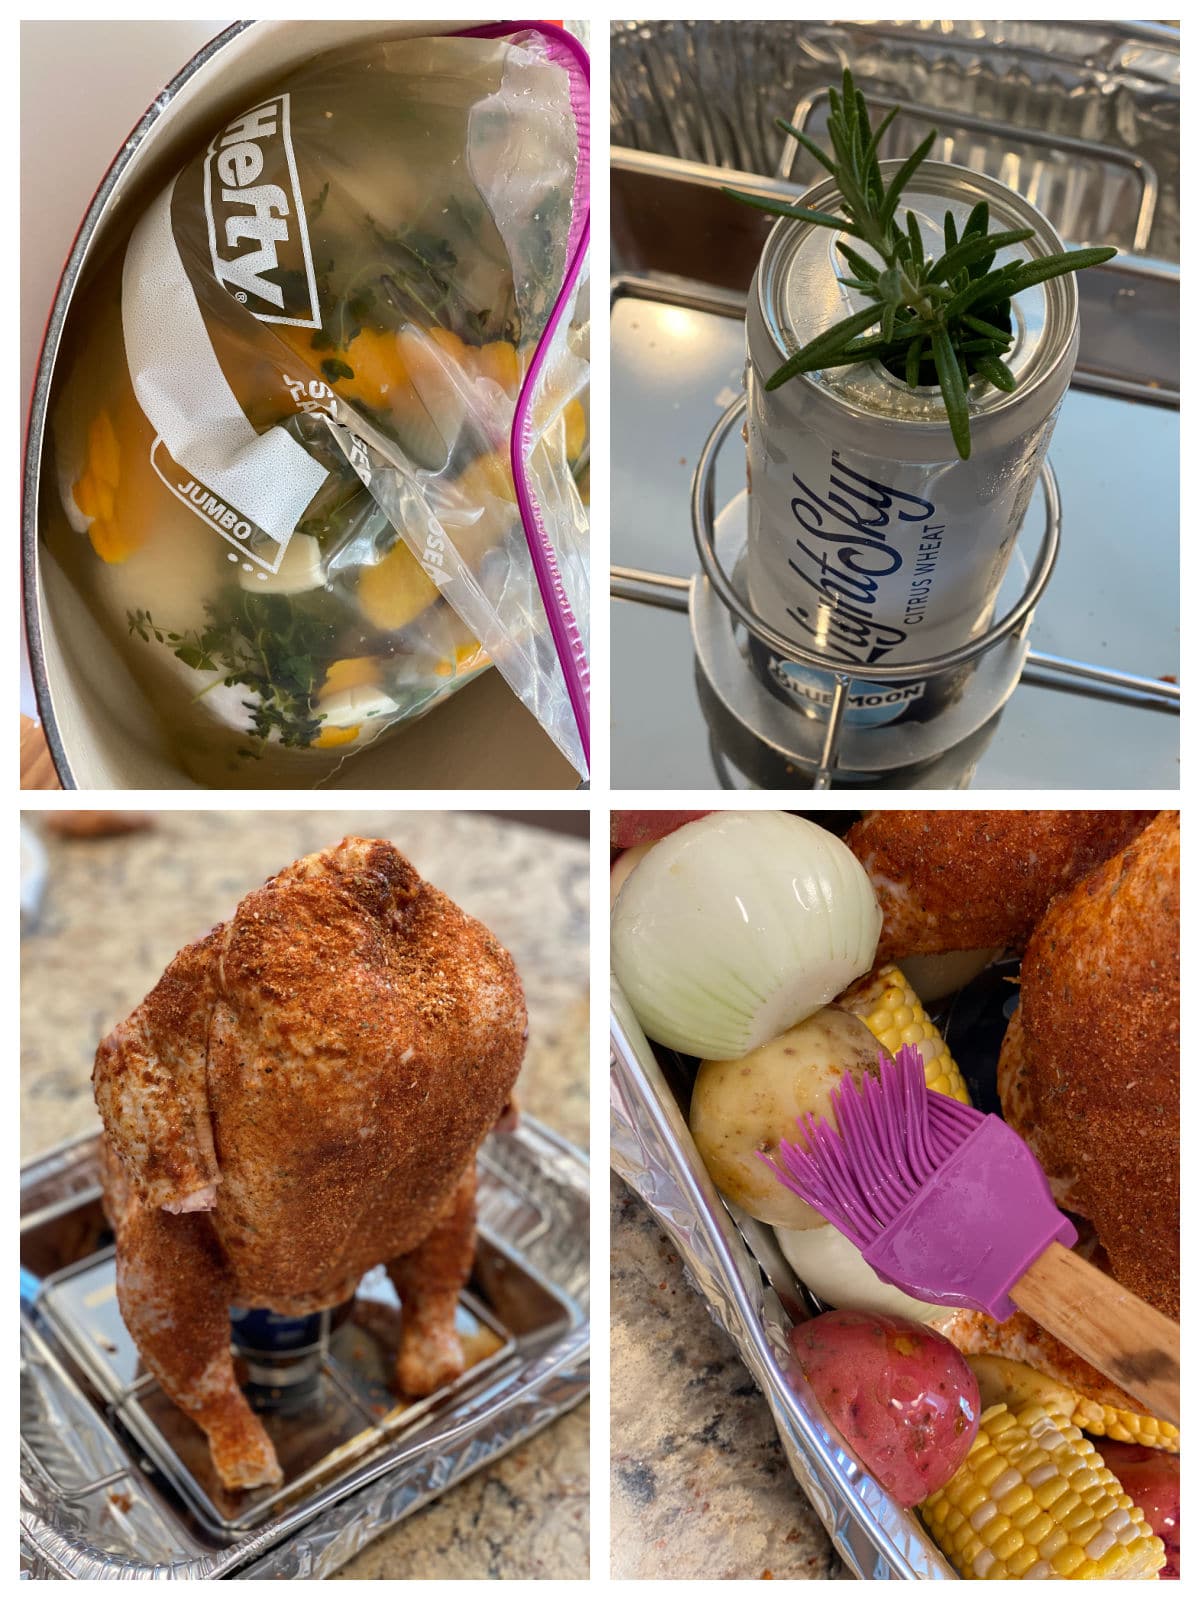
- Brine the chicken overnight or for up to 24 hours. A two-gallon food-safe zipper seal bag works great for brining a chicken.
- Rinse and pat the chicken dry with paper towles, then brush on vegetable oil.
- Sprinkle with spice rub to coat the inside and outside of the chicken.
- Pour out (or drink 🙂 ) one quarter of the can of beer, then place a sprig of rosemary in the opening.
- Prop your beer can in the rack specifically made for beer can chicken recipes, or place a tall can of light beer up on a rimmed sheet covered in foil. Note: We prefer to roast our chicken in an additional disposable pan or tray for easy clean-up and so the roasted vegetables absorb some of the flavors from the juices. You can also place the rack or can directly on the grill if you prefer.
- Place the chicken over the can, legs facing down. Use kitchen shears and nip off the wing tips – they will dry out and burn if you don’t.
- Cut small potatoes and onions in half or quarters. Husk ears of corn and cut into thirds or quarters. Place the vegetables around the pan below the chicken, brush with vegetable oil and sprinkle on salt and pepper.
- Roast in a 350-degree F grill with the lid shut or in your oven set to the same temperature. If you own a probe thermometer with a display and alarm, insert it into the thickest part of the thigh and set your alarm for 160 degrees F. If you own a single probe thermometer, you will need to check the chicken at about the 90-minute mark then plug the hole with a rolled-up piece of foil so the juices don’t leak out. Remove from heat when the internal temperature reaches 160 degrees F. Depending on the size of the chicken, anywhere between 1 ½ hours to 2 ½ hours assuming you can moderate your oven or grill to 350 degrees F.
- Let the chicken rest for at least 20-minutes to redistribute the juices. Leave any probes in, and loosely cover the chicken with foil. If any of the vegetables need more time, remove the chicken to a platter and place the vegetables back in the grill or oven while the chicken rests. The corn may cook quicker than the other vegetables so remove them if done.
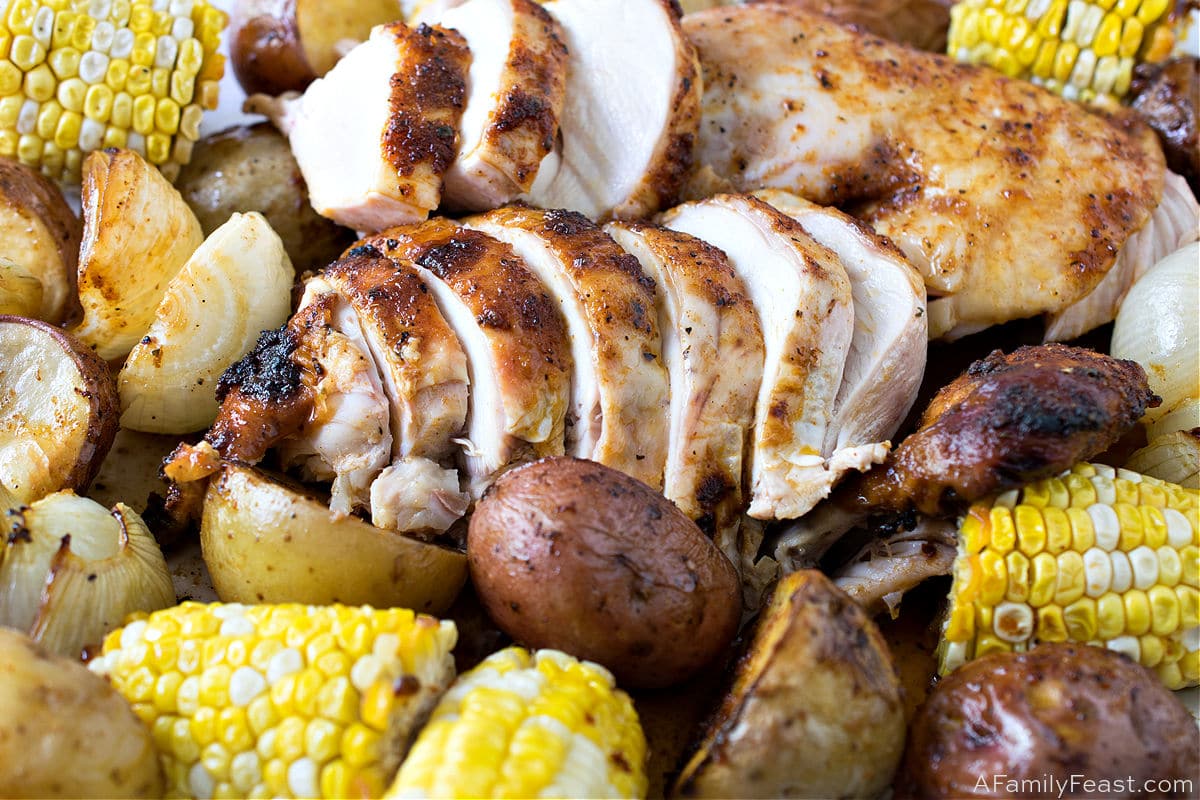
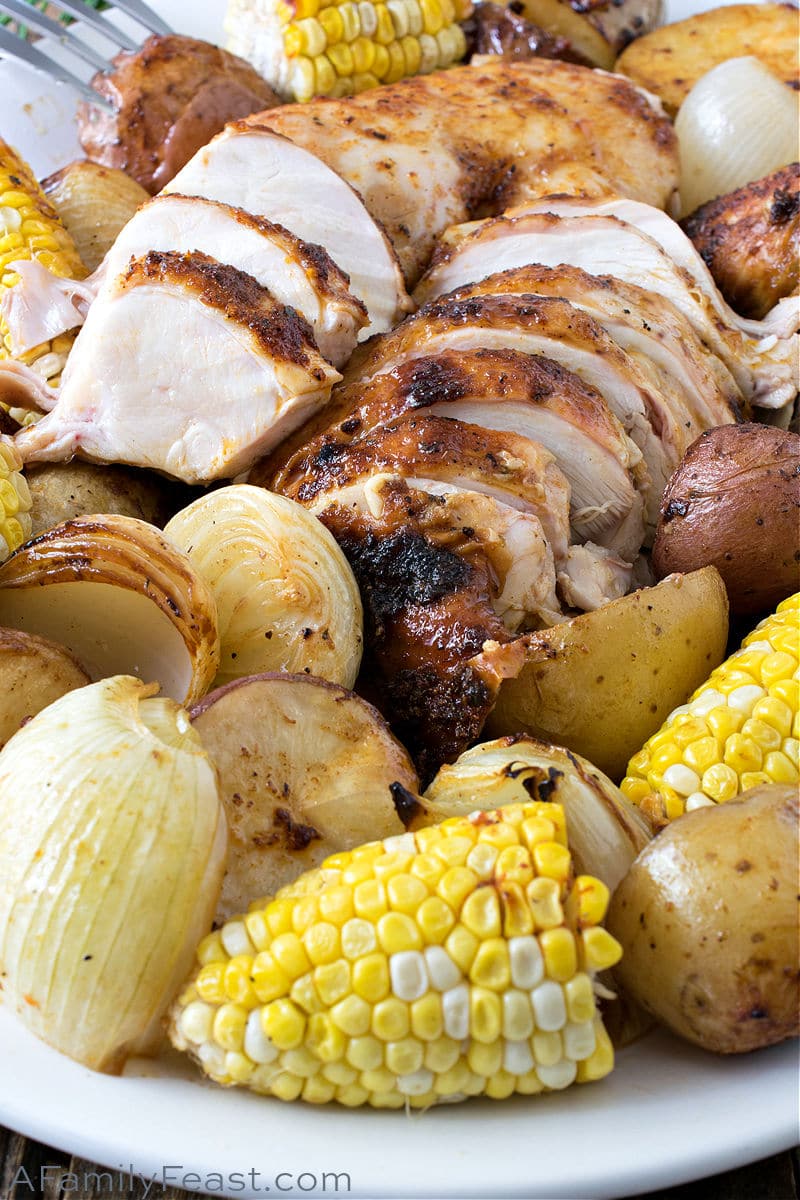
- Slice as you would any roast chicken and serve immediately with vegetables on the side.
Tips and Tricks to achieve perfectly-cooked Beer Can Chicken.
- A beer can chicken rack works great because it allows the chicken to sit higher so the legs can hang and the whole chicken is exposed to heat for even browning.
- Get your grill to the right temperature and keep it there throughout by turning the burner settings up or down as needed.
- Rotate the pan a few times as the chicken roasts so the skin evenly browns. Since the heat source is only from one burner and there is no air circulation in the closed grill, the skin will not brown evenly without rotating.
- Your total cooking time will vary depending on the strength of your grill, the size of your bird, and your success in maintaining the temperature. Plan for between 1 ½ to 2 ½ hours plus time to rest before serving. Start checking for doneness at the 90-minute mark by inserting an instant-read probe thermometer in the thickest part of the thigh. Remove the chicken at 160 degrees F. Don’t forget to plug the probe hole (see next step).
- After you insert a probe to check the internal temperature, you must plug the hole to keep the juices in. Have a small piece of foil handy and rolled into a small tube slightly larger than the probe stem. As soon as you pull the probe, insert the foil plug into the hole and leave it there while the chicken continues to cook.
Frequently Asked Questions
- Can I make Beer Can Chicken in the oven? Yes – you can make this recipe in the oven, or use your grill as the oven.
- Can I make beer can chicken without a special stand? While the stand does make it a little easier, you can make beer can chicken without one. Choose a can of beer that is taller, rather than the shorter, more-squat cans – especially if you are cooking a larger chicken. The taller can will allow the chicken to sit higher as it roasts in the grill, allowing the meat to cook more evenly.
You may like these other chicken recipes:
- Marinated Grilled Chicken
- Grilled Basil Garlic Chicken Breasts
- How to Grill Chicken Drumsticks
- Caesar Salad with Grilled Caesar Chicken
- Honey Mustard Soy Glazed Chicken Wings
We love seeing what you made! Tag us on Instagram at @afamilyfeast or hashtag #afamilyfeast so we can see your creations!
Beer Can Chicken
Ingredients
Brine (we used 1/2 of this turkey brine recipe, but feel free to use any favorite brine recipe)
1 large chicken (ours was 7 1/4 pounds. After draining and removing giblets, it weighed in at 6 1/2 pounds)
Spice rub for Chicken (we used this homemade chicken rub recipe, or this is a delicious store-bought option)
1 tall slender can of any light beer. We used a canned light Blue Moon called Light Sky
1 large sprig rosemary
8 small potatoes (red or yellow or both), cut in half or quarters
3 small onions, cut in half or quarters
4 ears of corn, husked and cut into 3 or 4 pieces
1/4 cup vegetable oil
1 teaspoon kosher salt
1/2 teaspoon freshly ground black pepper
Instructions
Make the brine (half recipe) according to the instructions and cool.
Rinse the chicken and remove the giblets and neck. Place the chicken into a large food-grade zipper seal bag. Then lift the chicken in the bag and place in a large pot to hold it upright.
Pour in the cooled brine, squeeze out the air and zipper the bag. Brine refrigerated for 12-24 hours.
Mix the spice rub and set aside.
Set the beer can chicken rack into a disposable aluminum pan (for easy clean up) then set that onto a foil lined sheet tray. Set aside.
When ready to roast, about three hours before serving, heat grill or oven to 350 degrees F.
Pour out the brine and discard. Rinse the chicken under cold water then pat dry and brush the outside skin with half of the vegetable oil.
Pour off one quarter of the beer and stick a rosemary sprig into the can opening. We also twisted off the pull ring and discarded. Then place into the center of your beer can chicken rack, or if not using the rack, place the can in the center of the aluminum pan.
Hold the chicken upright over your cutting board and sprinkle generously with rub inside and out.
Slide the chicken over the beer can, legs pointing down. With kitchen shears, nip off the wing tips and discard. The chicken should sit upright without tipping and the legs should be suspended.
Place the cut-up vegetables around the pan bottom and around the chicken. If your chicken won’t stay upright, you can use a few of the potatoes to hold it in place.
NOTE: The corn may possibly be cooked before the chicken finishes. If the corn is tender and cooked, remove once cooked but add back in towards the end of the cooking time to heat back up. We pulled our corn after 90 minutes then added it back in for the last 15 minutes.
Brush the vegetables with the rest of the oil and sprinkle them with the salt and pepper.
Place into your heated grill with lid shut or oven and roast for 1 ½ to 2 ½ hours depending on the size of the chicken and the accuracy of your grill or oven. The internal temperature when you place a probe into the thickest part of the thigh should be 160 degrees F.
Our 7 ¼ pound chicken roasted at exactly 350 degrees F for just short of 2 ½ hours then rested for 15 minutes with a piece of foil over the top. I put the vegetables back in while the chicken rested to get them browned and crispy.
After resting for 15 minutes, slice and carve as you would any roast chicken and serve with the hot vegetables.
The liquid that settles on the bottom of the pan is delicious drizzled over the portions.
Last Step! Please leave a review and rating letting us know how you liked this recipe! This helps our business thrive & continue providing free recipes.

I really want to make this recipe; it looks absolutely delicious! However, as an AA family, do you have any other suggestions as to what I can use instead of the tall can of beer? Might Ginger Ale work?
Sure Susan – Ginger ale would work, or an alchol-free beer is another option too. Hope you enjoy the recipe!