This post may contain affiliate links. Please read our disclosure policy.
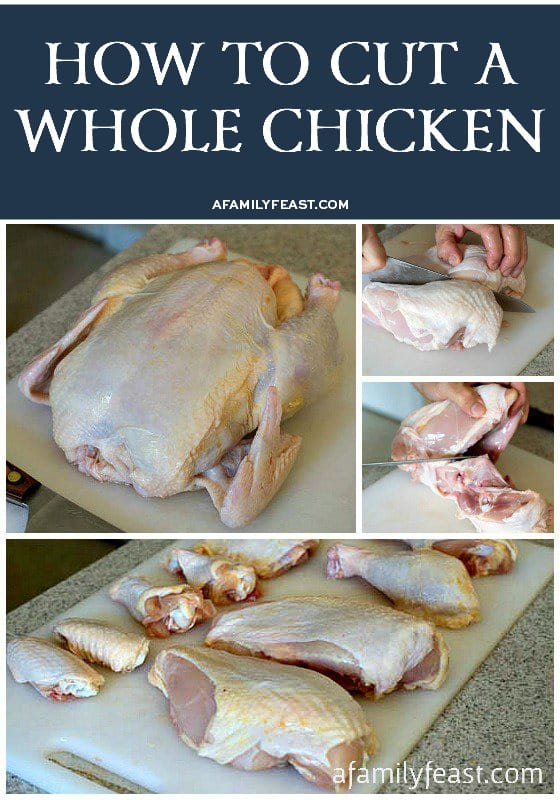
Today’s Cooking Lesson shows you step-by-step How to Cut a Whole Chicken. This is a basic skill that every home cook should know how to do – and it can be tricky!
Learning how to cut a whole chicken is definitely a skill worth learning because buying a whole chicken at the supermarket is often much more economical than buying pre-cut chicken pieces – plus you’ll end up with the backbone and wing tips which are great for making a delicious homemade chicken stock. And really – bone-in chicken really is the most flavorful chicken of all!
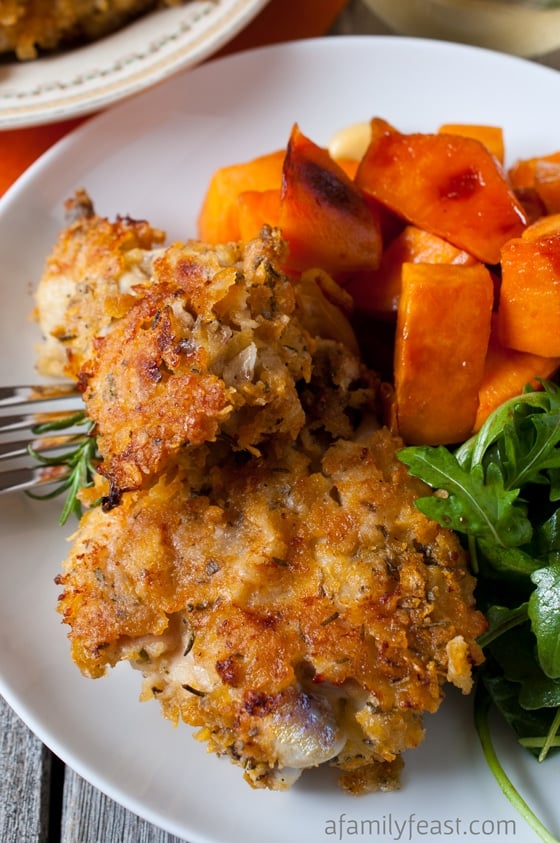
Before we begin – if the sight of raw chicken makes you uncomfortable in anyway – this might not be the post for you! Feel free to click away to either of these delicious recipes: Country Baked Chicken recipe, or our Chicken Marbella!
Another Important Note Before We Begin:
To avoid cross contamination, it is critical that all surfaces are clean and sanitized, including the knife, cutting board and your sink. Also make sure that you clean your hands thoroughly before and after each step. If you are wiping your hands on a dish towel, that must go in the wash after you complete this process.
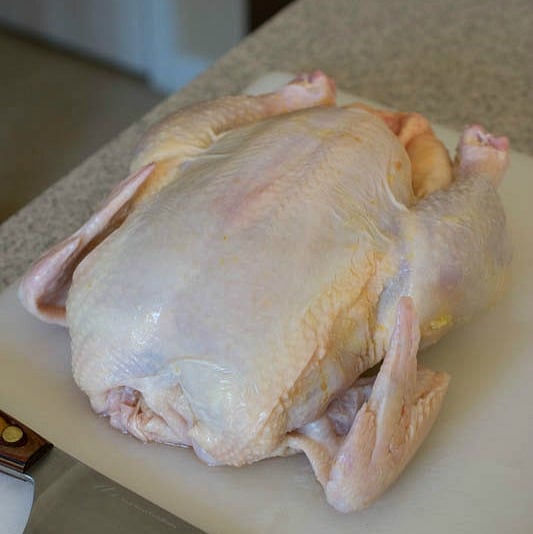
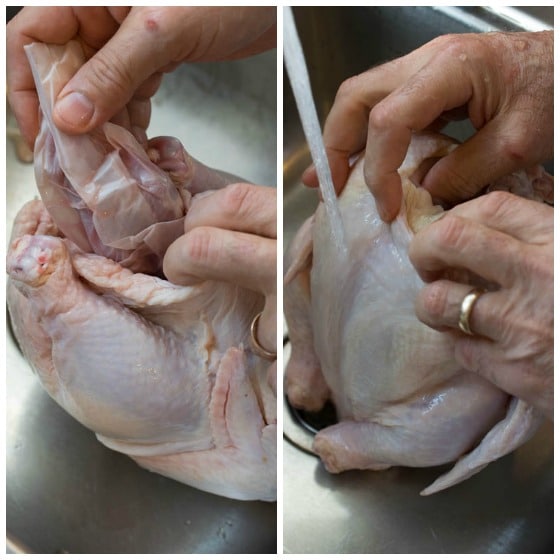
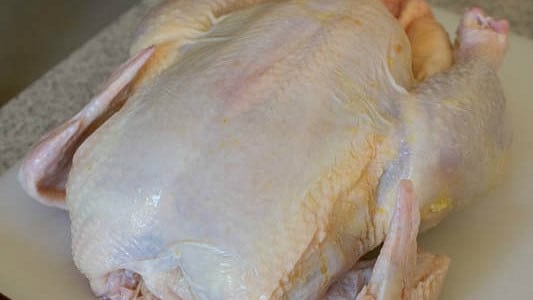
In a clean sink, remove wrapper and discard. Pull neck and gizzards from bird and remove neck from package. Place the neck in a gallon zip lock bag and set aside. If you have a use for the liver, heart and kidneys, refrigerate for that purpose, otherwise discard. Rinse the chicken under cold water, inside and out.
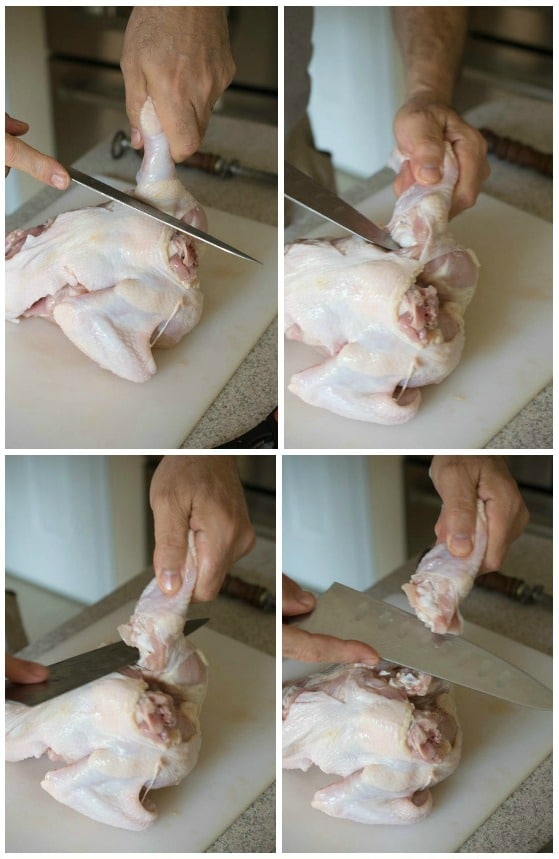
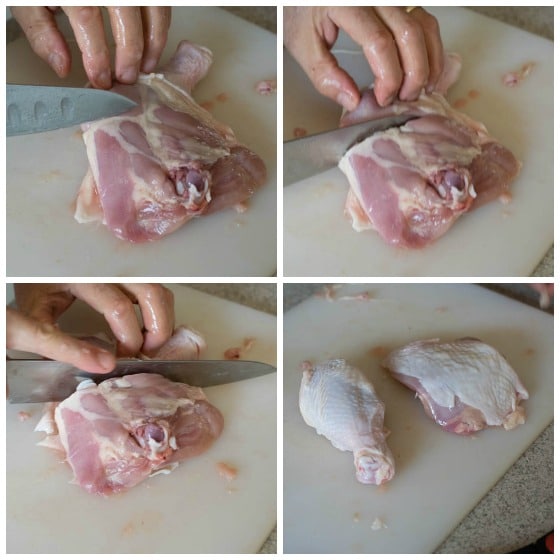
Transfer the chicken to a clean cutting board and with a very sharp knife, separate the leg and thigh. To do this, run the knife down the skin between the leg and thigh and the chicken while holding the tip of the drumstick. At this point, you are just cutting through skin. When the leg and thigh start to pull away, firmly grasp the leg and thigh and bend backwards. You will see the joint where the thigh bone connects. Place the tip of your knife in the center of that joint and cut one way and then the other; releasing the leg and thigh from the whole bird. Repeat for the other side. Set those aside.
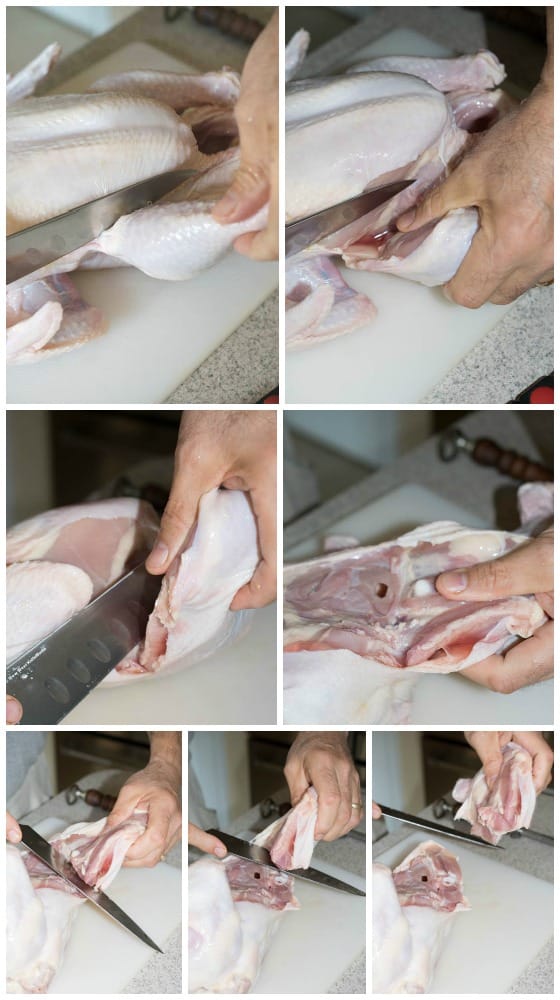
To remove the wings, the same method is used except that the wing joint is connected on all sides by muscle. To find the joint, bend the wing backwards and you should see approximately where the joint is by feeling with your thumb and finger. With the tip of your knife, find the joint and make a cut. Then just run the knife around the outside of the skin and muscle, down to the joint. Then make one last slice and separate the wing from the bird at that joint. Repeat for the other side. Set those aside.
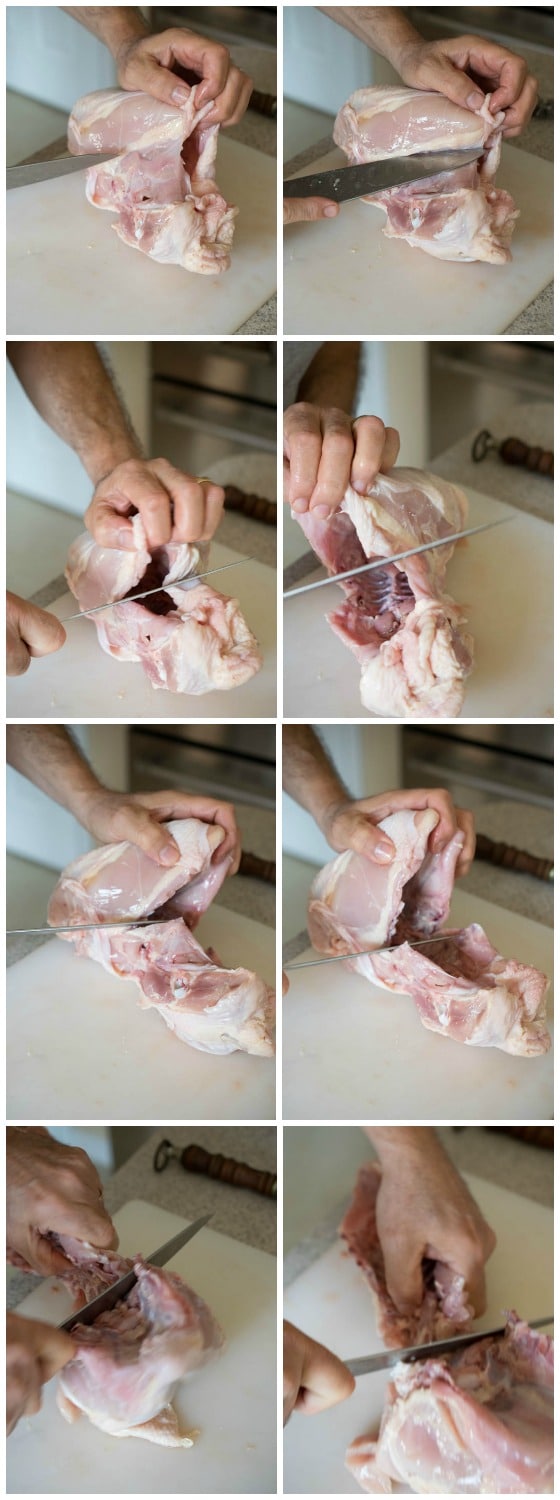
To remove the back bone, either with a sharp knife or kitchen shears, cut along the line of yellow connecting fatty tissue that is visible on each side. You can do one side at a time or stand the bird upright (neck down) and cut both sides down at once. This line of fatty tissue is where the rib cage meets the back bone and the knife easily slides between the two bone structures. When you get close to the end of this cut, your knife will meet some resistance. This is where the back bone and breasts meet. It is simple enough to put pressure on both sides and snap through to release the breasts from the backbone or you can find the joint where the two connect by bending the backbone backwards to look for the joint and release the two with your knife at that bone joint. Place the backbone in the bag with the neck.
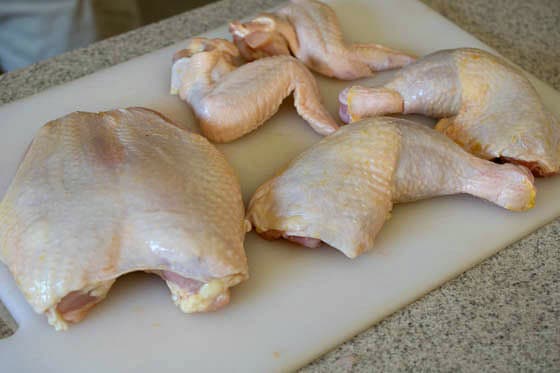
On your board you should have the double breast, two wing sets, two leg and thigh sets and the bag with back and neck. Now we will break each down further.
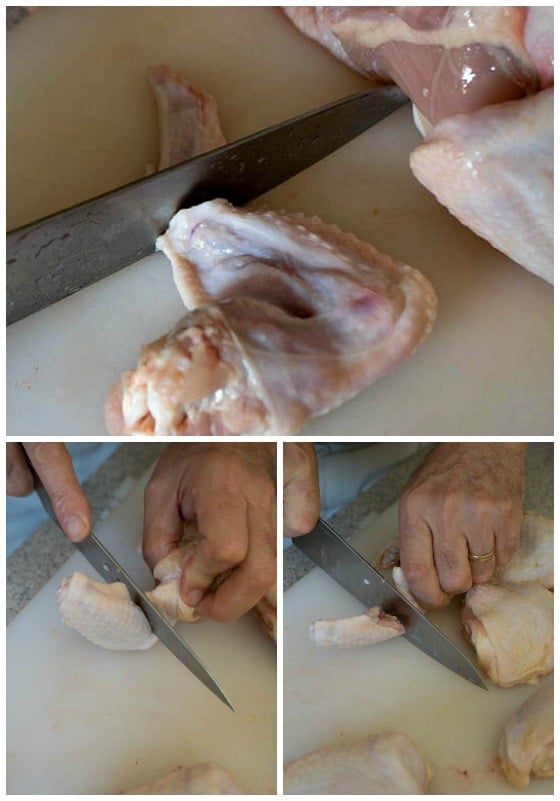
Cut the wing tips from the wings by putting pressure on the knife and cut through to the board. (Add tips to the bag of scraps for stock.) You can separate the wingette from the drumette if you wish or leave them connected. To separate, hold the wing like a V with both ends facing up. Run the knife down between them leaning the top of the blade against the drumette side and slicing straight down. If done right, the blade will slide right through the center of the joint.
Place the leg and thigh skin down on your board and find the line of fatty tissue that runs between them. Run your knife through that line until you come to the joint. With your knife tip, press into the joint to make sure you have the right spot then just cut through separating the two. Repeat for the second leg quarter.
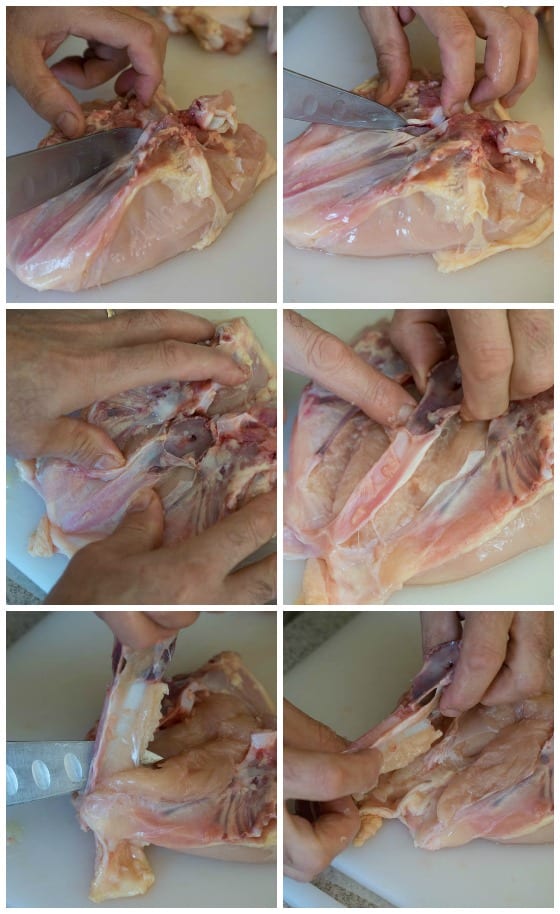
(This next part is probably the trickiest part of this entire lesson!) Flip the breast skin down. The bone that runs between them is a keel bone. At the tip of this bone, there is a little round white section that looks like a knob. Place the tip of your knife into this knob and press slightly. This will allow you to slip your fingers under the thin membrane that holds the keel bone in place. With both thumbs, start at the incision and pull down running your thumbs between the membrane and the breast meat with the top of your thumb running along the white cartilage that connects to the keel. Then with your knife cut down slightly on either side of the protruding keel bone. Then grab the keel and cartilage and pull straight out. Sometimes the keel pulls away from cartilage and if that happens just pull each out separately. Place keel bone in with bag of scraps and seal and freeze bag for stock.
Now lay the breasts skin side up and separate the two breasts with your knife keeping the skin even between them.

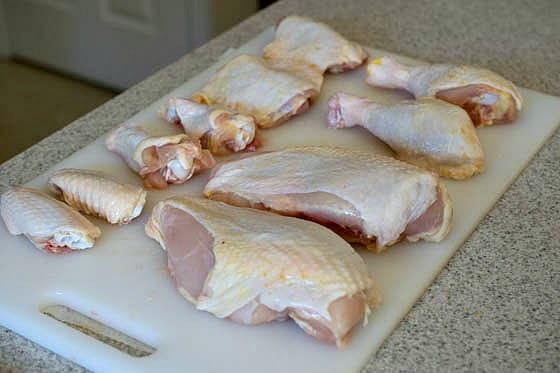
You should now have two breast halves, two legs, two thighs, two wings (or wingette and drumette) and a bag of scraps. Refrigerate the chicken pieces immediately and do not use the cutting board, sink or knife for any other purpose until they have all been cleaned and sanitized.
Finally, there are other ways to break down a whole chicken. Some like to remove the wings first then the leg quarter, etc. My husband Jack has found that this method we’ve shown you today works best for him!
Interested in more chicken recipes?
Click here for our 100+ Best Chicken Recipes.
You may also like:

Braised Chicken Limoncello with Green Beans
Garlic Basil Garlic Chicken Breasts

Hi! Thanks for your sharing your technique. I have found it easy to separate the thigh joint buy not cut it. This allows the chicken to sit up with the leg/thigh to act as a stand. Then slice off the breast and wings together followed by the the thigh by starting at the cavity and up through the oyster all at once. Once that is done separate all the pieces further. In all it takes me about 4 minutes from start to finish!
Thanks for the suggestion Russ!
Thank you for the instructions. After having done this, if I don’t plan on using the chicken right away, can I put them in the freezer?
Hi Jocyl – Yes – assuming you bought a fresh and not previously-frozen chicken in the first place, you can freeze the chicken pieces.
Thanks for these tips for properly cutting up a chicken. My parents love eating freshly cooked chicken, so I want to surprise them for dinner this weekend once I can get one from a butcher shop. I though the way you explained how to pull out the keep bone was really helpful. Trying to slip my fingers under the membrane that holds the keel bone in place and cutting between the membrane and the breast meat seems tricky, so I should follow these instructions to do this correctly.
Thanks Judy – good luck with your dinner!