This post may contain affiliate links. Please read our disclosure policy.
Learn how to make Caramelized Onions for sandwiches, burgers, steak, soups, dips, and pizzas. Once you learn this easy cooking skill, you’ll make them all the time.
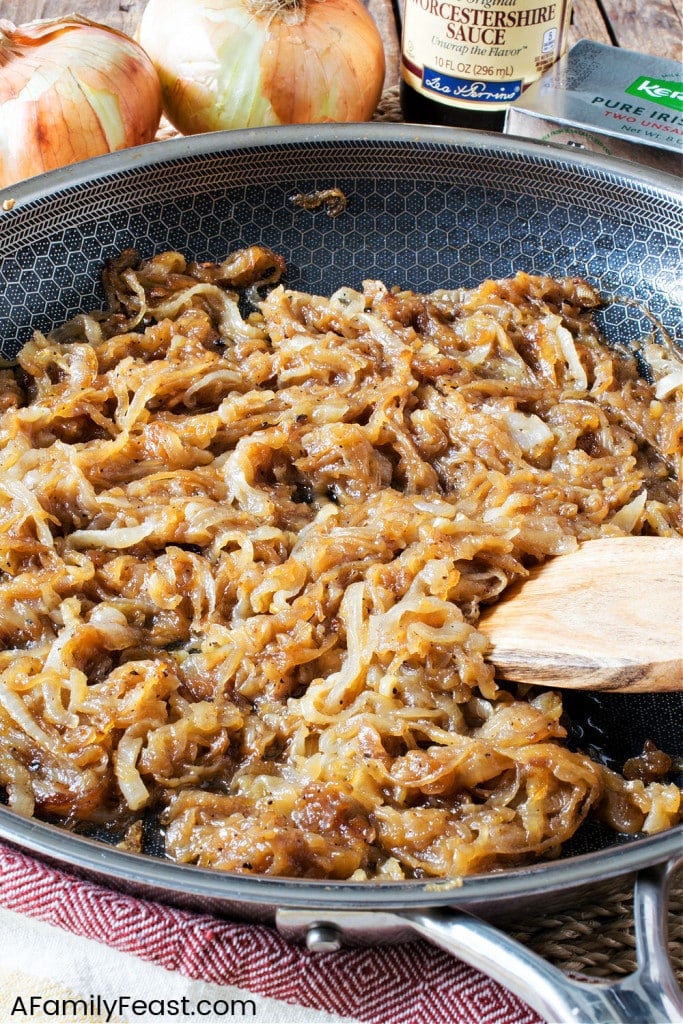
What are Caramelized Onions?
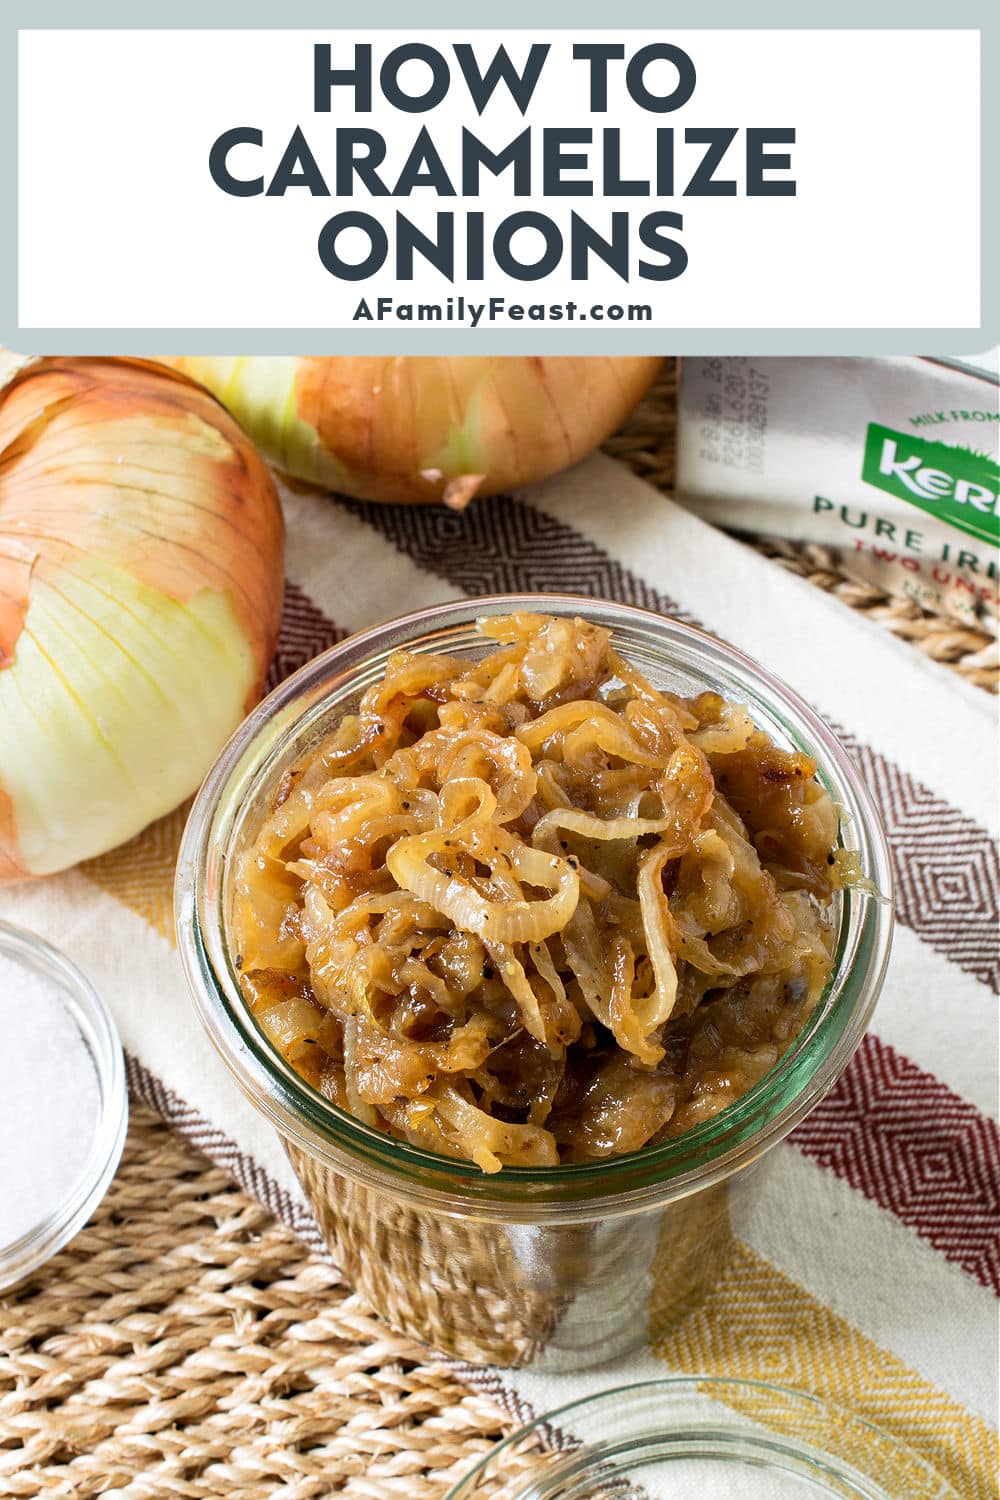
They are sliced onions that have been cooked slowly in butter or oil until they are soft, tender, and golden brown in color.
Onions contain natural sugars, so the caramelization process transforms this simple ingredient into something special – with deep, sweet, rich flavor that smells and tastes SO good!
Transform your recipes with these easy onions
Caramelized Onions are easy to make, incredibly delicious, and a very versatile ingredient to add to other recipes or to serve as a condiment.
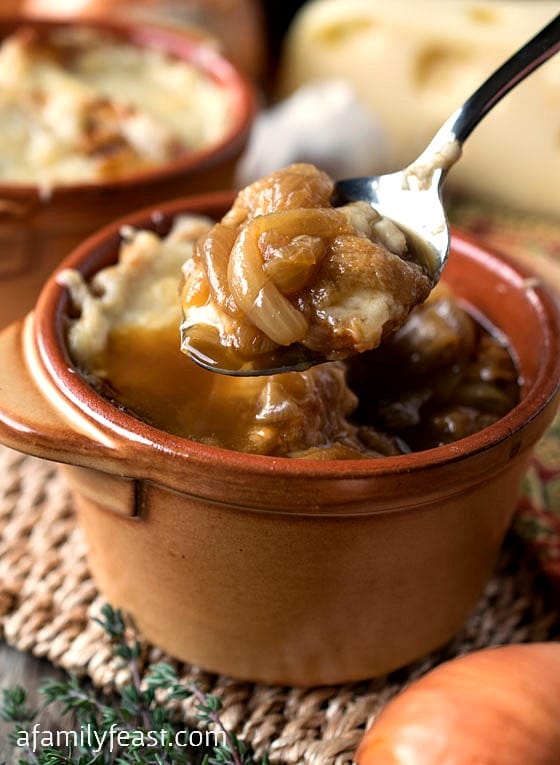
Serve them on hot sandwiches, as a topping on steaks or burgers, or make a caramelized onion dip. These luscious, cooked onions are also fantastic in French Onion Soup and on pizza!
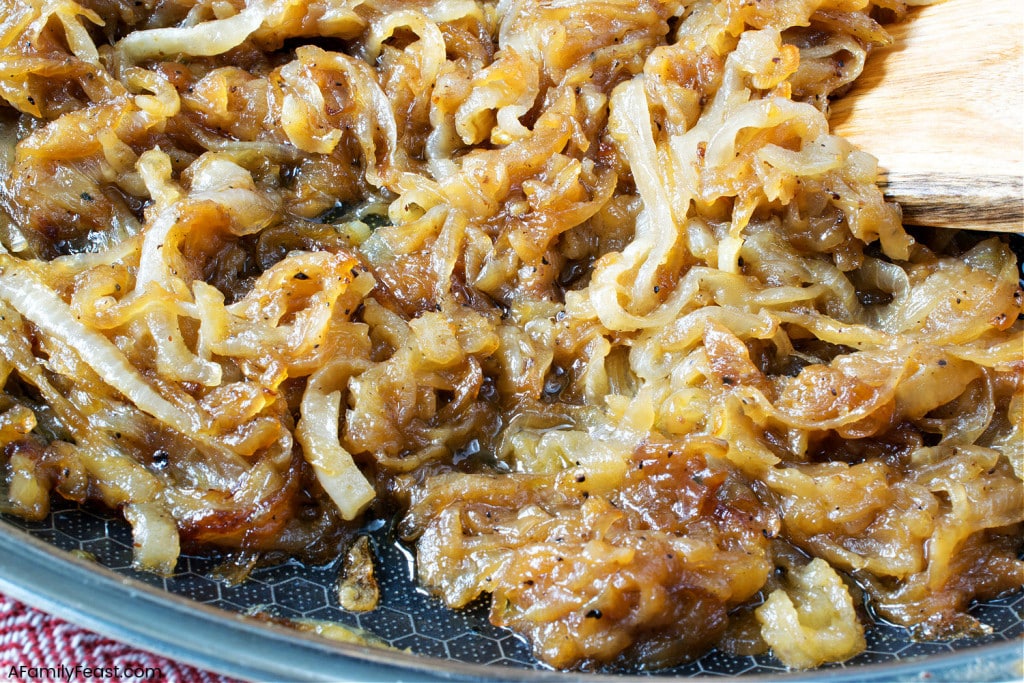
Can I speed up the Caramelization Process?
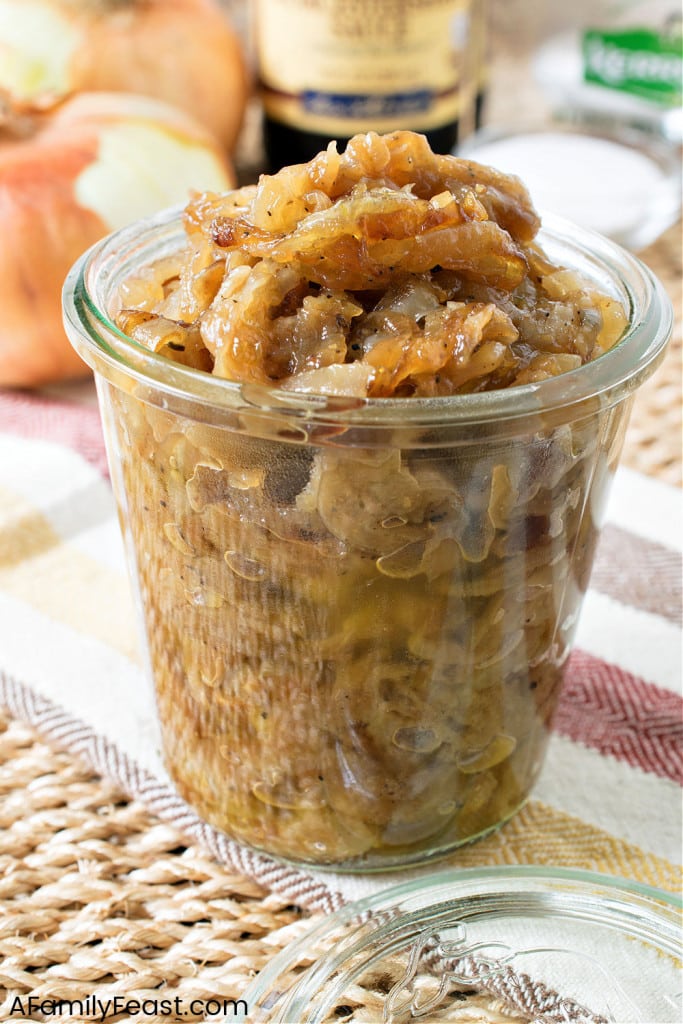
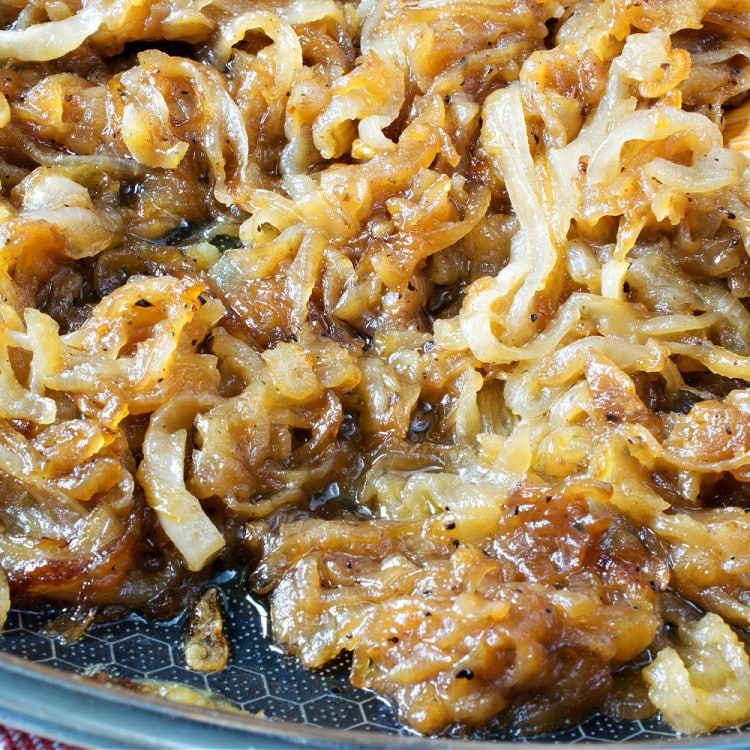
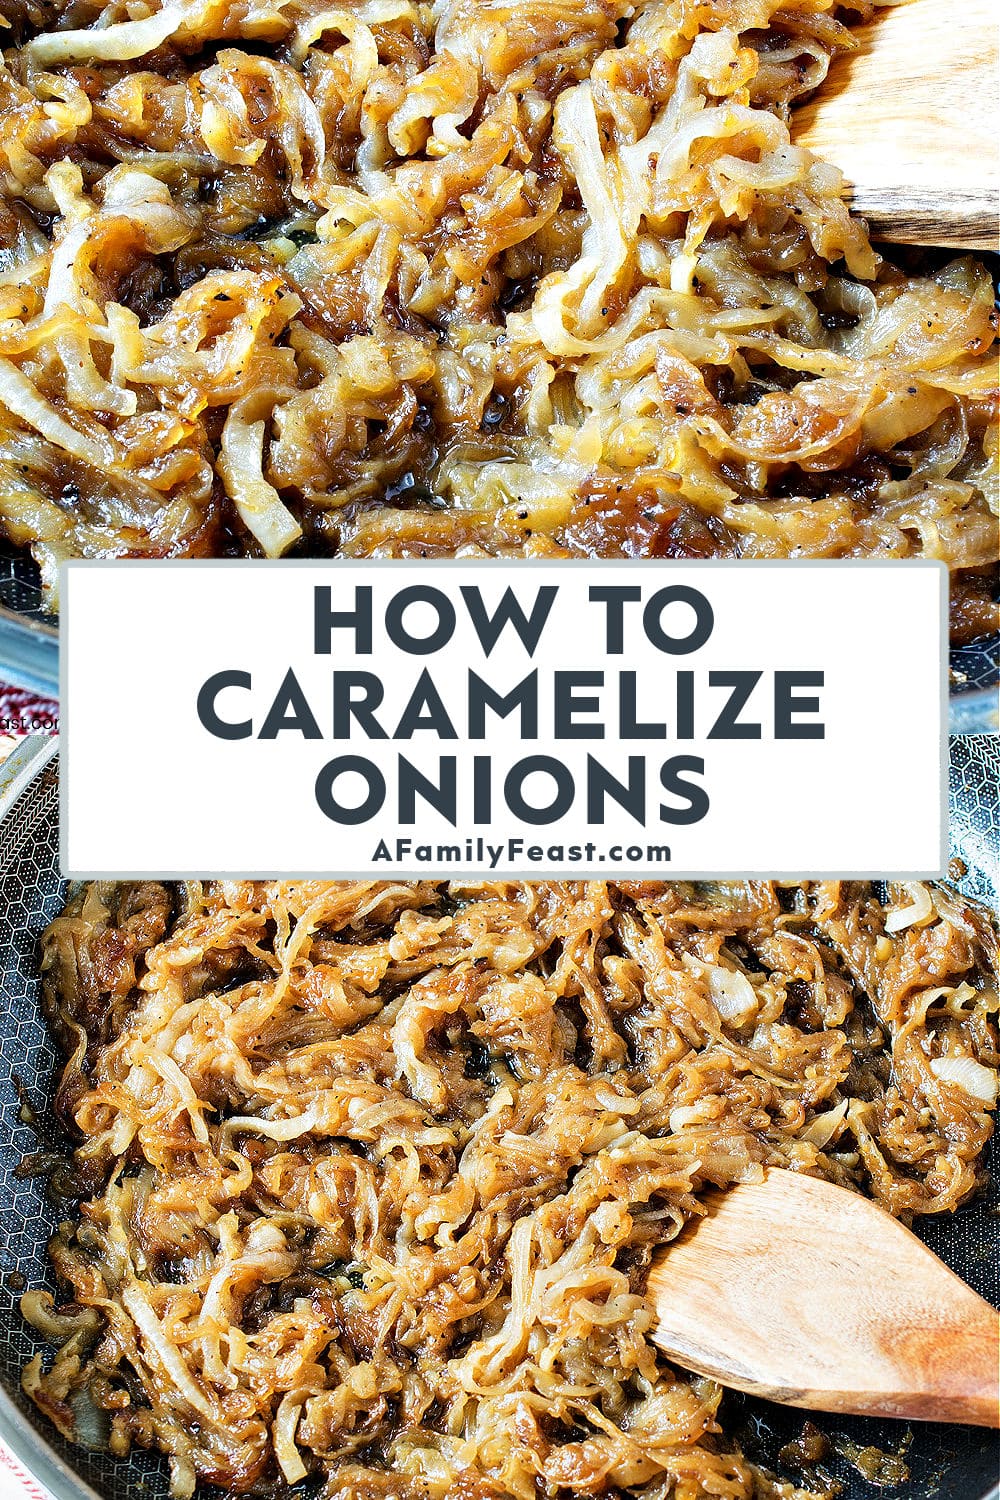
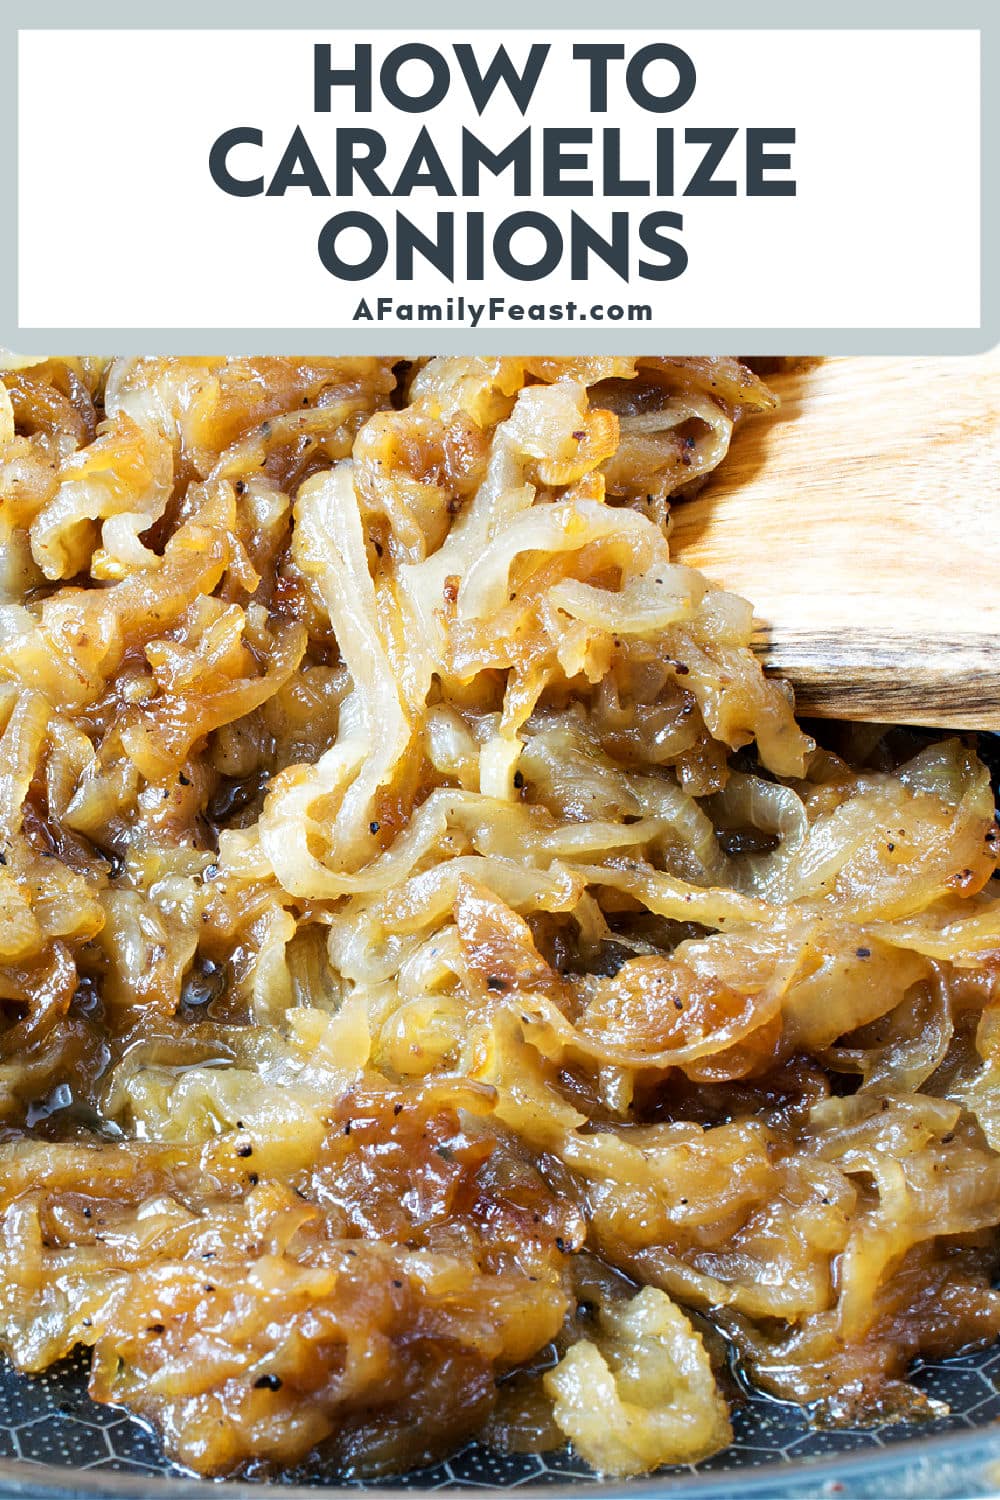
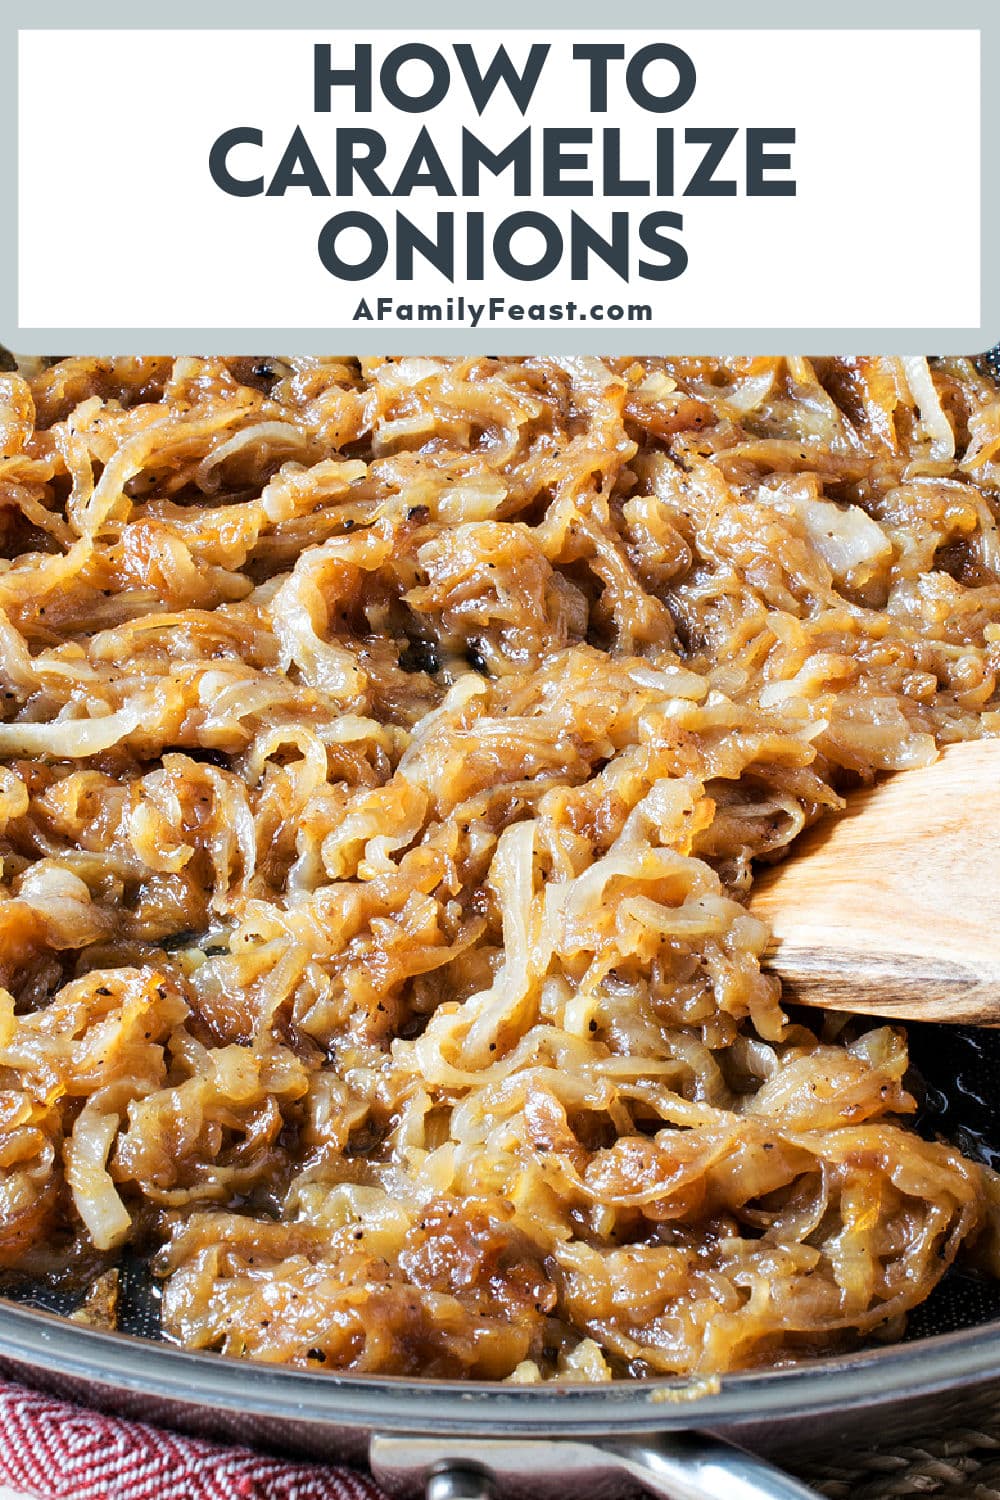
Not really. The best Caramelized Onions take time, but your patience will be rewarded with amazing flavor. The longer you cook, the darker the color, and deeper flavor develops. Our onions shown in the photos took a full hour to caramelize.
Why you’ll love Caramelized Onions
- The aromas in your kitchen as the onions cook, AND the flavors once the onions are caramelized are truly some of the best you’ll ever experience.
- So many different recipes are even more delicious when served with these sweet, rich onions.
- You can cook up a big batch – then keep some on hand in the refrigerator or freezer.
Key Ingredients & Substitutions
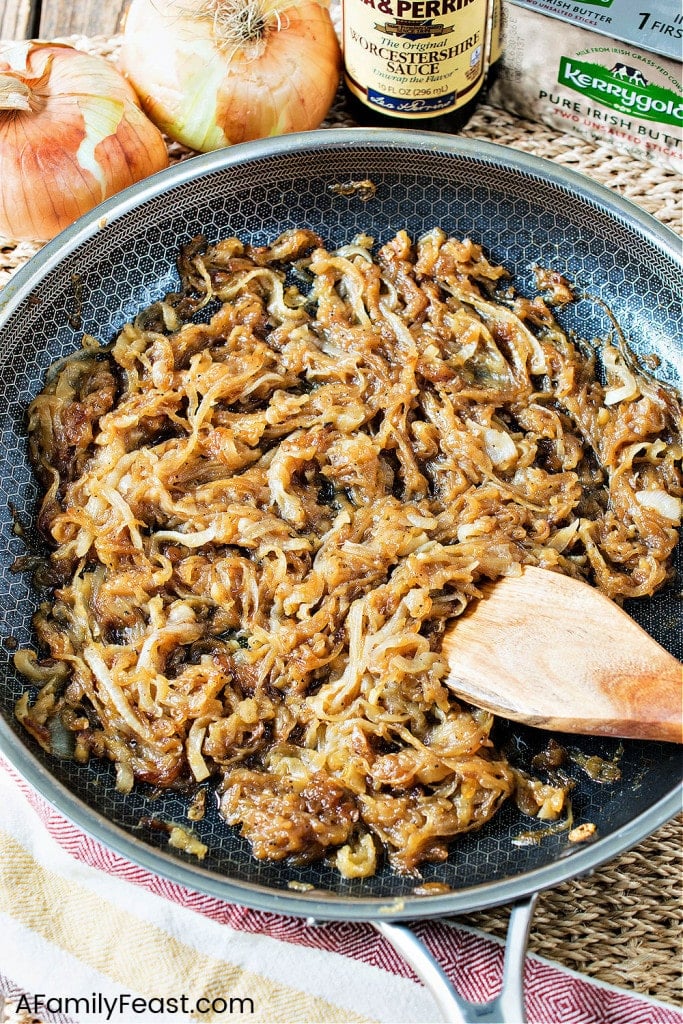
- Sweet Onions – The best onions to caramelize are sweet onions including Vidalia onions (which are grown in Vidalia, Georgia where the soil has a low sulfur content, giving a mellow, sweet flavor), or other onions marked as a “sweet onion” at the supermarket including Walla Wall and Maui varieties. While you can technically caramelize any other variety of onion, their flavor will never be as sweet and rich as sweet onion.
- Butter and Oil – We like to use a combination of unsalted butter and extra virgin olive oil when we caramelized our onions. The butter adds flavor, while adding oil helps prevent the butter from scorching over time – allowing the flavors of the onion to shine through.
- Kosher Salt – Adding salt early on in cooking process, helps the onions to release more of their moisture. Plus, salt enhances the flavor.
- Other optional (but recommended) ingredients – We like to further season our caramelized onions with a little bit of sugar, freshly cracked black pepper, and Worcestershire sauce.
Special Tools Needed
- Mandolin, to thinly slice the onions (or a sharp knife)
- Large sauté pan
- Spatula

Product Recommendation
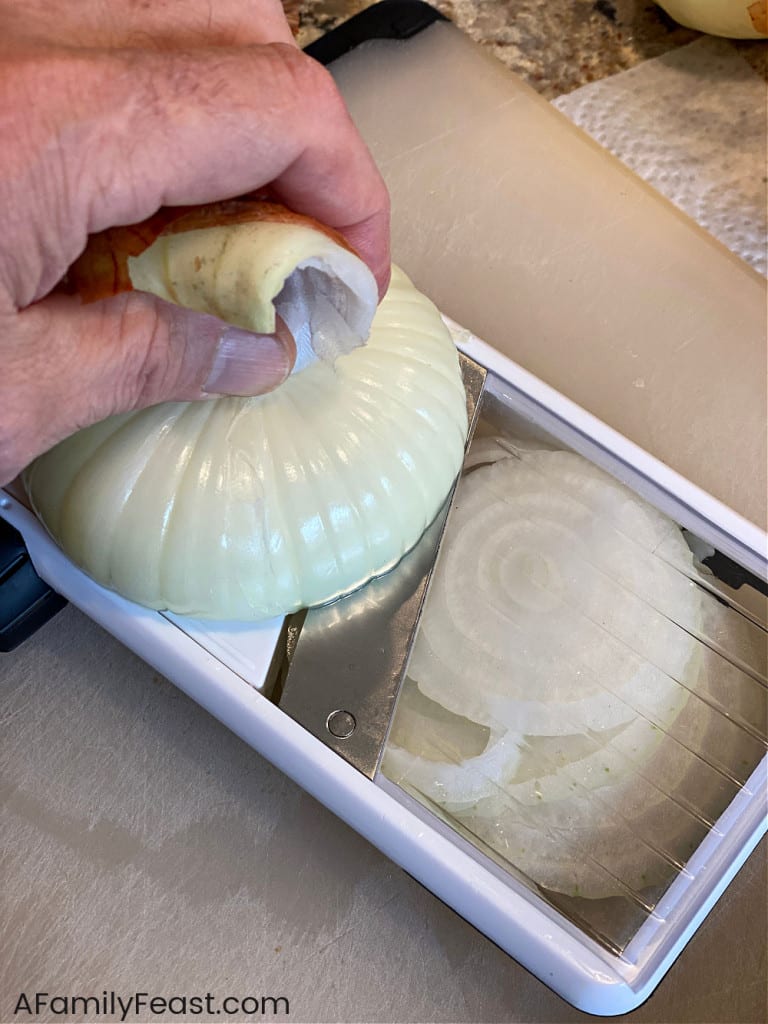
We highly recommend using a mandolin like this to slice your onions. It’s an affordable kitchen tool that safely allows you to cut the onions into very thin slices.
How do I make Caramelized Onions?
- Cut the stem end from each whole onion, leaving the roots attached.
- Peel back the outer skin, exposing the whole onion.
- Hold the root end by the peels and slice thinly on a mandolin like this one. (See photo above.)
- Melt butter and olive oil over medium heat. Add the onions, salt, pepper, sugar, and Worcestershire sauce. As the pan heats up and the onions start to simmer, turn down to low and set your timer for 45 minutes.
- After 45 minutes pour into a strainer and strain off all liquid.
- Place back into the pan and turn the heat to between a medium low and medium heat. This phase will start the browning process.
- Cook, stirring often for about 15 minutes, or until the onions are browned and caramelized.
- Serve hot with steaks, burgers, hot sandwiches or pizza. Or, store refrigerated for up to a week in a sealed jar.
Tips & Tricks
Freeze extra caramelized onions in small zipper seal bags for up to three months. This way, you’ll always have cooked onions on hand for your recipes.
Frequently Asked Questions
- Can I make Caramelized onions ahead of time? Yes, these can be made ahead of time as one large batch, then used in recipes throughout the week.
- How do I store leftovers? Store refrigerated for up to a week, or freeze for up to three months.
- How do I reheat leftovers? Microwave or heat already caramelized onions in a small skillet.
- Can I freeze? Portion out into small zipper seal bags. Close, squeezing all of the air out, and lay flat in the freezer until firm.
- What is the difference between caramelized onions and sautéed onions? Caramelized onions are cooked low and slow to soften and brown and it brings out the naturally sweet flavors. Sautéed onions are cooked quickly over higher heat. While they also soften and brown, the savory bite of the onions remains.
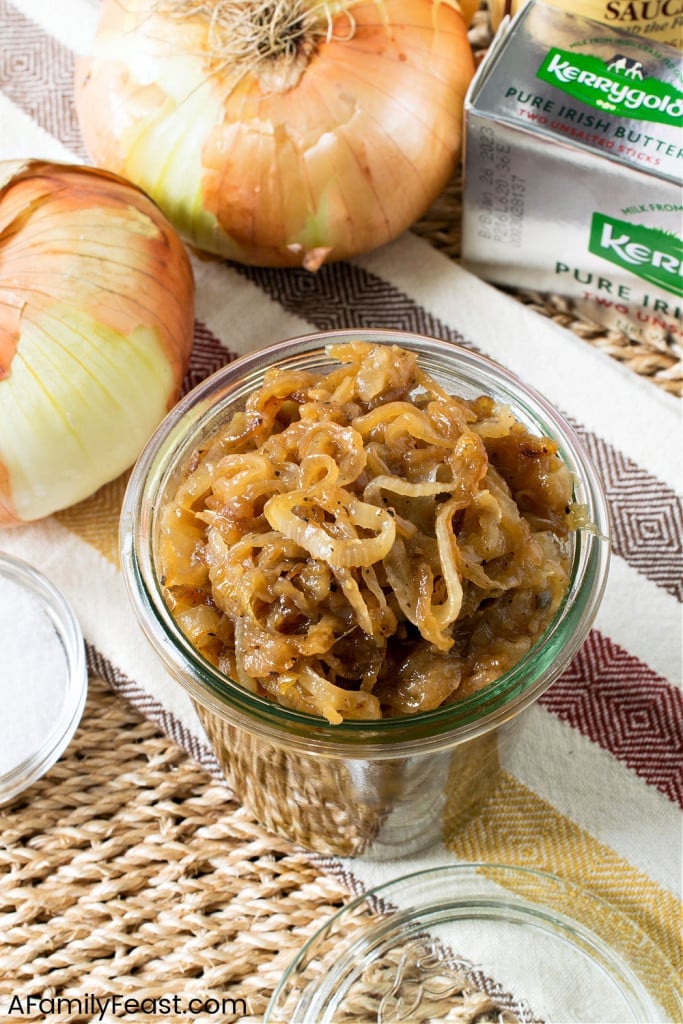
You might like these other Onion Recipes:
Click here for more delicious Condiment recipes
See the RecipesWe love seeing what you made! Tag us on Instagram at @afamilyfeast or hashtag #afamilyfeast so we can see your creations!
How to Make Caramelized Onions
Ingredients
5 large, sweet onions such as Vidalia
4 tablespoons butter
2 tablespoons extra virgin olive oil
1 teaspoon kosher salt
1/2 teaspoon freshly ground black pepper
1 teaspoon granulated sugar
1 tablespoon Worcestershire sauce
Instructions
Cut the stem end from the onions, leaving the root.
Peel back the outer skin and keep the onion whole.
Hold the root end by the peels and slice thinly on a mandolin.
Melt butter in oil over medium heat and add the onions, salt, pepper, sugar and Worcestershire sauce. Once heated up and starting to simmer, turn down to low and set your timer for 45 minutes.
After 45 minutes pour into a strainer and strain off all liquid and discard liquid.
Place the onions back into the pan and turn the heat to about medium-low to medium heat. This phase will start the browning process.
Cook, stirring often for about 15 minutes or until the onions and browned and caramelized.
Serve with steaks, burgers, hot sandwiches or store refrigerated for up to a week in a sealed jar.
Last Step! Please leave a review and rating letting us know how you liked this recipe! This helps our business thrive & continue providing free recipes.
Notes
Once the onions start to brown, watch closely and stir often. Remove from heat as soon as they are nicely browned. Do not allow them to char or burn.


wow awesome onions
Thanks Helen!