This post may contain affiliate links. Please read our disclosure policy.
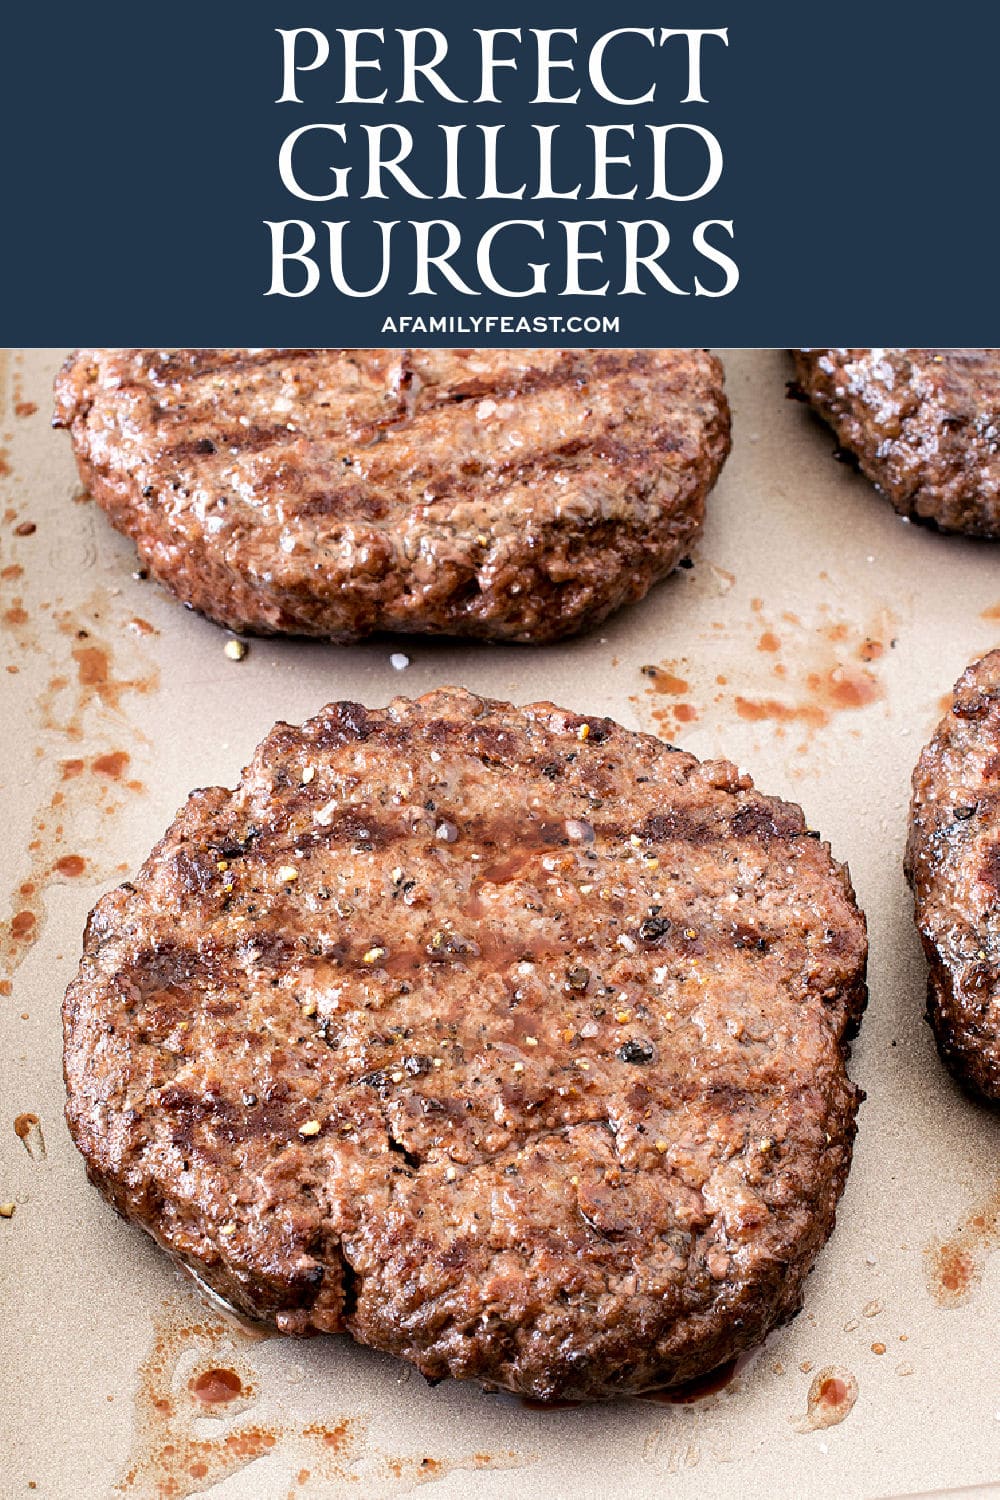
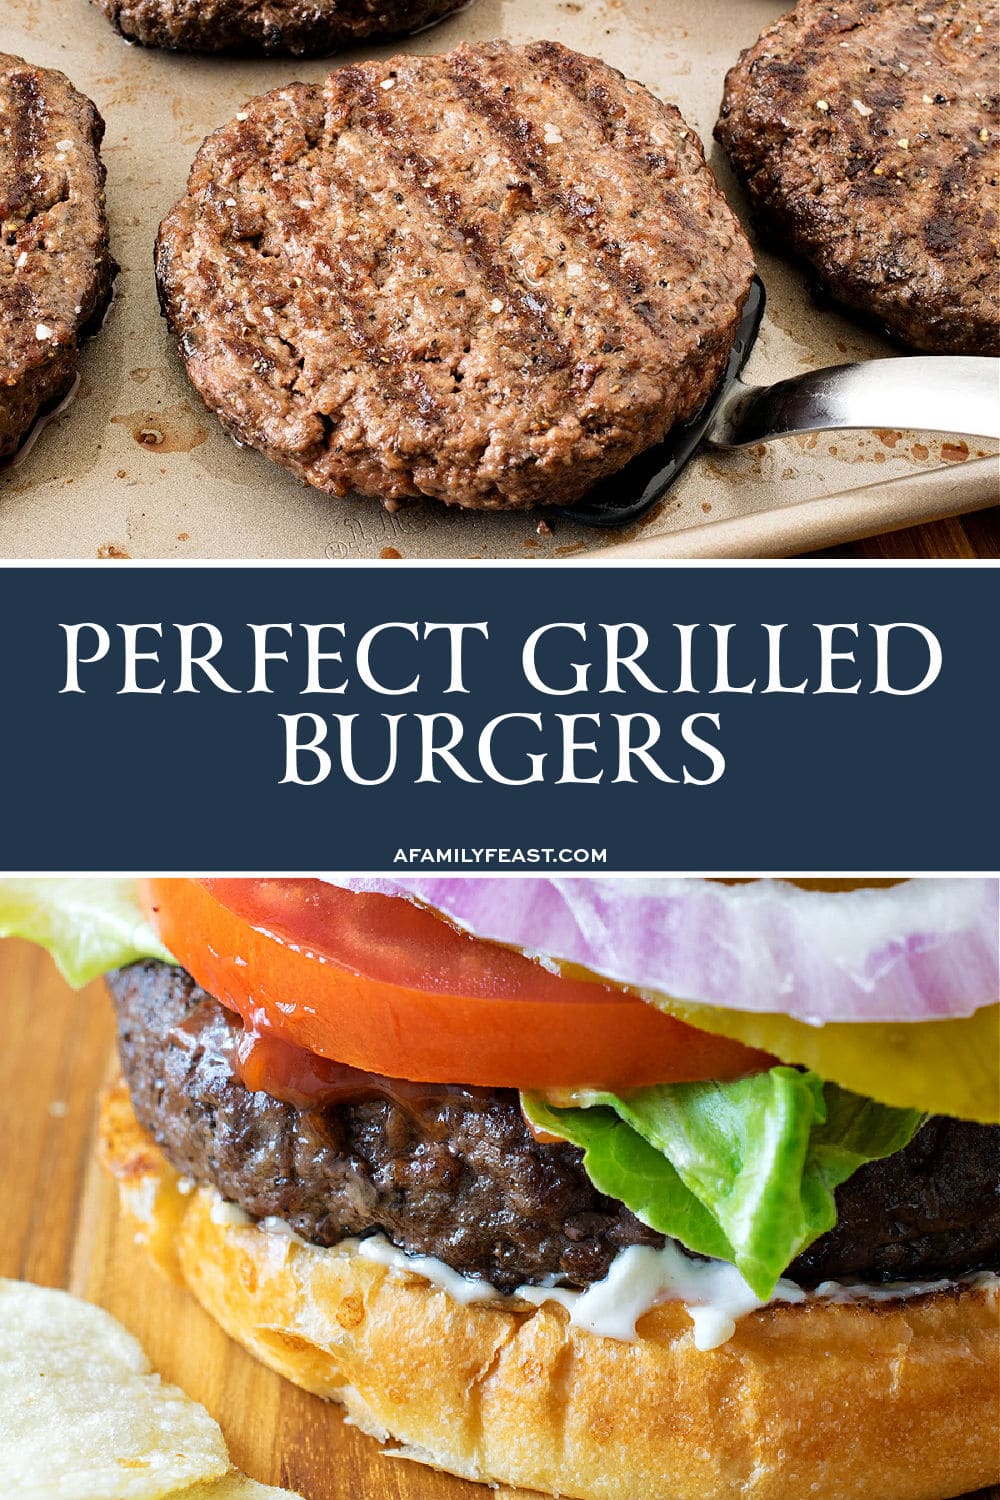
With just a few tips and tricks, you too can make Perfect Grilled Burgers!
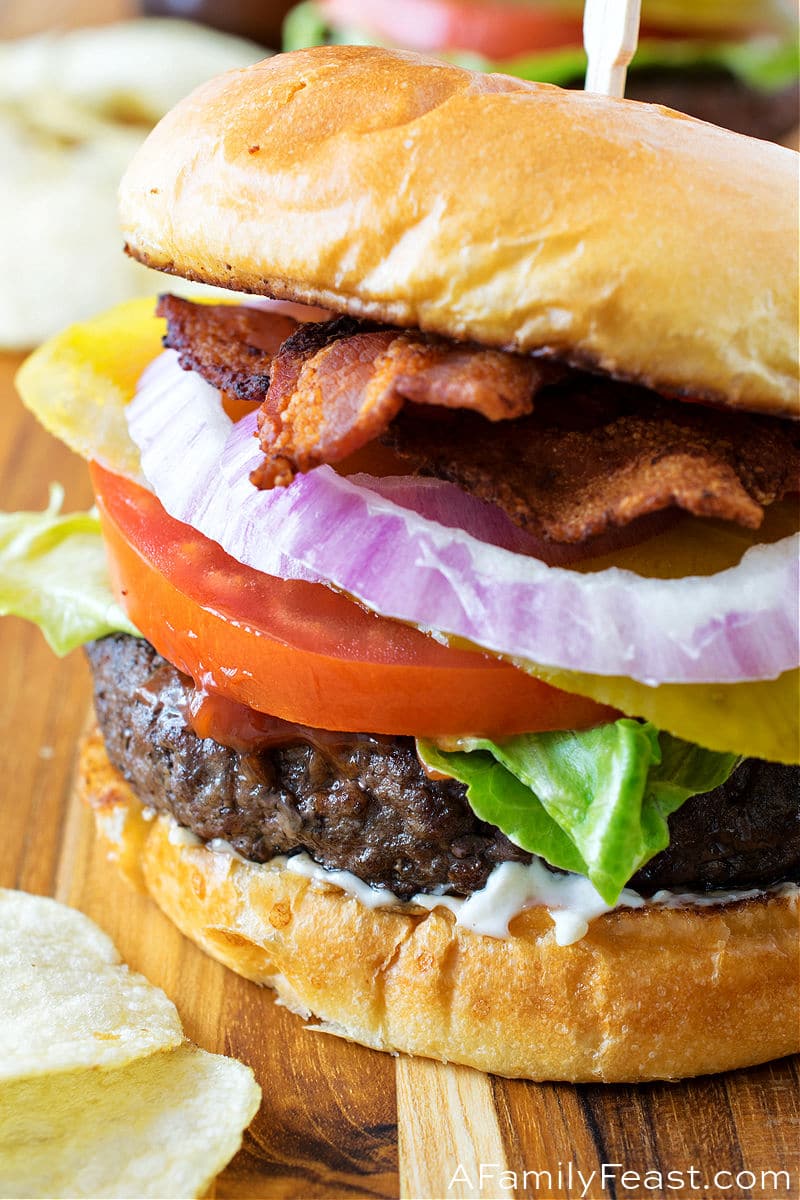
You recognize it, as soon as you take that first bite…the Perfect Grilled Burger. It has the perfect tender texture, and juices start to run down the back of your hand as you hold the burger up to your mouth. And the flavor of grilled-to-perfection beef is out of this world!
But lots of people make some mistakes when preparing and grilling burgers. Today’s post shares several tips and techniques to help you grill a perfect burger.
Why you’ll love this method
- It’s easy! No need to over-complicate things. The delicious grilled beef flavor will shine through in every bite.
- Your burgers will come out so tender and juicy. Each bite of your burger will practically melt in your mouth! And better grab some extra napkins to wipe those juices running down your hand.
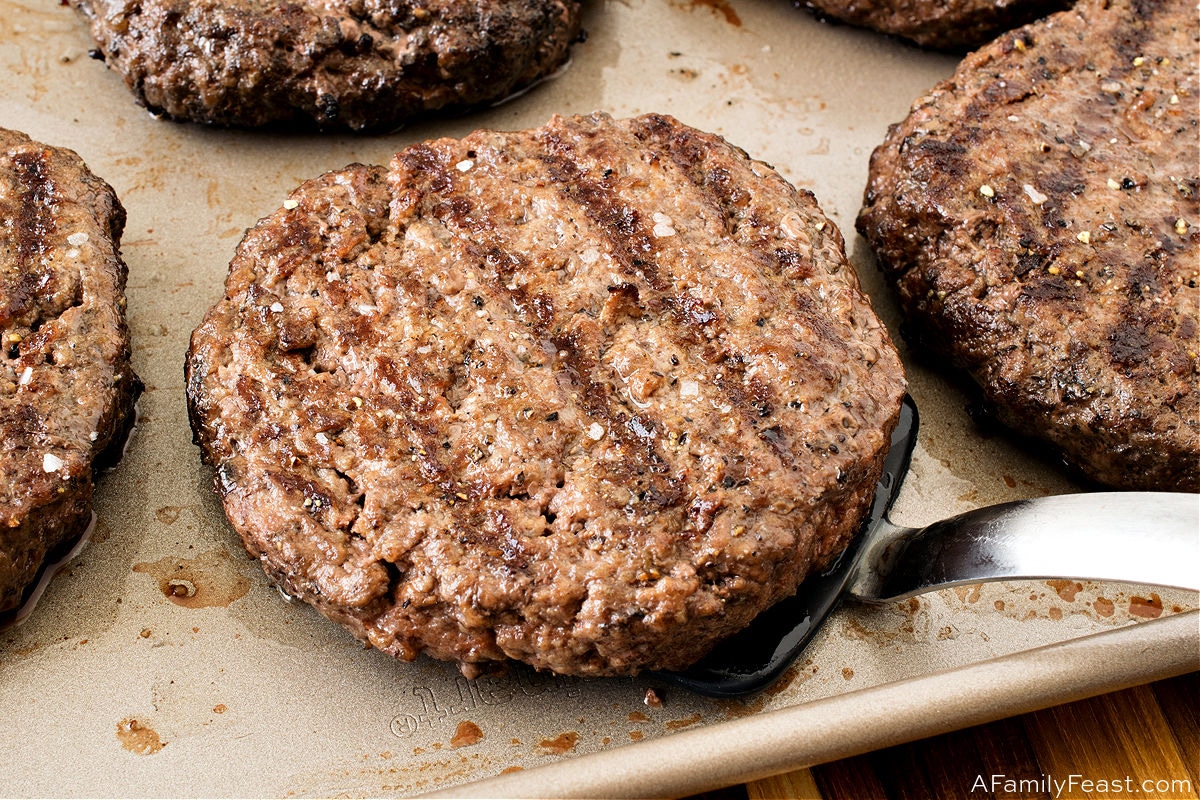
Key ingredients and Substitutions
- 80/20 ground beef – Let’s face it: Fat tastes good! Choose 80/20 ground beef for your burger – it’s typically 80% ground chuck (sometimes sirloin) and 20% fat. Also choose a quality ground beef, such as grass fed. The taste of grass-fed beef really is better and (in our opinion) totally worth the extra cost. We also buy our ground beef in bulk and form our own patties.
- Salt & Pepper – We are purists when it comes to our burgers and feel strongly that you should NOT add any fillers or mix seasonings into the ground beef. Simply season your patties with salt and pepper before you grill them. (And when you choose a great-tasting, grass-fed ground beef – why cover up the delicious flavors?)
- Brioche buns – Our favorite hamburger buns are brioche buns, which are made with the same rich dough as brioche bread. The eggs, milk, and butter in the dough give the buns a wonderfully soft yet firm texture, and the slight hint of sweetness really complements the savory, unctuous burger. (You can of course, use your own favorite burger bun instead if you prefer.)
- (Optional) Cheese – We could do an entire post about the best cheese to put on a burger (maybe we will someday!). Whether you add cheese or not, choose one that melts easily.
Special supplies needed
- Outdoor grill – Propane, natural gas or charcoal grills. Note that propane gas grills burn hotter than natural gas grills, so the cooking time may be less – depending on the BTUs of your grill. (More details below.) The temperature of charcoal grills varies even more.
- Grill pan – Alternately, you can follow this method while cooking your burgers inside on the stovetop using a grilled pan.
Prepare your burger patties
- Start with fresh ground beef. The freshest ground beef will be bright red in color with white spots of fat throughout. (Never buy ground beef that is starting to turn brown or gray in the package.) Keep it wrapped and chilled until ready to cook.
- Form your patties, but avoid over-handling. Start with a four-ounce portion of meat right from the package (use a kitchen scale to measure out your portions). As mentioned before, there’s no need to preseason or add bread crumbs to the beef.
With clean hands, gently press the meat down with your fingers to form a flat disk, then use a large knife or spatula to smooth the outer edge into a circle. You should still see some of the original ground beef and textures in your patty. (You don’t want the fat and beef to be smushed together.)
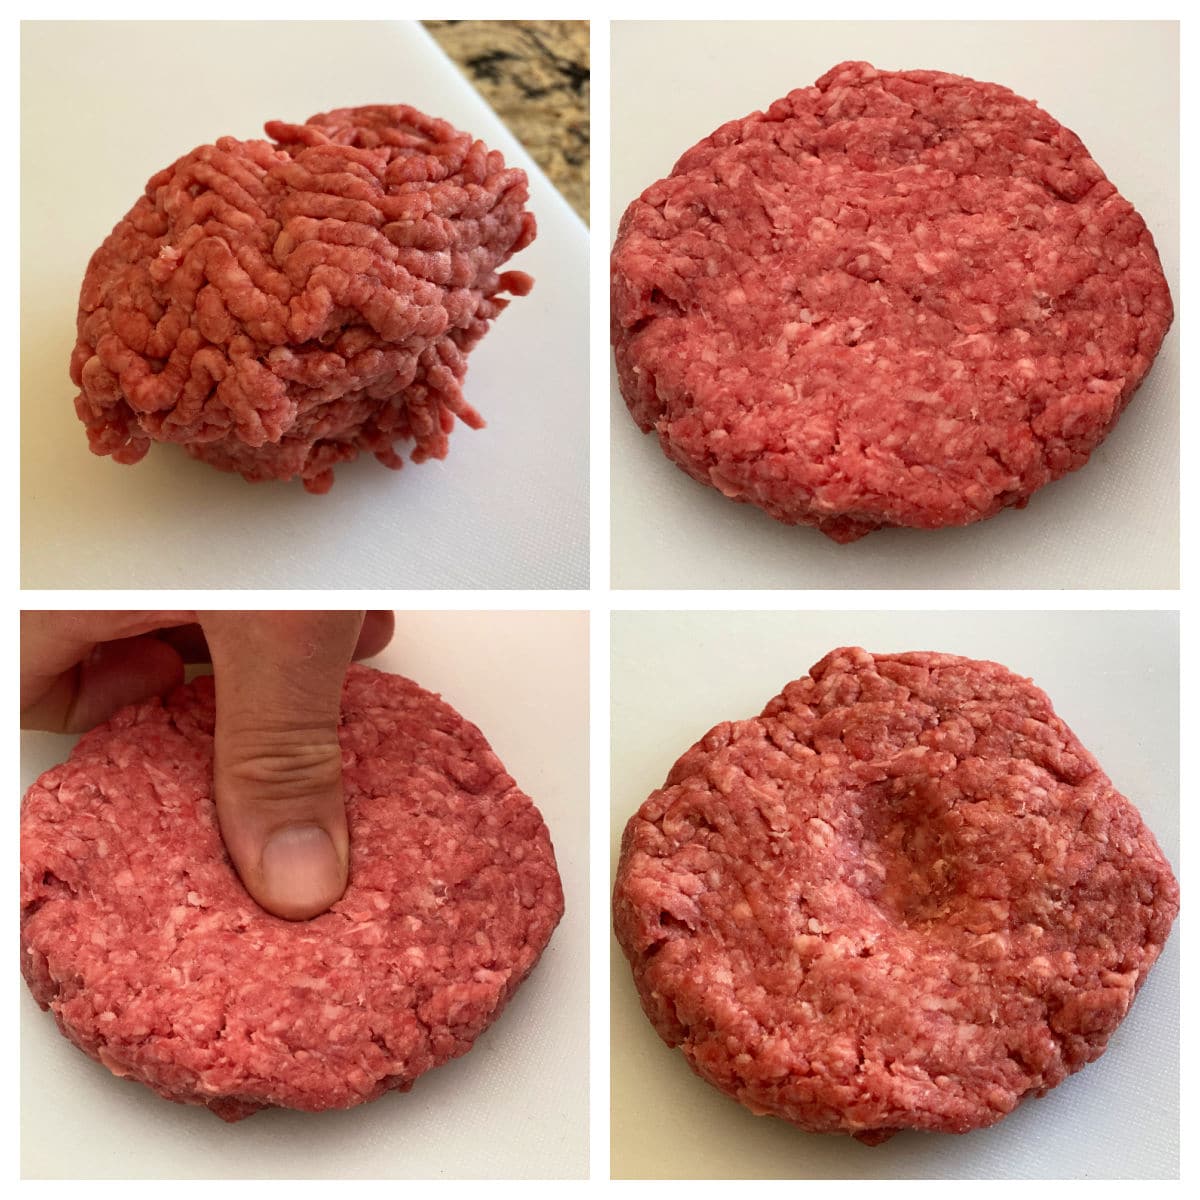
- Make a divot in center of each patty. With your thumb, make a small divot in the center of the burger patty. This helps the burger stay flat as it cooks, and it won’t ball up while you grill it.
- Season with salt and pepper. Sprinkle kosher salt and freshly ground black pepper on the side of the burger with the divot.
Chef’s Tip
Avoid buying pre-formed burger patties. The ground beef is likely over-worked (sometimes with fillers added too) then pressed through a machine. The burger will cook up tougher and drier than if you made the patties yourself.
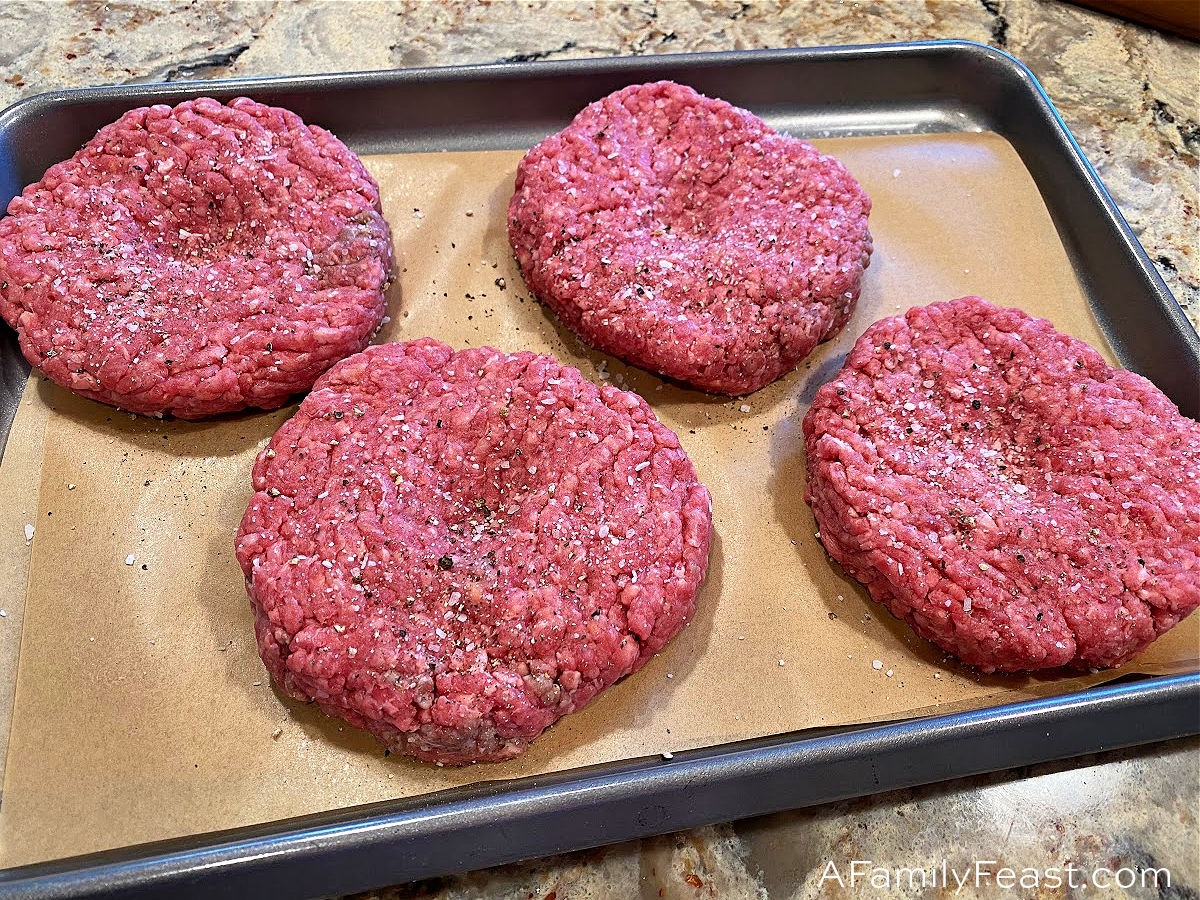
How to make perfect grilled burgers
- Prep the grill. Preheat your grill to the highest heat possible by turning on all of the burners. Use a brush to clean the grill. Then, using long-handled tongs, dip a folded paper towel in vegetable oil and brush the grates with the oil
- Place the burger on the grill, divot-side down. If you place the divot-side up, fat will collect in the divot as the bottom cooks, and you’ll have grease flare-ups once you flip the burger over which can scorch the burger. Season the uncooked side with salt and pepper at this time as well.
- Only flip the burgers once. Flipping them more than once will release more fat and the burgers can come out dry. When the top of the burger looks a little wet with beads of fat, and the edges of the burger are starting to caramelize and sear, with a long-handled spatula, carefully flip each one over. If your grill has hot spots (and most grills do) try to place lesser-cooked burgers in a hotter location as you flip, and the more-cooked burgers in a cooler spot on the grill, so the burgers are all done at the same time
- Never ever press burgers down when cooking. The juice needs to be sealed in the burger as it sears, and each time you press down, it squeezes juices out.
- If you want to add cheese. Add slices of cheese (if you’d like) to your grilled burgers about a minute before you are ready to take them off the grill.
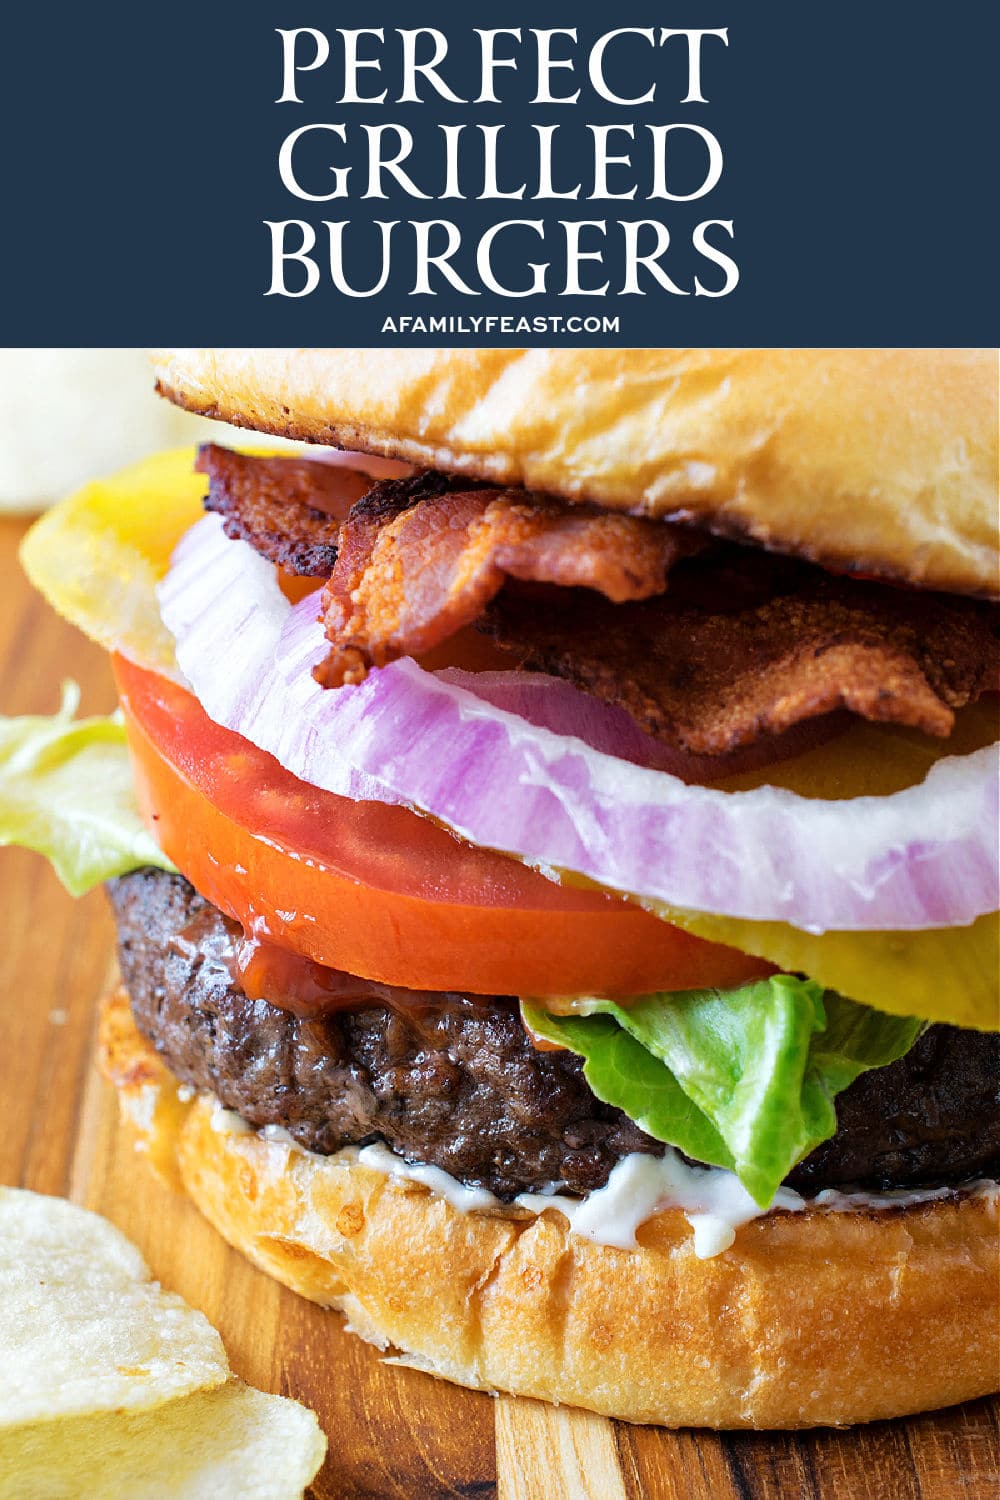
- Serve immediately. Serve your perfectly-grilled burger on already-toasted brioche buns with all of your favorite toppings.
Frequently asked questions
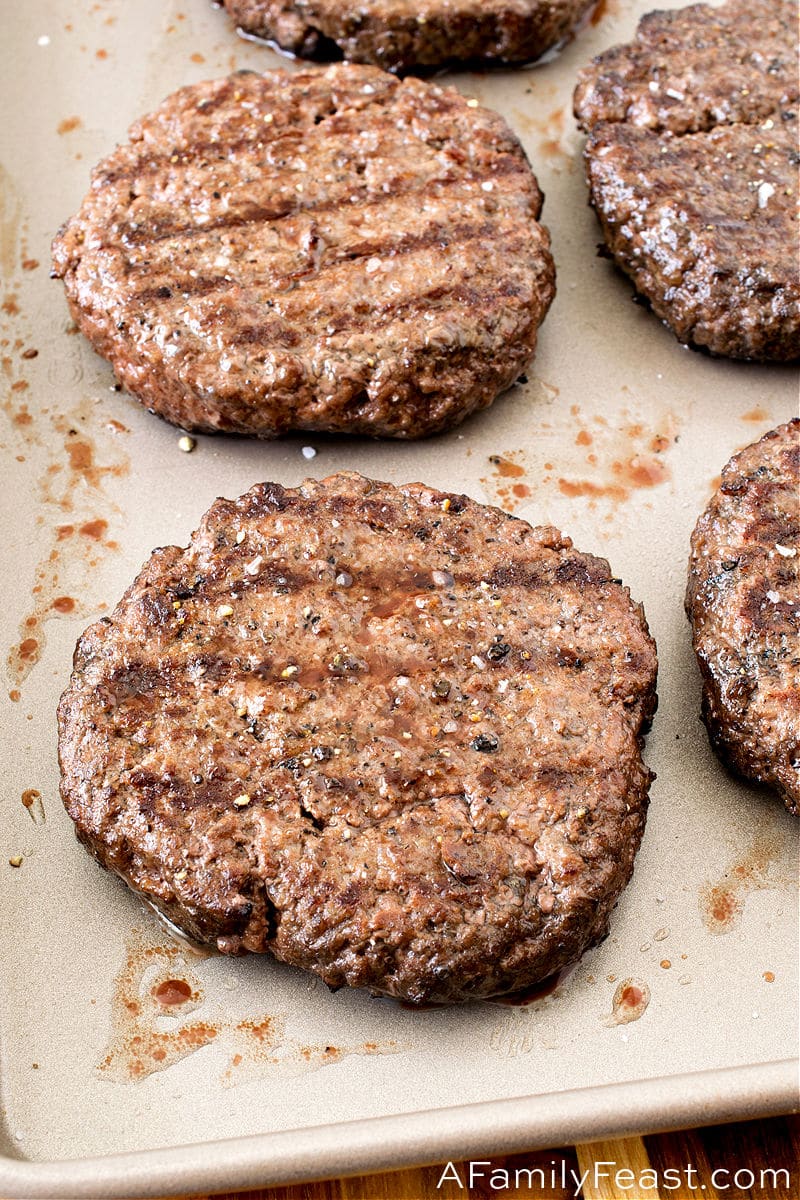
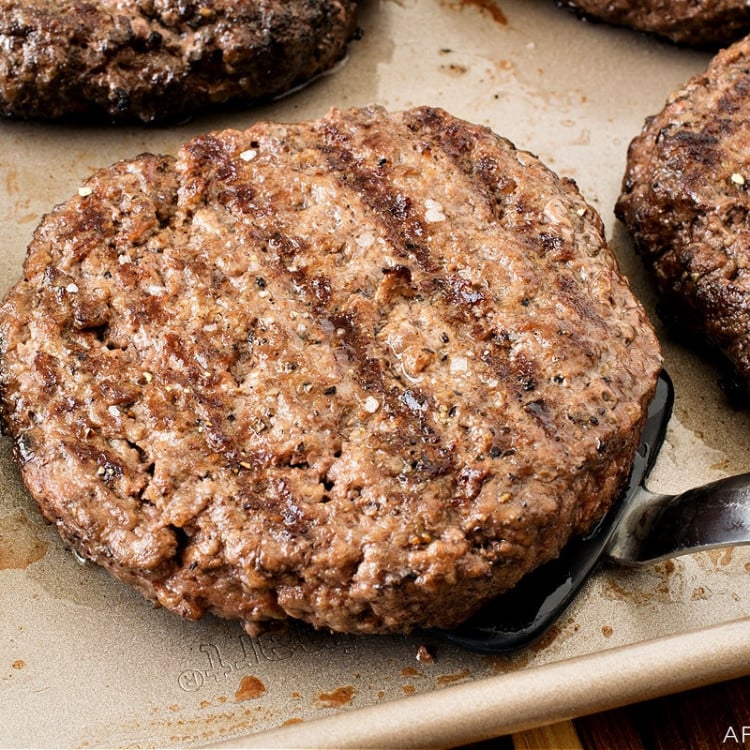
How long do you grill burgers on each side? For our quarter-pound (4 ounce) burgers, 4 ½ inches across and ¾ inch thick AND on a powerful, natural gas grill – we grilled our burgers for three minutes on each side for a medium rare burger, and closer to four minutes on each side for a medium burger. If you like your burgers well done, cook until desired level of doneness. (As mentioned above, propane grills can run hotter than natural gas so your cooking time might be less.)
Can I use an instant-read meat thermometer to tell when my burgers are done? Technically yes, but we don’t recommend it – unless you plug the hole you just poked into your burger with a small rolled-up piece of foil. The open hole left behind from the probe will be a like a faucet, and it will let all of that delicious burger fat leak out.
Can I make my burger patties ahead of time? Sure! Form the burgers, and place them on a plate or flat pan, but don’t season them yet. Cover tightly with plastic wrap and keep in the refrigerator for up to a day ahead.
Can I make my burger patties ahead of time and freeze them? Yes. Follow the same process as right above. Then, either wrap them individually in plastic wrap and lay on a flat pan to freeze. Or, stack with parchment paper in between each patty, then wrap tightly in plastic before freezing.
Can I grill frozen burger patties or should I thaw them first? Either way is fine. If you are cooking frozen burger patties, grill the same as in our recipe below, but close the grill cover on the first side, and cook for an additional minute or two. (Closing the grill as the frozen burger first cooks will help thaw the inside while the bottom sears. In our kitchen testing, we cooked one frozen burger to medium rare and it took only 90 seconds longer than a fresh, unfrozen burger.)
You might enjoy these other grilled favorites:
- Grilled Pork Patty Melt
- Asian Grilled Salmon
- Ponzu Grilled Pork Chops
- Grilled BBQ Turkey Tips
- Dr Pepper Grilled Steak Tips
We love seeing what you made! Tag us on Instagram at @afamilyfeast or hashtag #afamilyfeast so we can see your creations!
Perfect Grilled Burgers
Ingredients
Instructions
Divide the ground beef into eight portions. Each one should be exactly four ounces (1/4 pound).
Without working the meat too much, press each portion into a flat patty about 4 ½ inches across and about ¾ inch thick. (Use the side of a knife or spatula to press the edges into a neat circle while pressing down on the top.)
Make a divot with your thumb, this will help the burger grill flat and not ball up in the center.
Salt and pepper the divot side of each burger.
Place divot up on a parchment lined sheet tray single layer and refrigerate while you prepare the other ingredients.
On a flat pan either over the grill or indoors on your stove, melt butter over medium high heat and place brioche buns cut down over the melted butter to toast. Set aside.
Prepare any toppings and refrigerate until needed.
Heat outdoor grill (or ribbed pan) to high heat and clean grill grates.
Pour a little vegetable oil into a cup and with long handled tongs, dip a wadded-up paper towel into the oil and brush on the grill grates.
Place the burgers on, divot side down, and salt and pepper each top. (If you cooked divot up, fat will form in the divot and will flare up when you flip)
At this point, do not touch or move. They need to stick then release from the grill grates. If you lift too soon, bits of burger will stay stuck to the grill.
After 3-4 minutes, the tops with look a little wet with beads of fat and the edges starting to dry. With a long-handled spatula, carefully flip each one over. If your grill has hot spots, and most grills do, try to place lesser cooked burgers in a hotter location as you flip and more cooked burgers in a cooler location for even doneness.
For medium rare, cook for up to three more minutes on the second side and then remove to a clean platter. For medium, cook an additional 30-60 seconds. For well done, continue to cook until desired doneness.
If cheese is being used, place on the second cooked side for 30-60 seconds before removing.
Serve immediately on toasted buns.
Last Step! Please leave a review and rating letting us know how you liked this recipe! This helps our business thrive & continue providing free recipes.

Leave a Comment