This post may contain affiliate links. Please read our disclosure policy.
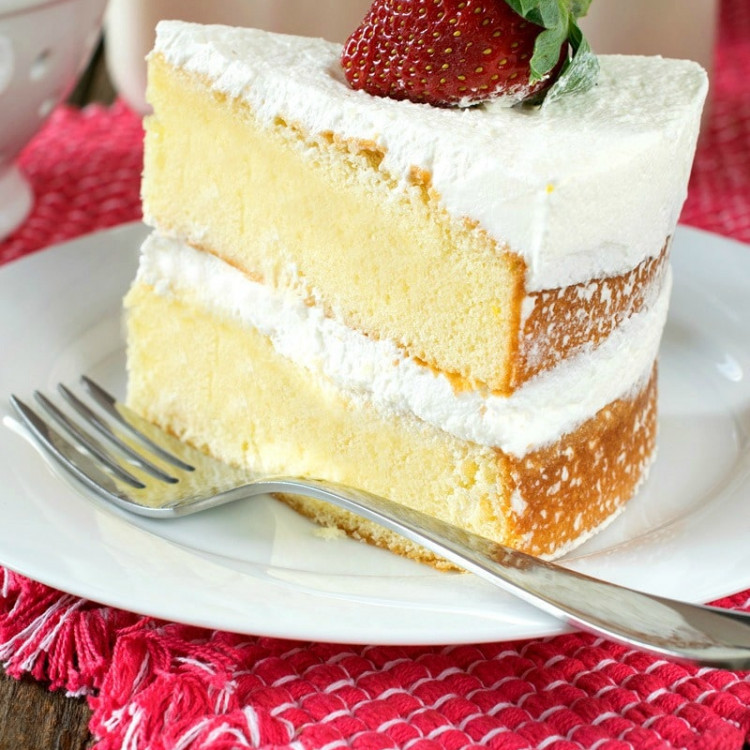
This old-fashioned Scalded Milk Cake is a wonderfully textured cake with a rich and delicious flavor thanks to the hot milk in the cake batter.
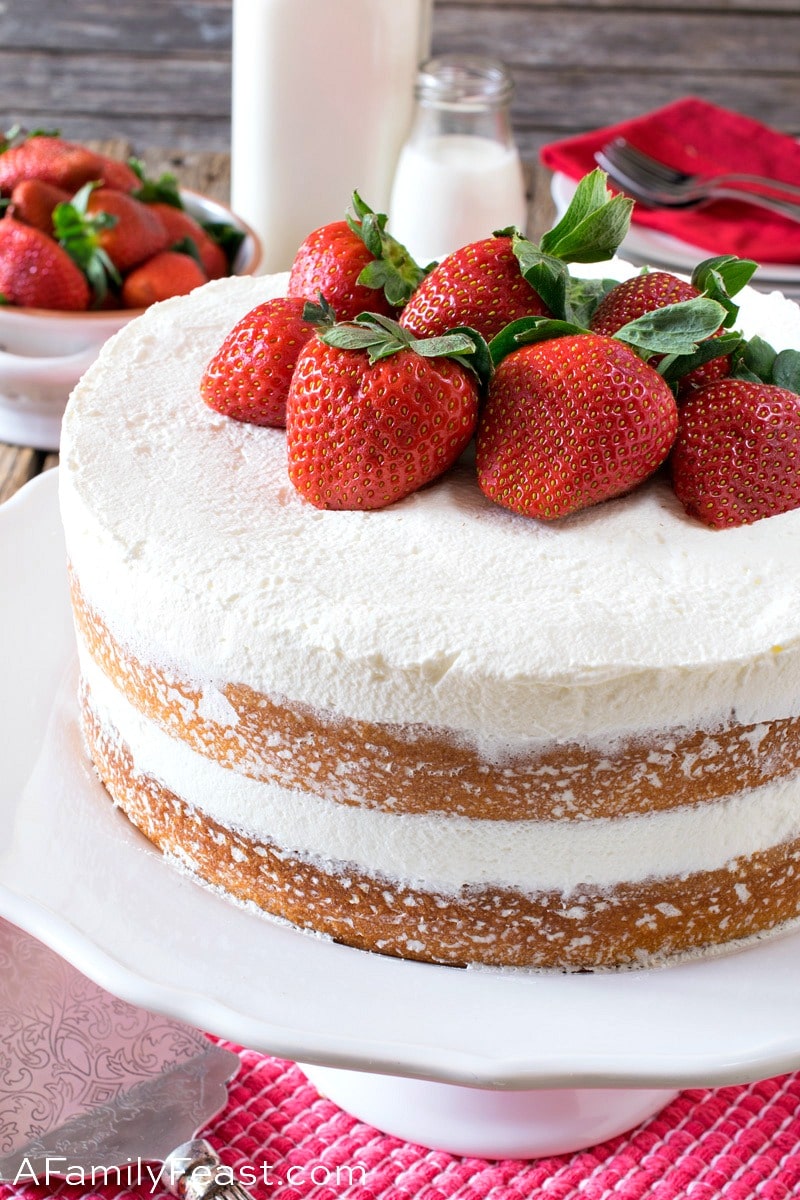
This Scalded Milk Cake recipe was created in partnership with the dairy farm families of New England. All opinions are 100% ours.
Scalded Milk Cake is a delicious and very moist old-fashioned cake recipe dating back to (at least) the early 1900’s. Also referred to as a hot milk cake, adding scalded milk to cake batter was (and still is) a way for home cooks to use up every last bit of milk on hand.
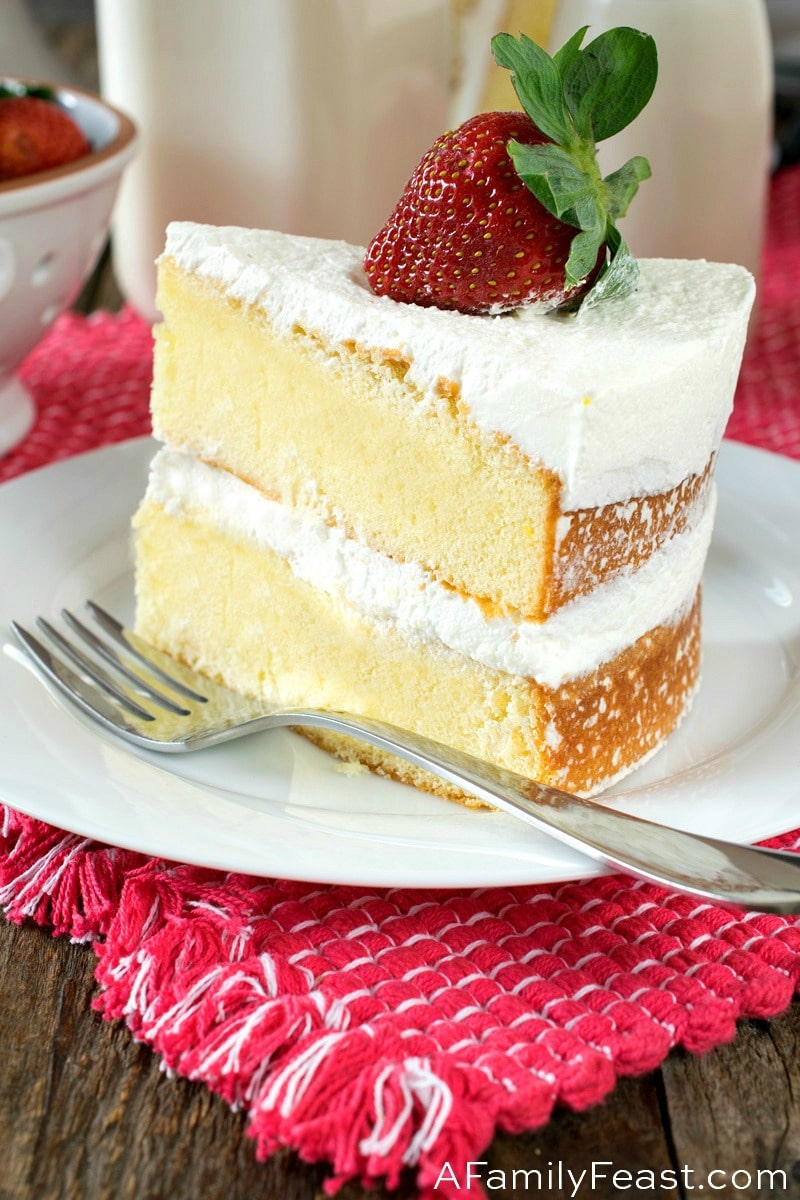
Betty Crocker made a version of this hot milk cake even more popular during the 1950’s. To this day, adding scalded milk to cake batter is still a common way to add a distinctively unique flavor, as well as a softer, springier texture to a simple pound cake.
New England Food & Dairy Council Registered Dietician Heidi Harkopf also shares:
“When used in baking cakes or breads, dairy milk not only provides additional flavor and nutrition, but it actually has a function as well. The protein and fat in the milk will help improve the keeping quality of a cake. And when milk is heated or scalded, it not only slightly changes the flavor of the milk but will coagulate the protein which will yield a softer or more velvety crumb to your cake or bread. While the heat changes the physical structure of the protein, it does not affect its nutritional value. And scalding milk will allow you to also infuse flavors such as adding vanilla bean while the milk is heating. It’s important to note that scalding is heating the milk only until tiny bubbles appear, which is different than bringing milk to a boil.”
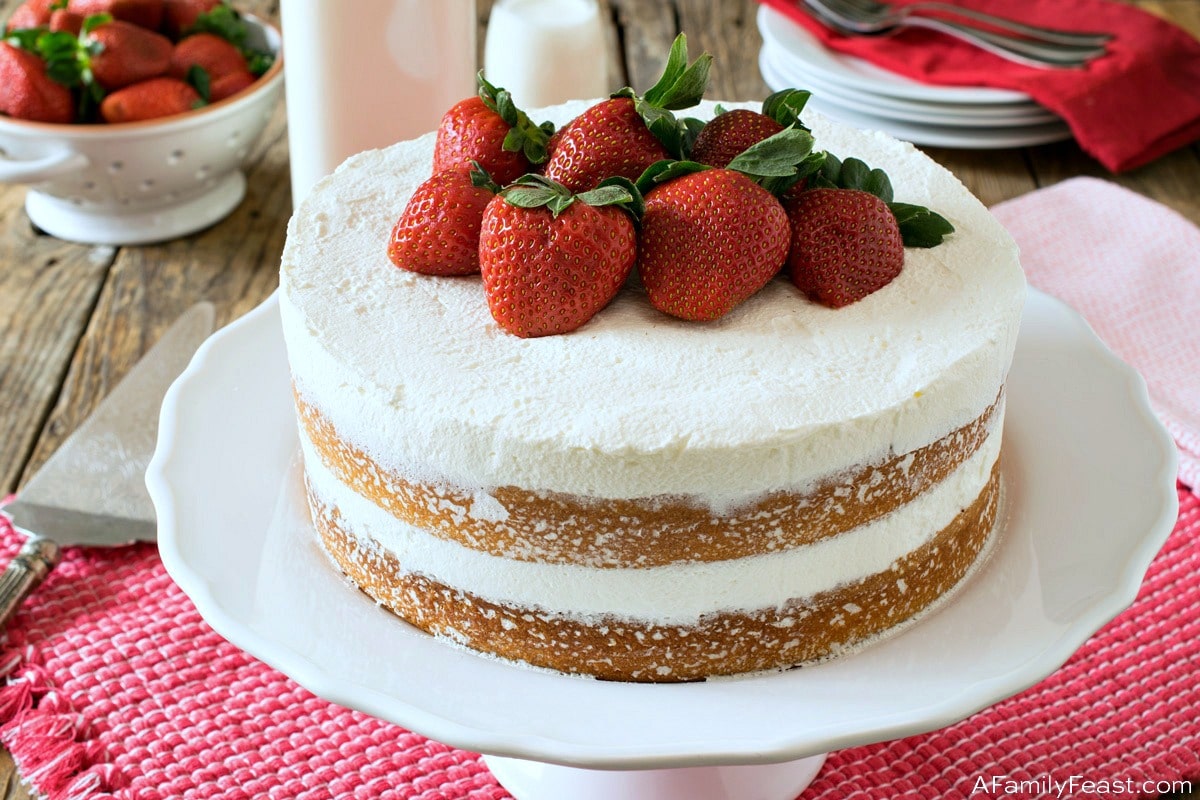
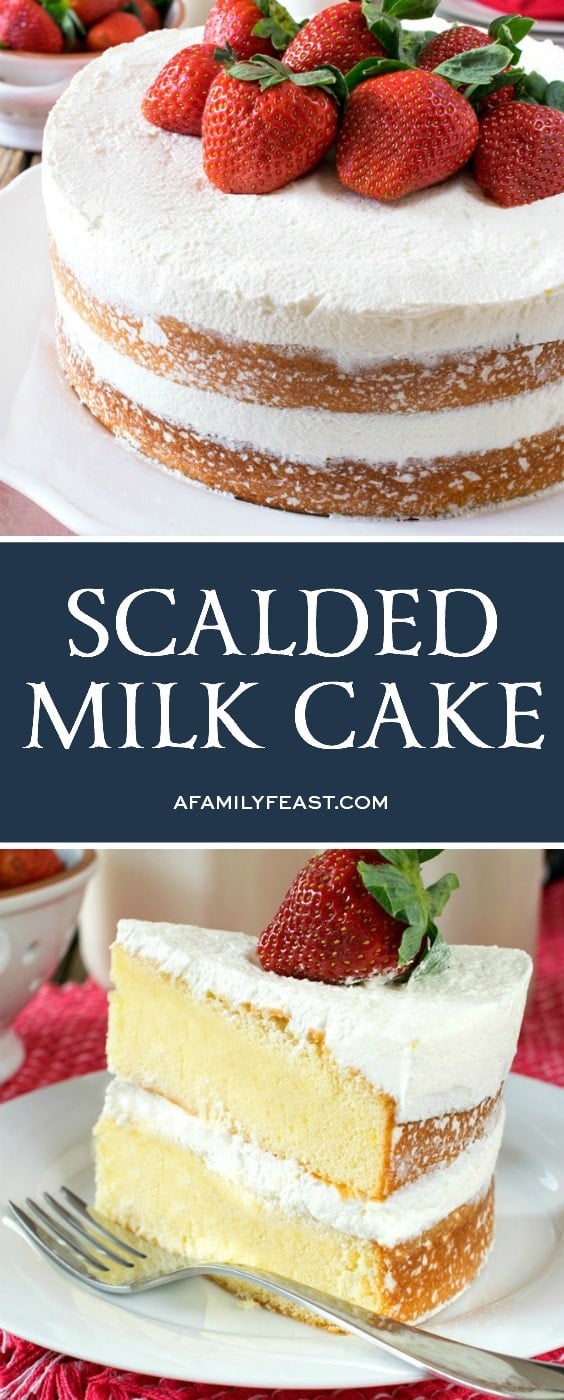
Originally, Scalded Milk Cake was baked in a sheet pan or as a bundt cake, but we decided to make ours as a ‘naked’ layer cake with a simple whipped cream frosting. (A naked cake is the current and very popular cake-decorating trend where most of the frosting is left off the sides of a layer cake. It’s easy to do, and really helps showcase the cake layers!)
In addition to milk, we used lots of other delicious dairy in making our Scalded Milk Cake – including butter and heavy cream.
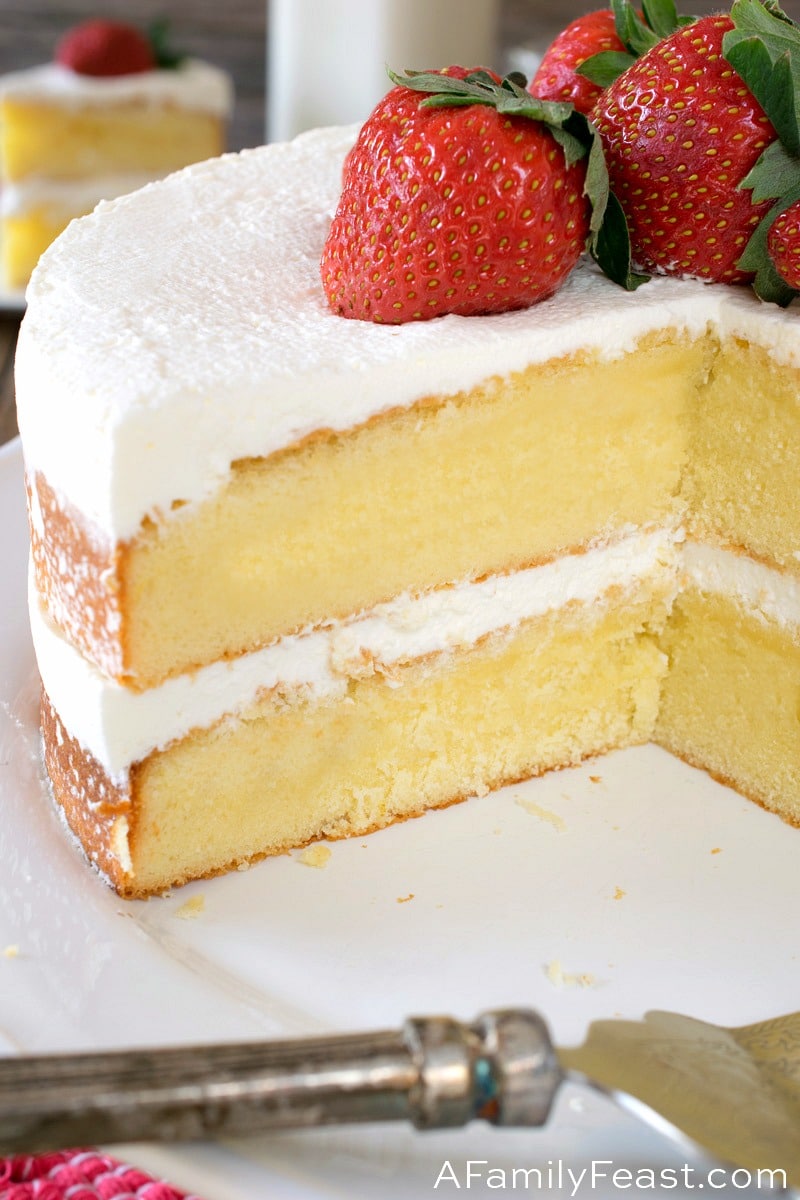
We also selected cake flour for our recipe because the lower protein content in cake flour yields a more delicate crumb than when baking a cake with all-purpose flour. Our Scaled Milk Cake baked up incredibly moist, slightly dense (similar to a pound cake) with a springy texture.
For more information about the dairy farm families of New England, school nutrition, and health and wellness topics, please visit New England Dairy & Food Council and Must Be the Milk.
You may enjoy these other recipes we made with fresh, New England dairy:
- No-Bake Greek Yogurt Cheesecake Squares
- Peaches & Cream Scones
- Lobster Mac and Cheese
- Broccoli Cheddar Soup
We love seeing what you made! Tag us on Instagram at @afamilyfeast or hashtag #afamilyfeast so we can see your creations!
Scalded Milk Cake
Ingredients
Butter and flour to prepare two 9” round cake pans
1 1/4 cups whole milk
1 1/2 teaspoons vanilla extract
3 tablespoons unsalted butter
3 cups cake flour
1 tablespoon baking powder
1/2 teaspoon salt
6 whole large eggs
2 1/2 cups granulated sugar
2 cups heavy whipping cream
2 tablespoons confectioner’s sugar
Fresh strawberries as needed to decorate
Instructions
Preheat oven to 325 degrees F.
Butter two 9” cake pans. Cut two parchment circles the size of each cake pan bottom. Place over the buttered bottom then butter the top of the parchment. Flour each pan bottom and sides. Set aside.
In a medium sauce pan, place whole milk and bring to the brink of a boil but do not boil. As soon as bubbles appear on the outer edges and steam starts to rise off the surface, remove from heat and add in the vanilla and butter. Set this aside.
In a medium bowl, sift flour, baking powder and salt. Set aside
In the bowl of stand mixer with a whip attachment, beat eggs and sugar for five full minutes until light and fluffy.
With mixer running, slowly add the dry ingredients to combine. Scrape the bowl and mix once to combine.
With the mixer running, slowly drizzle in the scalded milk, vanilla and butter mixture until incorporated.
Scrape the bowl and mix again.
Note: the batter will be very liquidy, almost like loose pancake batter. This is the way it should be for this cake.
Divide the batter evenly between the two pans and bake for 35-40 minutes. The cake should have just started to pull away from the sides and have a little bounce when gently poked on top. The toothpick test may not work for this because of the consistency of the cooked cake. A toothpick pulls away with a little crumb and does not come out clean.
Let cool in pans for ten minutes.
To remove from pans without peeling off the top of the cake, lay a piece of parchment over a rack and very lightly spray with pan spray. Invert this over the top of the cake and flip. Then place another rack on the cake bottom and flip back over and remove parchment. Repeat for second cake and cool upright on racks until completely cool.
Whip the heavy cream until soft peaks form, add the confectioner’s sugar and whip again just to incorporate.
To assemble, place one cooled cake on your cake dish and layer on half of the whipped cream, letting it hang slightly over the edges.
Place a second cake on top and spread the rest of the whipped cream, again, letting it hang a little over the edges.
Now take an offset spatula and run it around tightly against the cake, wiping the excess cream and giving the appearance of a clean center layer and cream wiped sides. This is actually called a naked cake.
Any excess cream can be added to the top. Use the spatula to smooth out the top then again, run it along the edge of the cream to get a nice sharp edge across the top.
Decorate with whole or sliced strawberries.
Serve immediately. Store any leftovers in the refrigerator for up to two days (bring back to room temperature to eat).
Last Step! Please leave a review and rating letting us know how you liked this recipe! This helps our business thrive & continue providing free recipes.

Tough texture. The cake rose without a problem. I think the volume of eggs made the cake very tough. I’ve only ever experienced that with an unrisen genoise.
Thanks for your feedback Melissa!
Does the milk need to be cooled before I add it to the batter?
Hi Lila – No need to cool it. Just place the pan of milk it aside off the heat after adding in the butter and vanilla, then complete the next two steps in the recipe – after that you’ll add the milk mixture and it can still be fairly warm/hot.
I haven/t made this yet.I’m thinking of Easter dinner desert because it’s so pretty.Do you a calorie count for this cake,also would it bake as well using a good quality(mine) GF flour blend.Thanks for your time,Michelle
Hi Michelle – Without some testing, I’m not sure how this would come out using a gluten-free flour blend – not sure if the milk would interact any differently. We also don’t provide nutritional information for our recipes at this time, but we hope to in the future. (I’m striking out with all of your questions today…I’m sorry!)