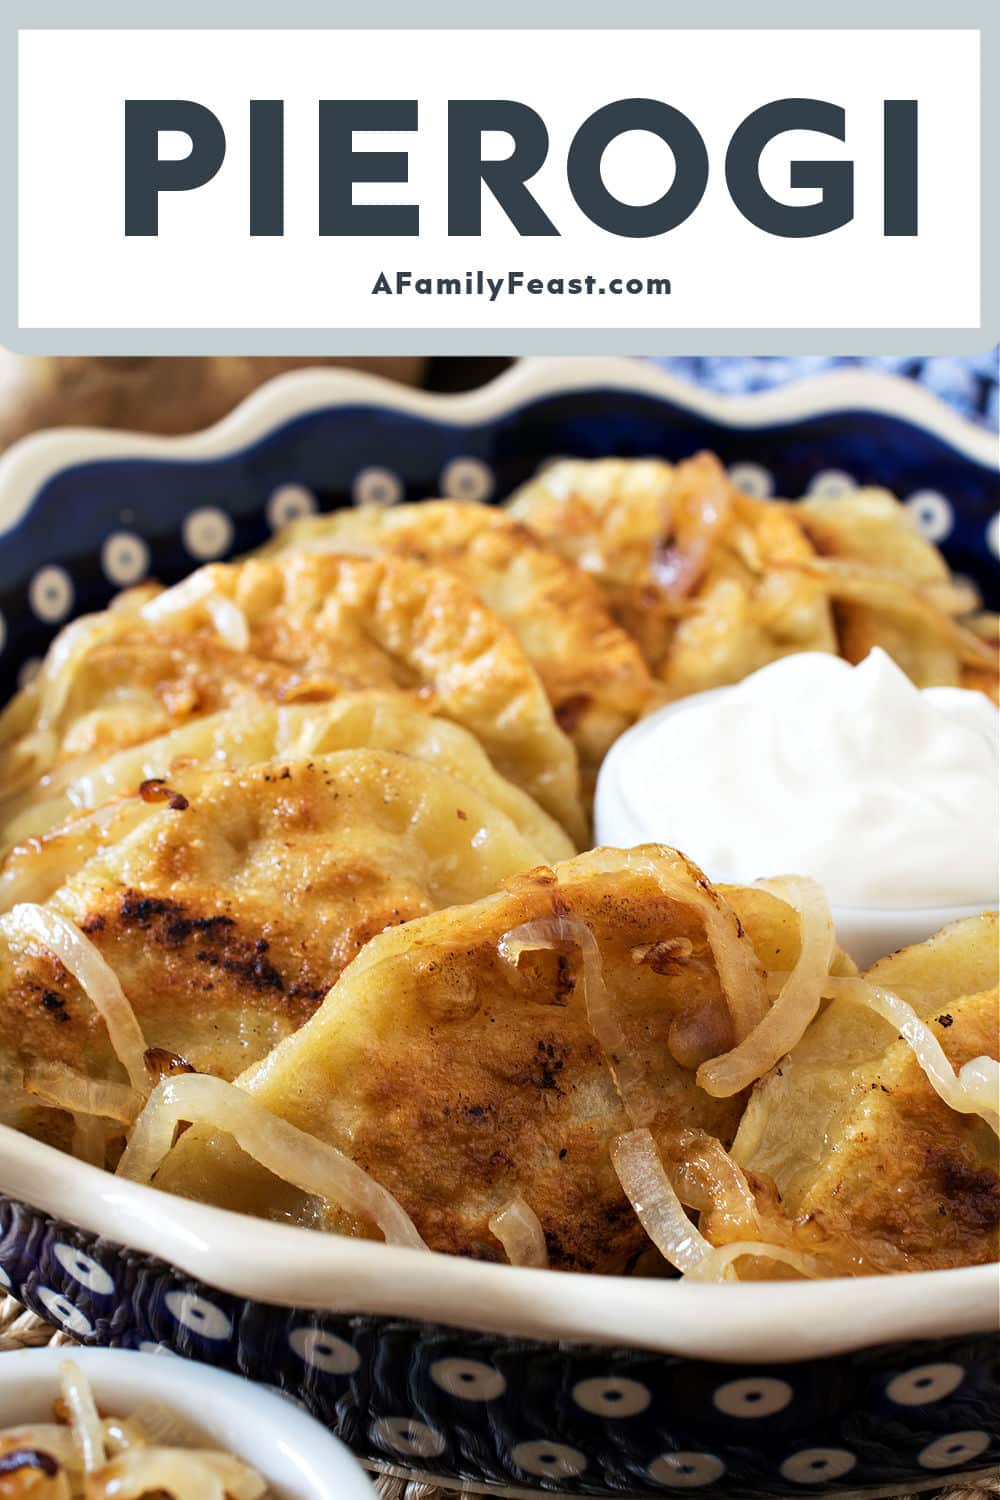
This delicious Pierogi recipe has been passed down through generations. Includes four different filling options!

100+ Year Old Family Recipe
This Pierogi recipe is one that is near and dear to my heart. I grew up in a family that was Polish on both sides, and today’s recipe is adapted from the one that my grandmother (we called her Babci) on my mother’s side of the family shared with our family.
This 100+ year old pierogi recipe is a traditional Polish dish that was always served at our family’s Easter and Christmas dinners.
Every year, my mother would get together with my Babci and my Cioci Bertha (Babcia is ‘grandmother’ and ‘Ciocia’ is aunt in Polish; our family dropped the ‘a’ at the end) in the weeks leading up to the holidays. Together they would make a giant batch of pierogi with a mix of different fillings. Some would be served at the holiday meal and others would be frozen to be enjoyed throughout the year.
What are Pierogi?
Pierogi are unleavened dumplings from a simple, egg, water, and flour-based dough that are stuffed with a variety of fillings – savory or sweet. After filling and crimping the edges, pierogi are are boiled in a pot of water until they float.
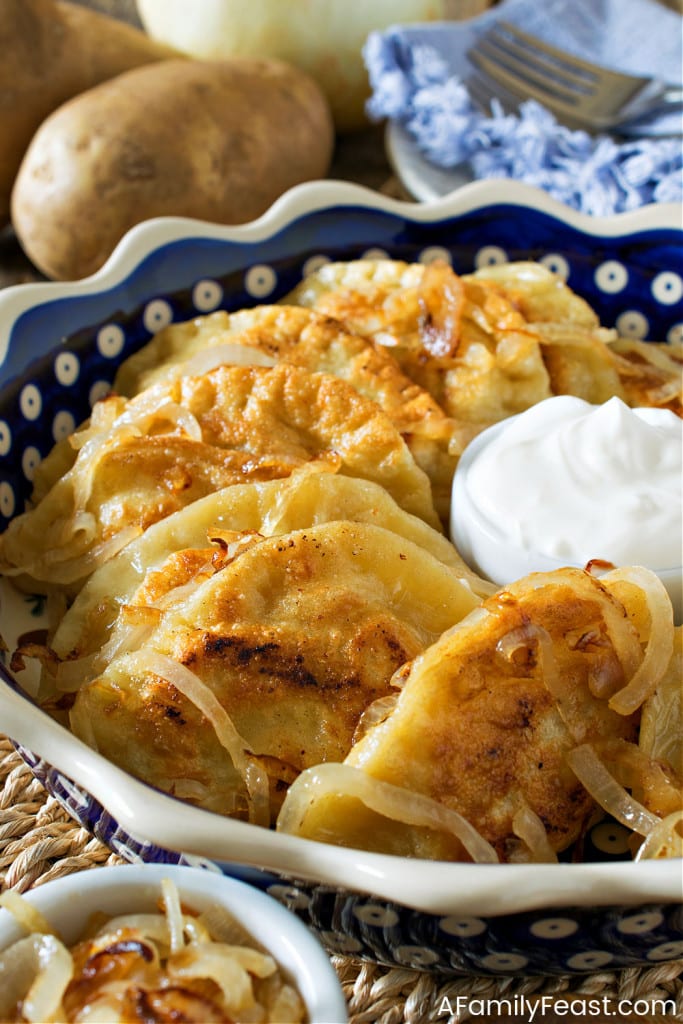
Sometimes, they are served simply with melted butter on top. After boiling, my family liked to fry our pierogi with butter and onions until golden brown and slightly crispy. Then, we’d serve them with sour cream on the side for dipping.
Reader Recipe Review
This is the first time I have attempted pierogies since my Mom passed away…IT TURNED OUT PERFECT!!! – Deb
Why You'll Love Pierogi
- It’s delicious comfort food – just like Babcia used to make!
- Pillowy, tender dough is filled with a variety of delicious fillings – both savory and sweet.
- You can make a big batch, then freeze some to enjoy when the craving strikes.
- Pierogi are made with simple ingredients you probably have on hand in your pantry.
Helpful Tip
Making pierogi can be labor-intensive – so ask family or friends to help. (We even get the kids involved!)
While one or two people cut, fill and crimp the dumplings, another person can be boiling and frying them. Make a big batch to share with everyone or freeze some for later.
Key Ingredients & Substitutions
- Flour – All-purpose flour is used in the dough, as well as for dusting the countertop as you roll out the dough.
- Salt – For seasoning the dough.
- Eggs
- Water
- Sour Cream – (Optional) My grandmother’s original pierogi recipe did not include sour cream, but after testing some other recipes that did include sour cream in the dough, we felt that adding sour cream made the dough much more tender, as well as easier to work with.
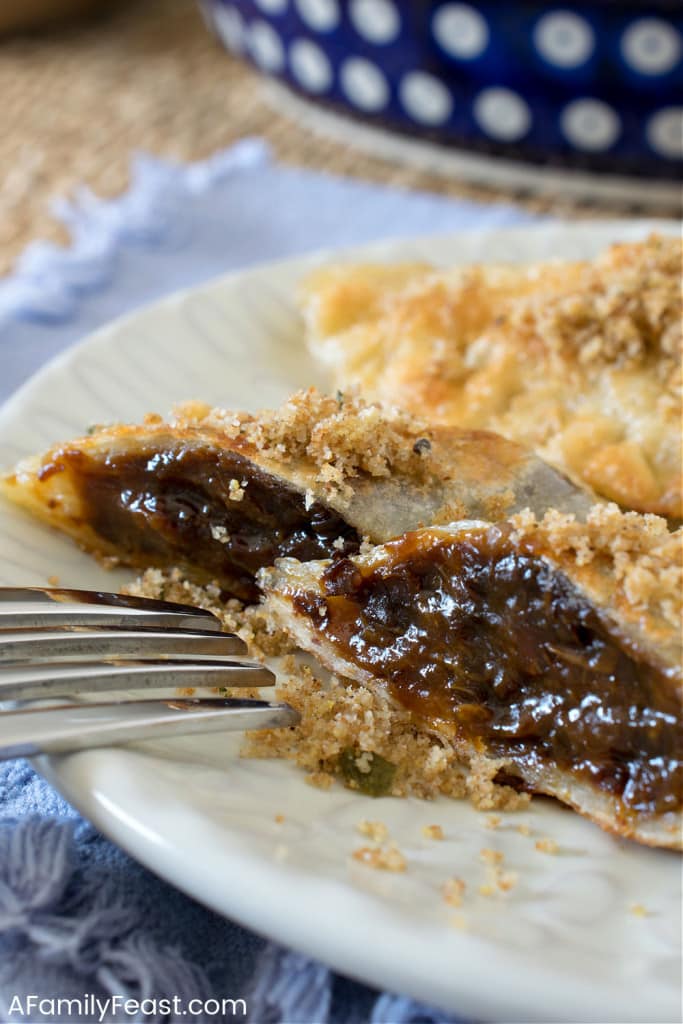
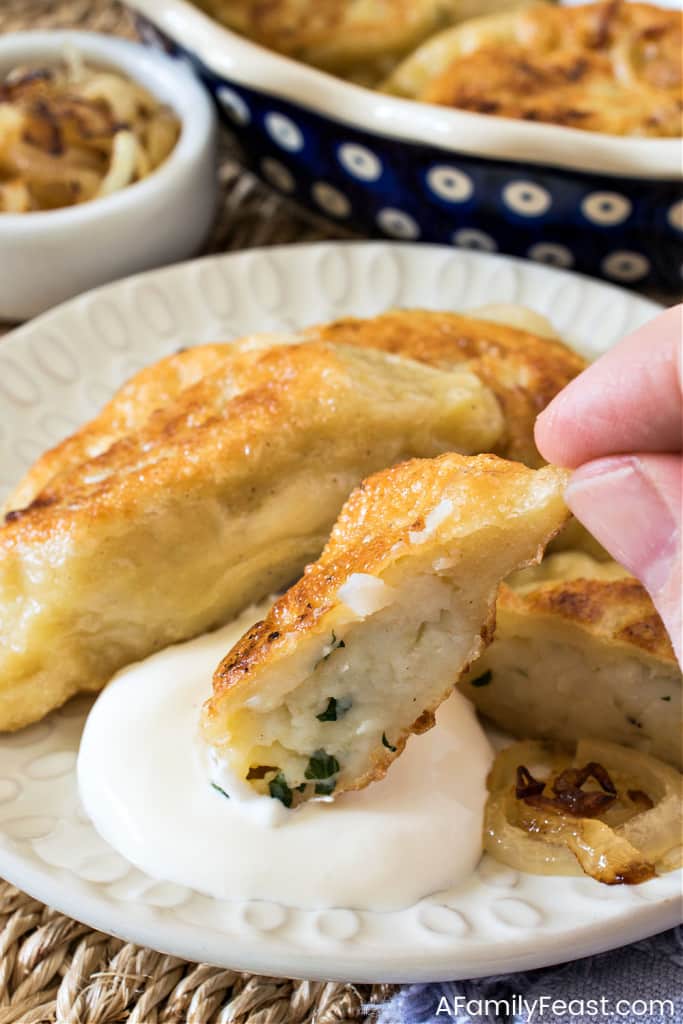
- Fillings – Most often we’d make pierogi filled with farmer’s cheese, sauerkraut and mushrooms, or potato and cheddar. Another aunt of mine – my Cioci Doris – also made a prune-filled dessert pierogi which are surprisingly delicious served with buttered bread crumbs sprinkled on top!
- Butter, Onions and More Sour Cream – For serving
A Few Notes About the Different Fillings
- In the recipe card below, we’ve included four different filling options for you to try – and enough pierogi dough to make all of the versions!
- Feel free to cut the recipe back if you want to make fewer fillings.
- We highly recommend that you make the different fillings a day ahead of time to allow them to cool before handling.
Special Tools Needed
- 3″ round biscuit or cookie cutter, an empty glass or can with a 3-inch diameter
- Bench scraper (optional)
- Pierogi maker (optional)
- Sheet tray(s) and parchment paper
- Pastry brush
- Large pot to boil water
- Large skillet to brown the pierogi
Helpful Tip
How do I make Pierogi?
- Prepare the fillings and let cool as needed.
- Mix the dough by combining flour and salt together on a clean work surface such as the kitchen countertop or a large pastry board. Make a well in the center of the flour.
- Add eggs and sour cream to the center of the well. With a fork, start stirring the egg mixture, gradually adding in flour from the sides of the well and adding water as you go, until the dough is soft and pliable.
- Flour the countertop, then roll out the dough to 1/16th-inch thickness.
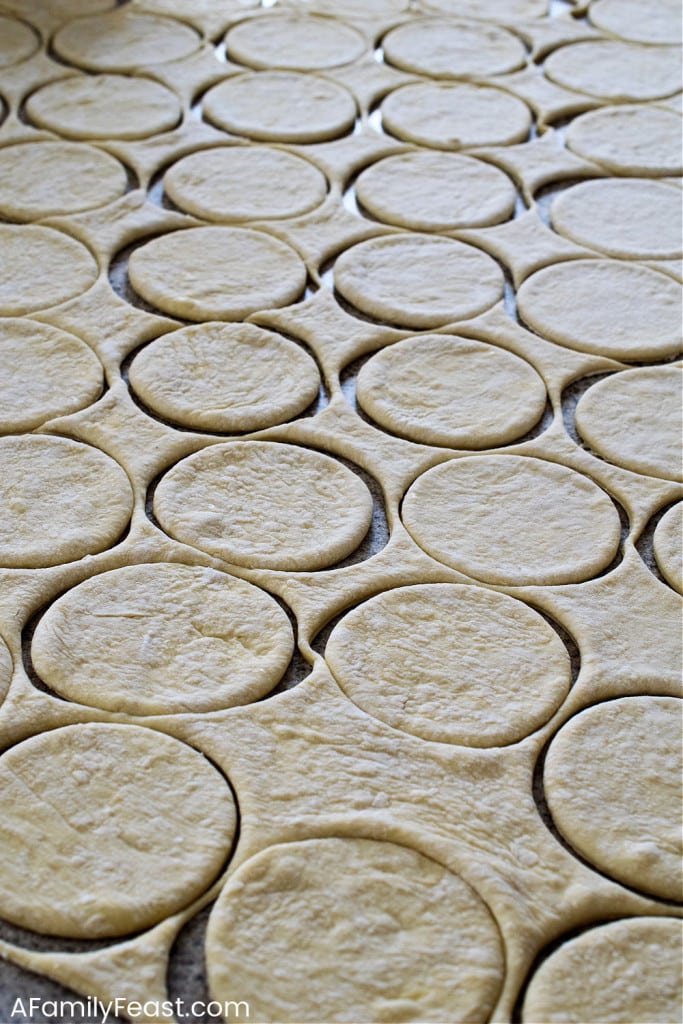
- Cut circles into the dough, dipping the cutter into flour (if needed) to prevent sticking.
- Divide the filling among the dumpling circles. (This will work out to be about 3/4 to 1 ounce per dumpling) – you can use a small scoop or two teaspoons to portion the filling out.
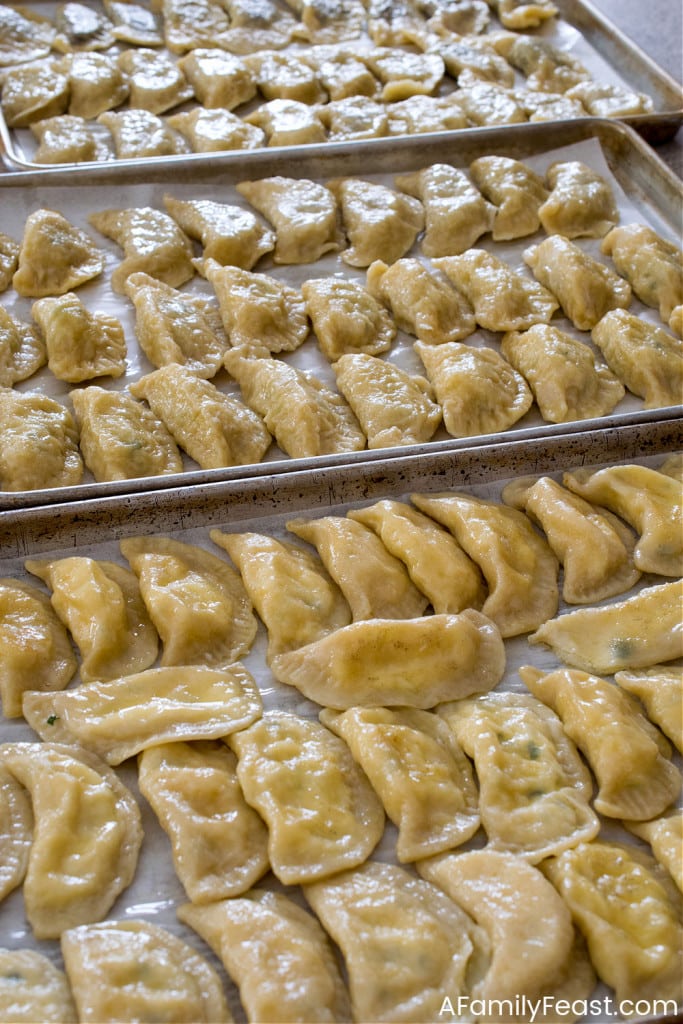
- Close the dumplings – one by one – by brushing half of the circle with water, then folding the dumpling in half and pinching the edges to close. (See process photos in the recipe card below.) Make sure that no filling is poking out – you’ll want a good seal for boiling. You can also use a fork to crimp the edges if you’d like.
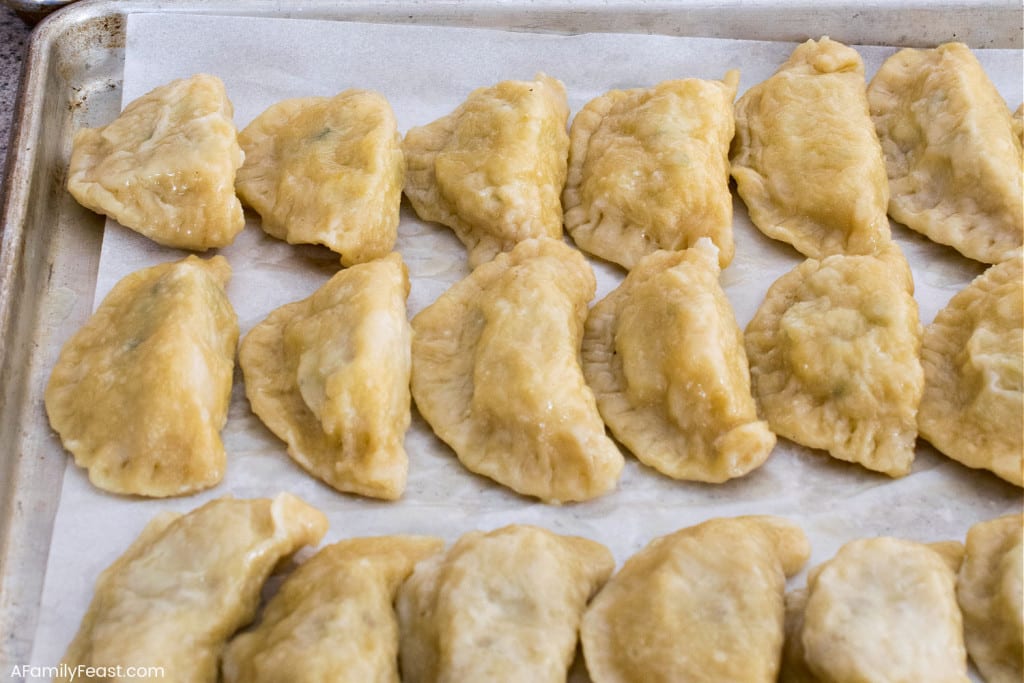
- Place the dumplings on a parchment-lined sheet tray as you repeat this last step for the remaining filling and dough. Brush off any excess flour from the filled pierogi. You may also cover dumplings on the sheet tray with a towel to prevent them from drying out.
- Bring a large pot of water to a boil. At the same time, melt some butter in a large skillet keeping warm over low heat.
- Boil the pierogi (in batches) until they float, then remove them from the water – with a slotted spoon or spider strainer – directly into the skillet with the melted butter. Repeat with the remaining pierogi.
- Serve pierogi with the melted butter, or fry (in batches) until golden brown and crispy, with fried onions and sour cream on the side.
- To Freeze Some of the Pierogi – You can freeze them uncooked, right after filling. Or, after boiling and coating with butter, place the pierogi on a parchment-lined sheet tray a freeze until firm. Once frozen, you can place them into a freezer bag for storage up to six months.
A Few Notes About the Dough
- The dough recipe below makes enough for 100 pierogi – and enough for all of the different filling recipes we included.
- Feel free to cut the recipe back if you want to make fewer.
- The dough is best freshly mixed on the day when you plan to assemble the pierogi. It should be rolled at room temperature – do not chill before rolling.
- If the dough is not easily rolling out, give it a chance to rest so the gluten can relax.
Frequently Asked Questions
- How do I freeze my pierogi? You can freeze them filled and uncooked. Or, after boiling and coating with butter, place the pierogi on a parchment-lined sheet tray and freeze until firm. Once frozen, you can place the dumplings into a zipper-seal freezer bag for easy access. Store in the freezer for up to six months.
- How do I thaw my pierogi? We allow the dumplings to thaw in the refrigerator, then reheat in a skillet with melted butter to brown and crisp up.
- My pierogi dough is too tough to roll out. What can I do? Sometimes, allowing the dough to rest for a while will help. The gluten will have to relax as it rests, making it easier to handle. Just be sure to keep it covered so the dough doesn’t dry out, and keep it room temperature.
- Can I use a food processor or stand mixer to make the dough? Yes – we’ve had several readers write to tell us that they used a food processor or a stand mixer with dough hook to mix up the dough. Just be sure to avoid over-processing – that will develop the gluten in the flour, making the dough tough.
- Can I use gluten-free flour? We haven’t tried making gluten-free pierogi ourselves, but one of our readers in the comments below suggested following a gluten-free pasta recipe with sticky rice flour added to achieve the proper elasticity of the dough. She also suggested that you shouldn’t roll out the dough as thin as we did in our recipe.
- How do I make fruit pierogi? Scroll below to the comment section. Some of our readers shared their blueberry, strawberry, and plum pierogi recipes in the comments.
This post originally appeared on A Family Feast in May 2015. The delicious recipe remains the same but we’ve updated the post with additional information and helpful hints.
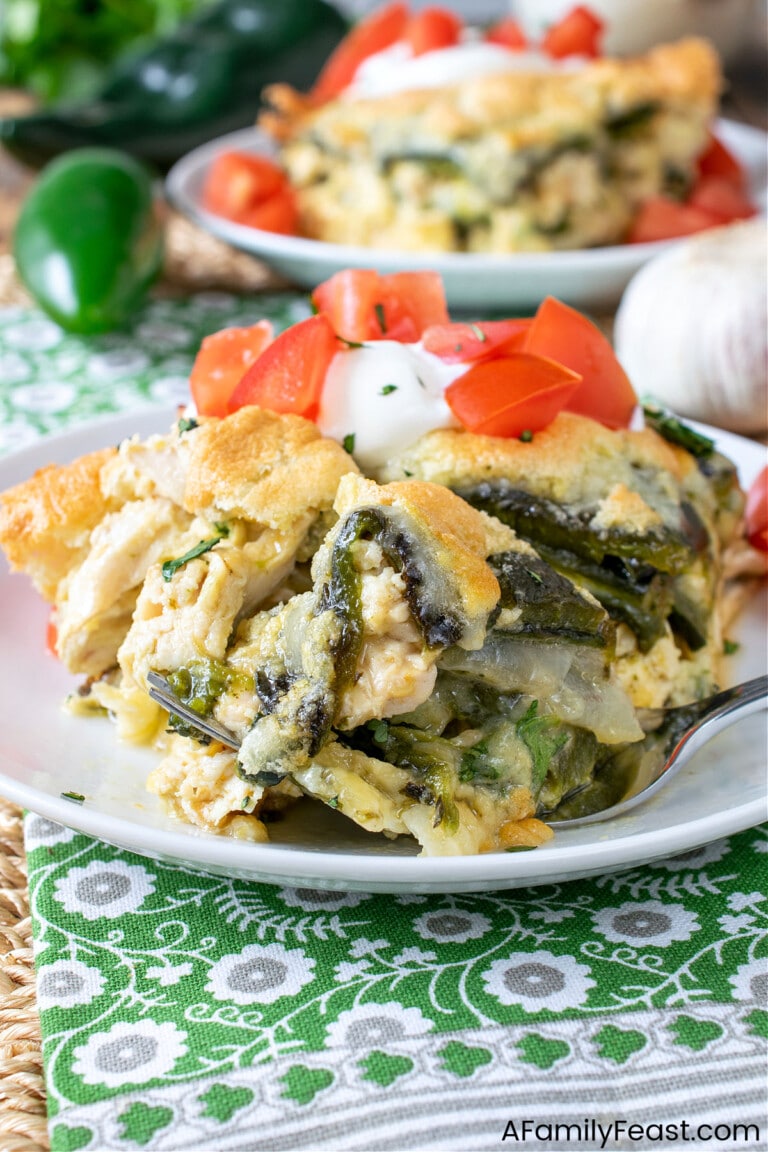
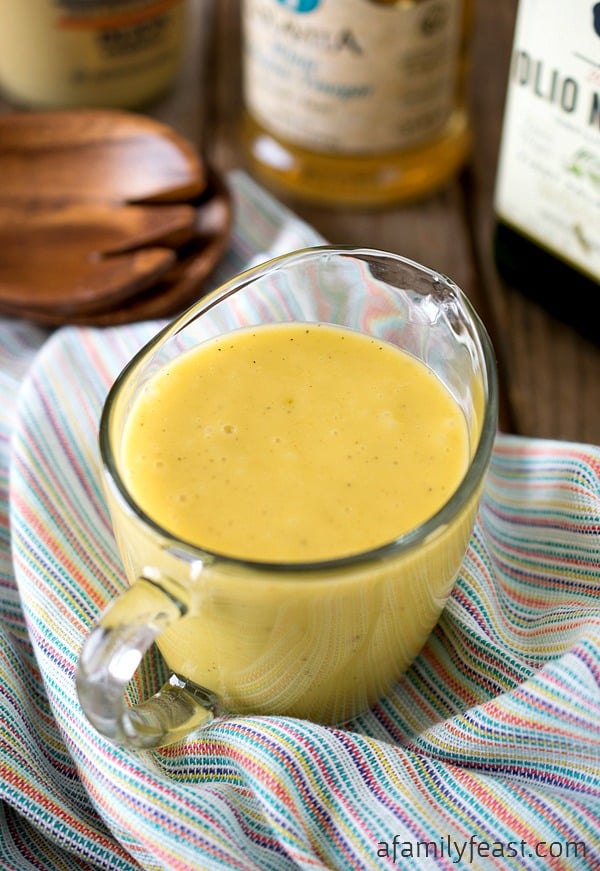
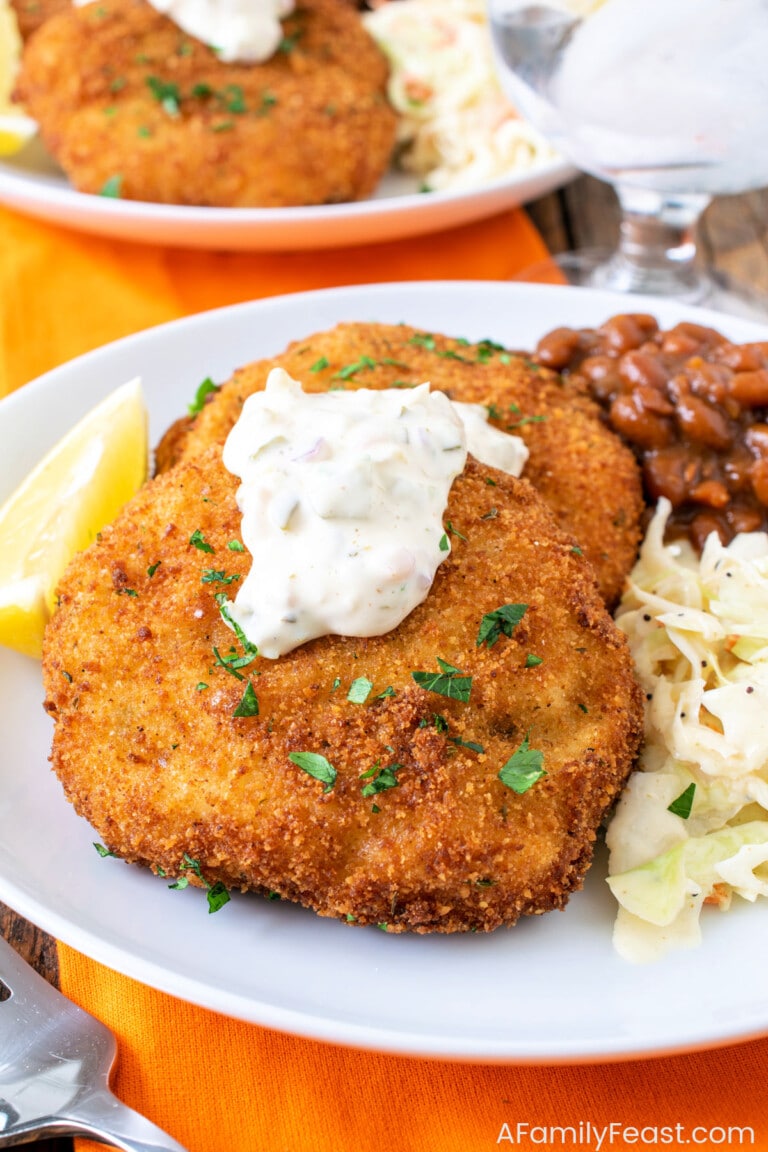
You may like these other Polish recipes:


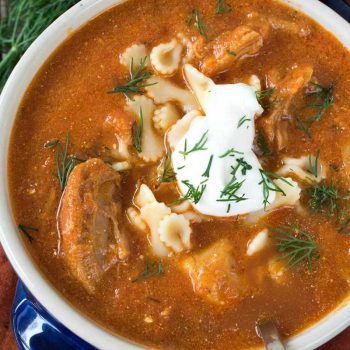
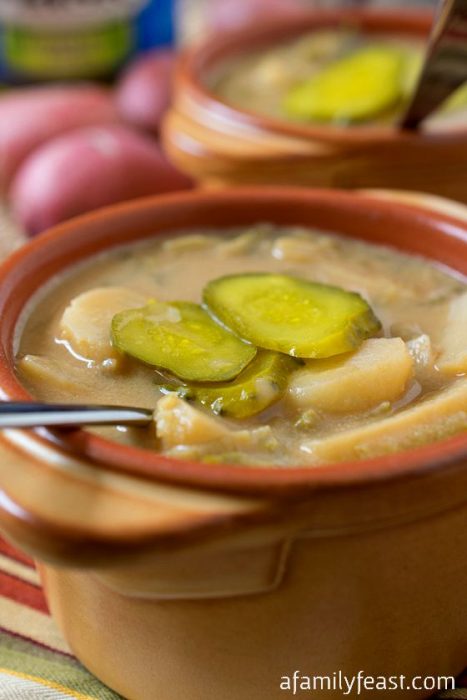
More Delicious Polish Recipes!
Pierogi

This delicious Pierogi recipe has been passed down through generations. Includes four different filling options!
- Prep Time: 1 hour
- Cook Time: 1 hour (includes time to prep the fillings)
- Total Time: 2 hours
- Yield: 4 per serving 1x
- Category: entree
- Method: boiled, fried
- Cuisine: Polish
Ingredients
For the Dough – Makes 100 Pierogi
- 7 1/2 cups all-purpose flour, plus more for rolling and dusting
- 1 1/2 teaspoons kosher salt
- 2 whole eggs
- 1/3 cup sour cream
- 2 1/2 to 3 cups room temperature water
For the Potato Filling – Makes 22
- 1 pound russet potatoes, peeled and diced into 2 inch pieces
- 2 tablespoons unsalted butter
- 1/2 cup onions diced
- 1/2 teaspoon kosher salt
- Few grinds black pepper
- 1 tablespoon chopped fresh parsley
- 1/2 cup sharp cheddar cheese
For the Sauerkraut Filling – Makes 26
- 2 tablespoons unsalted butter
- 1 cup button mushrooms diced fine
- 1/2 cup onion diced fine
- 1 14.5–ounce can sauerkraut, well drained and squeezed of liquid
- 1/2 teaspoon kosher salt
- 1/4 teaspoon freshly ground black pepper
For the Cheese Filling – Makes 40
- 2 tablespoons unsalted butter
- 1/2 cup onion diced
- 1 pound farmer’s cheese crumbled (this is a cheese similar in texture to feta but without the briny taste)
- 1 whole egg beaten
- Salt & pepper to taste
- 1 tablespoon fresh parsley chopped
For the Prune Filling – Makes 16
- 1 cup dry pitted prunes
- 1 tablespoon granulated sugar
- 1 teaspoon fresh lemon juice
- 2 tablespoons plain breadcrumbs
- 1 tablespoon unsalted butter
Additional ingredients
- 2 tablespoon of melted butter for every 25 pierogi (to coat them so they don’t stick)
- Onions – approximately 1/2 pound thinly sliced onions for each 25 pierogi
- 2 tablespoons butter for every 1/2 pound of onions
- Sour cream, as needed to serve with the savory pierogi
Instructions
To Make the Dough
- On a clean work surface, place all of the 7½ cups of flour into a pile. Stir in salt then make a valley in the center of the flour. Crack both eggs into center along with sour cream. With a fork, start stirring the eggs and sour cream into the flour pulling the edges toward the center. Then gradually add the water a little at a time as you continue to stir with a fork. You may not use all of the water so after 2 cups check texture and slowly incorporate another half cup of water. (Our dough was a perfect consistency at 2½ cups and we did not use the remaining ½ cup.) The texture should be soft and sticky to the touch.
- (A scraper like this is helpful for this next step so you can scrape and mold the dough as it is floured and rolled.) Sprinkle flour over the top of the dough ball and surrounding counter and with the scraper (or a flat spatula if you don’t have one), scrape dough from counter over onto floured surface and continue this process adding flour as needed until you have a soft, pliable easy-to-handle dough that does not stick to the rolling pin.
- Using a rolling pin, roll the dough mass out to 1/16th inch thin. If you roll it out any thicker, your yield will be less than 100.
- As you roll, keep flouring the counter under the dough so when it is completely rolled out, none of the dough mass sticks to your counter.
- Using a 3 inch round cookie or biscuit cutter, dip the cutter in flour if needed then cut out the circles as close to each other as possible. After filling this batch, gather up the scraps and roll back out and cut more circles. Finally roll up the last of the scraps and cut one last time. The dough is soft enough to get rolled out three times but no more. Also try to keep the dough covered with a slightly damp cloth to keep the dough from drying out.
- The final count should be approximately 100 circles. See last step for filling, boiling and frying.
To Make the Potato Filling
- Boil potatoes in salted water for 5-10 minutes until tender, then drain and place back into the pan. Heat over medium just long enough to evaporate any liquid left in the pan and to dry out the potatoes. Remove to a bowl and set aside.
- In the same pan, melt butter over medium heat and add onion, salt and pepper and cook 3-5 minutes until tender. Remove from heat and add parsley and potatoes and using a potato masher, mash mixture to somewhat fine. Stir in cheddar cheese and set mixture aside. If not filling right away, refrigerate until needed.
To Make Sauerkraut Filling
- In a medium sauté pan, melt butter over medium heat and add mushroom and onion and cook for 3-5 minutes until tender. Add drained sauerkraut, salt and pepper. Stir and remove from heat. If not filling right away, refrigerate until needed.
To Make the Cheese Filling
- In a medium sauté pan over medium heat, melt butter and add onions. Cook 3-5 minutes and remove from heat. Stir in Farmer’s cheese and mix to combine. Stir in egg, parsley, salt and pepper and stir again. If not filling right away, refrigerate until needed.
To Make the Prune filling
- Note: This is more of a dessert filling and can be served a few different ways. But the traditional way is, once cooked, serve with buttered and toasted plain bread crumbs.
- In a small sauce pan place dried prunes and water just to cover tops. Add sugar and lemon and bring to a boil. Lower to a simmer and cook two minutes. Remove from heat and let the prunes sit in the hot water for ten minutes. Drain liquid and discard. Place cooked prunes in a blender or small food processor (like this one) and puree until smooth. If not filling right away, refrigerate until needed. Brown the ¼ cup of bread crumbs in the one tablespoon of butter over medium heat until slightly browned, about 4-5 minutes. Set aside for serving.
To Fill, Prepare and Cook the Pierogi
- Each pierogi gets filled and cooked the same. As noted above, the prune pierogi are served with toasted bread crumbs as a dessert and the other three fillings served with grilled onions and sour cream as an entrée or side dish.
- To fill each pierogi, follow the recipe for the filling and divide the filling between that number of circles.

- Place the filling (between ¾ and 1 ounce depending on the filling type) in the center spreading it out into the shape of an oval. Have a small cup of water close by and with a pastry brush, lightly wet the outside of the circle half way around. Then lift the dough circle in your hand and pull the edge of the dry side to the edge of the wet side together in the center and pinch tight. Then work from the center out and pinch the rest closed, poking any filling back in as you go. Set the finished pierogi on a parchment-lined sheet pan.
- Place a medium to large pot of water on to boil as you finish the remaining pierogi. Have a large sauté pan on a burner with the melted butter on medium low.
- Once you have made as many as you plan on making, place about ten at a time into the boiling water (checking to make sure that they haven’t stuck to the bottom of the pot) and boil until they float (about 2-3 minutes). Then cook for an additional minute and remove with a strainer. Immediately add to pan with melted butter. All you are doing with this step is coating them in butter so they don’t stick to each other. Toss in the pan of butter for about 30 seconds and remove to a platter. Repeat for all of the pierogi you intend to cook.
- In a large skillet over medium high heat, melt butter and add onions and cook for about 4-5 minutes until slightly browned. Remove to a bowl and set aside.
- Using the same pan over medium heat, melt butter and add cooked pierogi. Cook flipping occasionally until browned on both sides, about 5-8 minutes.
- Serve savory pierogi with sour cream and sautéed onions. Serve prune pierogi with buttered, toasted bread crumbs.
Notes
A Few Notes:
- We find it easiest to make the fillings ahead of time – even the day before you start to make the dough for the dumplings.
- The dough makes approximately 100 three-inch pierogi, if dough is rolled to 1/16th inch thick. Each filling recipe listed below yields potato = 22, cheese = 40, kraut = 26 and prune = 16.
- The dough for this recipe does not need to be made ahead and in fact should be made, rolled and filled right away as it will dry out if made too far ahead. The dough is soft and very easy to work with as soon as it’s mixed. Additionally these can be made ahead and frozen prior to boiling and frying. To do this, freeze flat on parchment lined sheet pans and once frozen, place in zipper sealed gallon bags and place back in the freezer. When ready to use, follow process above to boil and fry.


I was going to try to make three of the fillings today and the pierogis tomorrow, but the cheese I bought labeled “farmers cheese” is a yellow cheese similar to brick. Is there another name for the crumbly cheese you use for the third filling?
Hi Lynn – Hmmm…that definitely doesn’t sound like farmers cheese. It is resembles a dry, white cottage cheese and it is fairly crumbly once you get it out of the package. If you can’t find it, you could look for queso fresco which is similar. Or – in a pinch, my grandmother used to buy cottage cheese and squeeze the excess liquid out before mixing with the other filing ingredients. (Cottage cheese will be softer however so it’s not ideal to use.) I hope that helps! And, we hope you enjoy the recipe!
My mother (Polish) made the dough with just flour, salt and water. No eggs or sour cream. The pierogi dough came out tender. Left over dough she turned into noodles.
Great idea Joan!
I am so happy to have found your wonderful website! I was longing for the savory farmer’s cheese filled pierogi’s like the ones my grandmother (from Lviv) used to make us for many years. We have a family get-together the following weekend and I was going to surprise my mom (who is 100% Ukrainian) with the cheese filled pierogis but now I think I will make all of your recipes for an uber-surprise! I will let you know how they turn out 🙂
We’re so glad you found us too Deborah! I hope the pierogi recipe is a hit with your family!
HI Martha,
Thank you for posting your recipes! Have you tried the pierogis filled with sauerkraut and pork? My grandmother and mom made them every time along with the potato and cheese, and also plums. Since my mom past 5 years ago, I haven’t made them, but my sister and I discussed making them for Easter. It’s definitely a family event that we enjoy! Happy New Year
You’re very welcome Sherry! Pierogi filled with sauerkraut and pork sounds delicious – I will have to try that when we make our own batch for Easter! I hope you and your sister will make them this year! 🙂
off to make one of my all time favorite Polish foods. I found the best at the Jolly Inn restaurant in Chicago. I am thankful that you are generous and sharing to give us your family recipe. wishing you and your readers a Froliche Weinachten und gutest Neues Yahr !!
Thank you so much Josef – Merry Christmas to you too! If I make it back to Chicago soon – I will definitely try to visit the Jolly Inn! I know there is a large Polish population in the city so I’m sure the food is top-notch! 🙂
My Babci used to make bing cherry filled pierogi as well as the ones you’ve mentioned here. When I make these I always think of being a little girl in her kitchen, watching and learning this fabulous family tradition. Thank you for sharing this ….. God Bless and Happy Holidays.
Such nice memories Lori! (They sound very similar to my own!) Bing Cherry pierogi sounds delicious! Happy holidays to you and yours.
I could eat pierogies until I burst! My mom was 100% Polish on both sides but she was a career woman and never made these —I finally learned myself. Yes, they are a tad labor intensive but so worth the end result. By the way, I find it ironic that you had an aunt named Bertha (my Mom’s name) and my name is Doris. Love your website!! So many good things on here—you should be on Food Network with your own show!!!
Thank you so much Doris! It is definitely a coincidence – Bertha and Doris. 🙂 (My mom’s name was Helen – wouldn’t that be even more of coincidence if you had an aunt named Helen!) Thank you for writing to us today!
I love this post. I wish my deceased husband were alive to enjoy this with us. I am going to double batch(2 separate) this for Christmas for our feast, so that grandkids can tase. Thank you for all time from my family.
Thank you Martha! I’m sure he will be smiling down on your entire family while you enjoy the meal. 🙂
We now live in NM, moved from Chicago. We have friends and family that made polish food. Favorite is fresh polish sausage!!! Our friends made a dish we liked but don’t know what the name is? They used a meat like you would use for chicken fried steak. Pounded down to about 1/4 inch and the size of your palm or larger put in a slice of dill pickle, rolled held together with a toothpick then I think pan fried?? I’m lost from here! Served with peeled boiled potatoes cut up and pierogi’s. Anyone know what the meat dish is and how it’s properly prepared? Please Help!! Haven’t had them for 16 Yrs….
Hi Gary – I’m pretty sure that dish is called Zrazy (or if you Google “Polish Beef Rolls” you will find it that way too). We don’t have a recipe for it from my family – but I’ve wanted to try making it myself too! 🙂 Hope that helps!
Hello Martha, this recipe post brought back wonderful memories from when I was a child. My Mom and Grandmother would fill the Pierogis and then they would have me hold my arm out and they would lay several Pierogi on my arm so I could carry them to the dining room table. The table was covered in a doubled over white sheet. I would pick up the top layer of the sheet and and gently place the Pierogis down and then recover them with the sheet. This kept them from drying out. I loved watching my Grandmother using one finger to coax the filling into the dough and other fingers to pinch the dough since the filling would prevent the dough from sticking. Thanks so mush for the additional recipes also.
What a wonderful memory Cindy! Thank you for sharing!