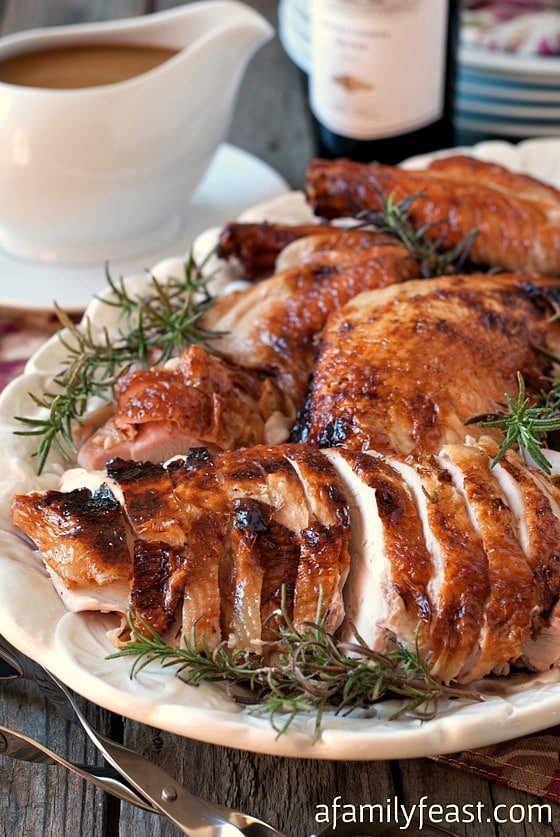
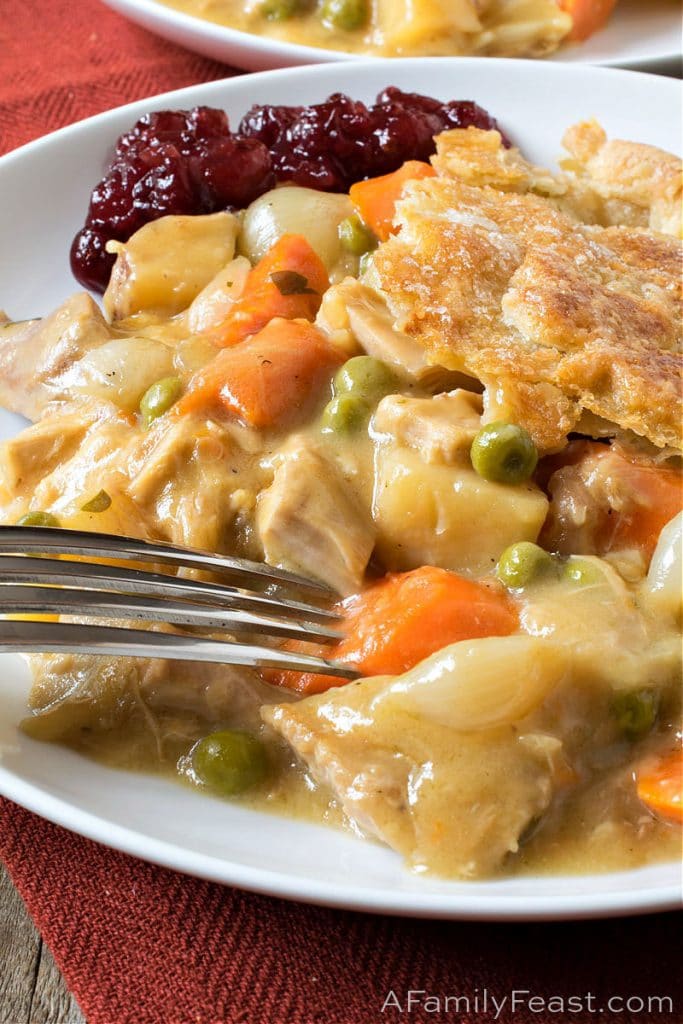
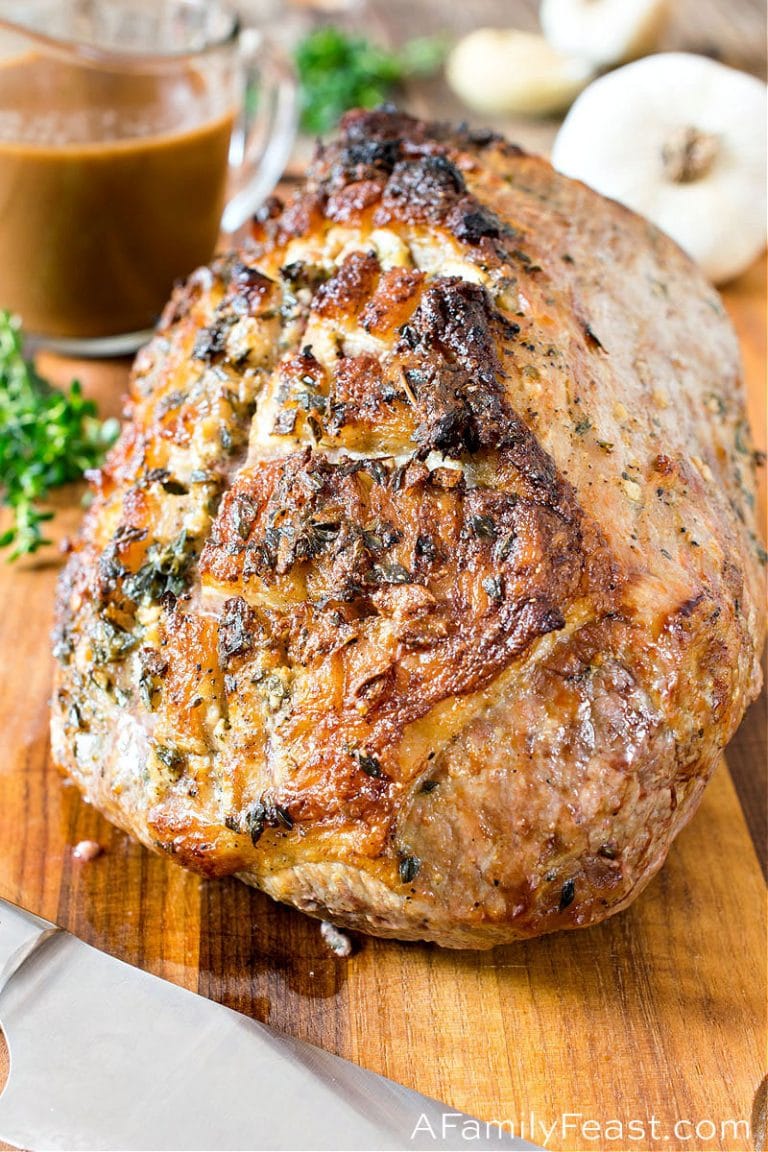
How to make Perfect Roast Turkey! Includes a great brine recipe plus a method of roasting that prevents your turkey from drying out in the oven.
PIN THIS RECIPE NOW!
With Thanksgiving just a few weeks away, we’ve been asked quite a few times recently to share our recipe for making Perfect Roast Turkey!
We are firm believers that the very best way to ensure that your turkey is juicy and flavorful is by brining your turkey the day before roasting it. The salt in the brine initially pulls the liquids out of the turkey, but the process also pushes liquids back into the turkey along with other flavorings that have been added to the brine.
Our method of roasting is also a little bit unconventional in that we remove the back bone from the turkey before roasting! The turkey is laid flat over a V-shaped roasting rack![]() – and this allows the turkey to roast more evenly in the oven, preventing the breast meat of the turkey from becoming overcooked while the legs and thighs take longer to cook. (I should also point out that roasting your turkey stuffed is NEVER recommended! By the time the stuffing inside the turkey is cooked, the meat of the turkey will be very overcooked!)
– and this allows the turkey to roast more evenly in the oven, preventing the breast meat of the turkey from becoming overcooked while the legs and thighs take longer to cook. (I should also point out that roasting your turkey stuffed is NEVER recommended! By the time the stuffing inside the turkey is cooked, the meat of the turkey will be very overcooked!)
PIN THIS RECIPE NOW!
The method we describe below also works if you want (or need to) prepare the turkey in advance of your family gathering. (You will warm the turkey again just before serving.) This is especially helpful for large family gatherings (like ours) where you might need to roast more than one turkey, or if you need the oven space for baking your Thanksgiving side dishes!
PIN THIS RECIPE NOW!
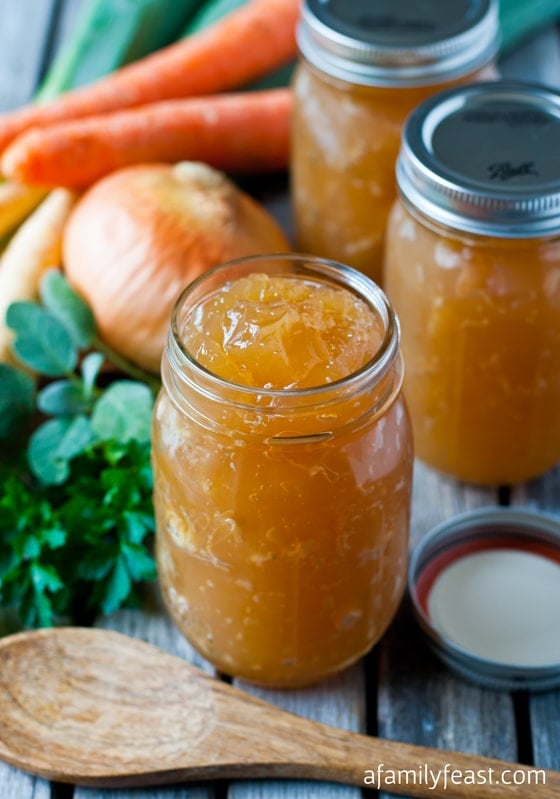
Also – tomorrow we’ll be sharing our Perfect Turkey Gravy recipe. As you are making this Perfect Roast Turkey, we will call out some steps in the recipe below where you’ll want to save parts of the turkey, or the juices from the cooked turkey for your gravy.
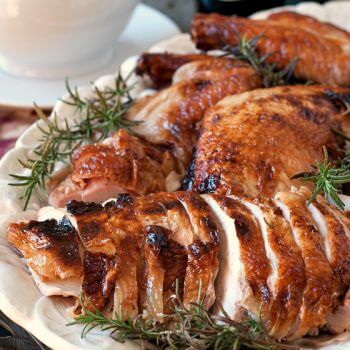
PrintPerfect Roast Turkey
Helpful hint: If your turkey is very large and too big to fit into a pot to brine, line a cooler with a trash bag and use that to hold the turkey. (You’ll need a cold place to store the cooler – like a cold garage – while the turkey brines).
- Prep Time: 14 hours 30 mins
- Cook Time: 2 hours 30 mins
- Total Time: 17 hours
- Yield: 10–12 servings 1x
Ingredients
- 1 turkey, 12-14 pounds
Brine Ingredients
- 1 cup kosher salt
- 1 cup packed brown sugar
- 1 tablespoon black peppercorns
- 1 teaspoon whole allspice berries
- 1 teaspoon juniper berries
- 1 large or two small fresh rosemary sprigs
- 6 whole large fresh sage leaves
- 2 good sized sprigs fresh thyme
- 2 whole bay leaves
- 3 whole medium garlic cloves, crushed
- Peel of one large naval orange
- 1 large apple chopped or crushed fine, core and all
- 2 quarts vegetable stock
- 1 gallon of ice water, or more as needed to cover turkey during the brining process
Roasting Ingredients
- 2 stalks of celery with leaves roughly cut
- 2 large carrots cleaned but not peeled with tops trimmed off, roughly cut
- 1 medium onion, peeled and roughly cut
- 2 quarts chicken stock
- 1 bunch parsley with stems
- 3 tablespoons butter, melted
- 1 tablespoon kosher salt
Instructions
To Brine the Turkey
- The night before your dinner, place all brine ingredients listed EXCEPT the ice water into a medium pot. Bring to a boil then simmer on low for two minutes. Cool the brine to at least room temperature. (An easy method is to fill the kitchen sink half way with cold water and set the hot pot into the cold water being careful to not let the water spill over. Stir the pot and the cold water will become warm because the heat from the pot is transferred to the water. Drain the water and repeat a few times and within 10-15 minutes, the pot of brine will be room temperature and no longer hot.)
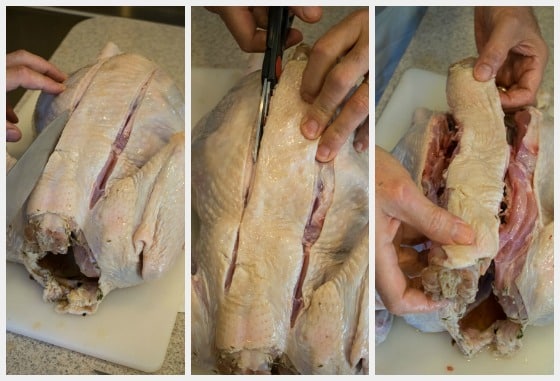
- While the brine is cooling remove the neck and gizzards from the turkey and rinse the turkey in cold water. Save the neck for our Perfect Turkey Gravy recipe (see that recipe here), and either discard the gizzards or save them for other recipes if desired. Place the rinsed turkey on a clean cutting board breast side down and with a sharp knife or kitchen shears, remove the back bone (save the back bone for your gravy as well).

- Removing the back bone will allow the turkey to cook evenly instead of the breast meat over-cooking while the legs and thighs take longer to be done. You can remove the back bone before or after brining – it doesn’t matter.
- In a large pot (big enough to hold your turkey submerged with brine) place the turkey, neck and back into the pot and cover with the brine and a gallon of ice water, making sure the turkey is completely submerged. Add more water if needed.
- Cover and refrigerate the pot with the brining turkey overnight.
- The following day, about three hours before you want the turkey to be finished, remove the turkey from the brine and discard the brine, saving the neck and back for your gravy (see our Perfect Turkey Gravy recipe here).
- Preheat oven to 500 degrees and place the oven rack on the lowest section of the oven.
- Rinse the turkey and pat dry.
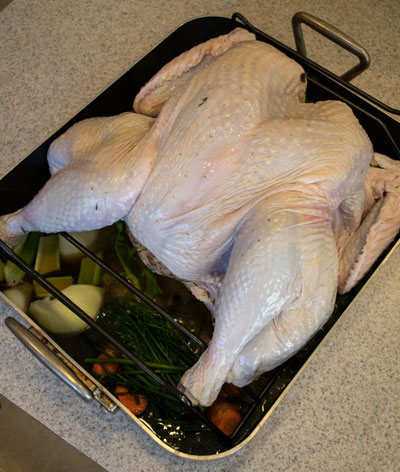
- In a large roasting pan place the celery, carrots, onion, chicken stock and parsley. Then place a V shaped rack with the point of the V facing up (which is the opposite of how you normally use it) over the vegetables and stock.
- Place the turkey over the rack so that it saddles the rack breast up. Bend the wing tips under the wings and tuck the leg ends down into the rack so the turkey doesn’t slide.
- Brush the turkey with the melted butter and then sprinkle the salt.
- Place in the pre-heated oven uncovered for 30 minutes to brown.
- Remove after 30 minutes and lower oven to 325 degrees. Place a probe thermometer
 into the thickest part of the breast and set the alarm for 160 degrees. (If you do not have a thermometer, a 12-14 pound turkey should take 2 to 2/12 hours to cook depending on your oven). Tent the turkey with foil and place back in the oven.
 - While the turkey is roasting, make a stock for your gravy (follow our recipe here), reserving one quart of that stock for later to heat the carved meat (see step 18 below).
- When the turkey reaches 160 degrees, remove from oven and transfer turkey to a serving platter saving the drippings and solids in a separate container for gravy. Because the backbone is gone, the turkey will be easy to pick up with long handled tongs.
- Allow the turkey to rest for at least 15 minutes. While the turkey rests, you can make your gravy (recipe here). Once the resting time has passed, cut and remove the leg portions and thigh portions to a platter. Remove wings to the platter. Carve each whole breast off and add to the platter. (Save and freeze that carcass to make a future turkey stock for another time – see our great Turkey Stock recipe here.)
- You can slice and serve now or hold for later while you prepare the rest of your dinner. To prepare turkey meat to hold for later, carve the meat from the legs and thighs and place in the empty roasting pan from earlier. Carve the breasts into thick slices and add those neatly to the roasting pan. Separate the wingette from the drummette and add those to the roasting pan.
- When ready to serve, heat the reserved quart of stock in a sauce pan and pour over the cooked sliced turkey in the roasting pan then transfer the hot cooked turkey to your serving platter along with the gravy made earlier.
- If the gravy is too thick, use a little stock from the sliced turkey pan to thin out.
Disclosure: This post contains affiliate links.
You may also like:


How do you reheat the turkey if you have to make it the day before Thanksgiving? I have a crowd of 40 coming for Thanksgiving this year, and I think I will have to make two turkeys the day before and one the day of. Thank you!
Hi Jennifer! We did exactly that the last few years! See step #18. You can reheat the turkey you cooked the day before by pouring heated stock over the turkey. The heat from the stock will warm the meat back up without cooking it further. Hope that helps! Please let us know if you have any other questions! Martha
Thank you so much, Martha!!
Great recipe.
Thanks Jerry!
So, how much would it cost for you to come make me thanksgiving dinner? I might have to find some things around the house to sell 🙂
Wow Martha this turkey looks PERFECT!!! I wish I had a piece of that skin right about now! 🙂
This truly is the make it or break it for Thanksgiving isn’t it? We too are briners and I can’t imagine doing it any other way now. This looks simply delicious!
I am hosting Thanksgiving this year, and I am definitely going to be doing the turkey your way – it looks perfect
Thanks Heather – Hope you enjoy it this way!
Your turkey looks amazing. We had the best v-rack and roasting pan but after about 8 years it had it. They don’t make that one anymore so sad. I love that you butterflied the turkey too. It cooks so much more even.
Thanks Christie! Yes – good roasting pans and racks are a must! Hope you are able to find a good one for this Thanksgiving!
I am drooling!!! Aw yes, turkey is certainly one of my favorites, however, I don’t allow myself to eat it much during the year because I want to enjoy every ounce of the 20 ounces I eat on Thanksgiving, LOL!
Thanks Gigi! 🙂
We always always always brine our turkey. Each year, we try a different brine recipe (some successful, some not so much). But I’ve never tried the roasting method you suggested! Definitely giving that a whirl!
We’ve always brined but just started this roasting method in the last few years – it really does make a difference – allowing the turkey to roast more evenly! Let us know what you think!
Your turkey does look perfect! I’m going to take some of your tips and incorporate them into my turkey this year!! Thanks! 🙂
Thanks Betsy – please let us know how it comes out for you!