This post may contain affiliate links. Please read our disclosure policy.
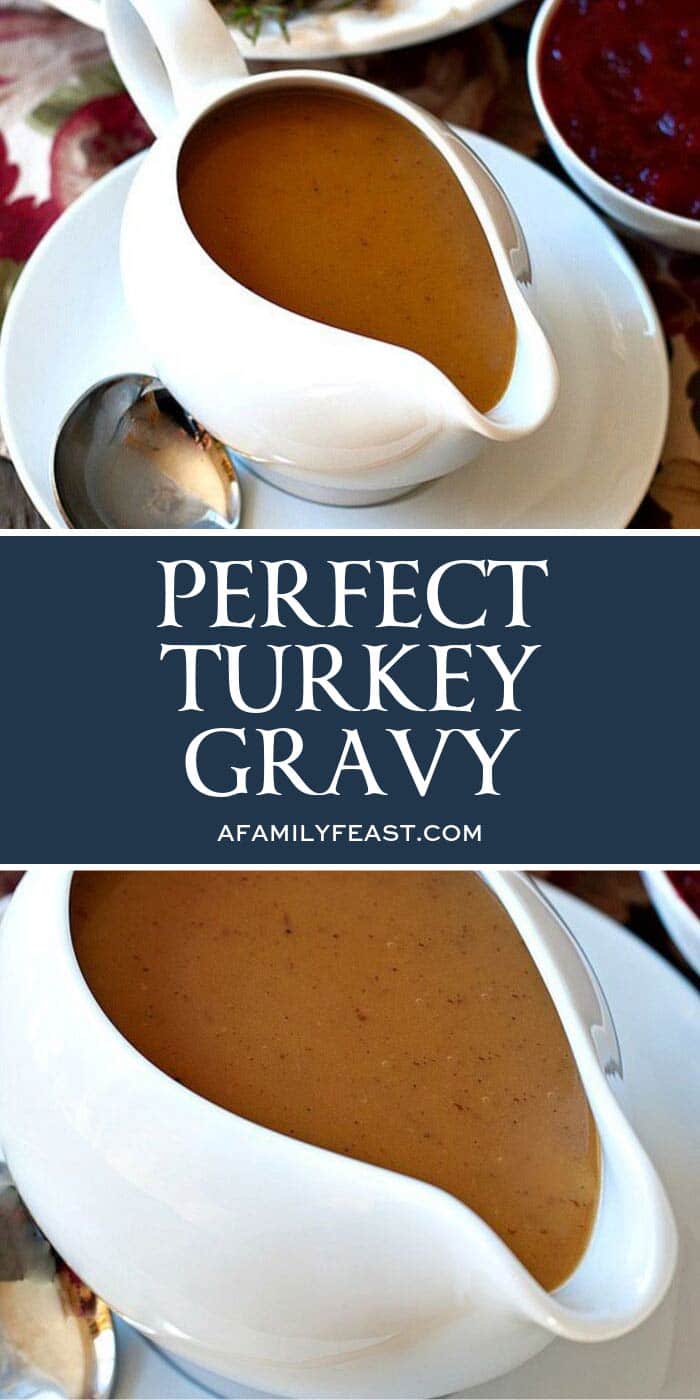
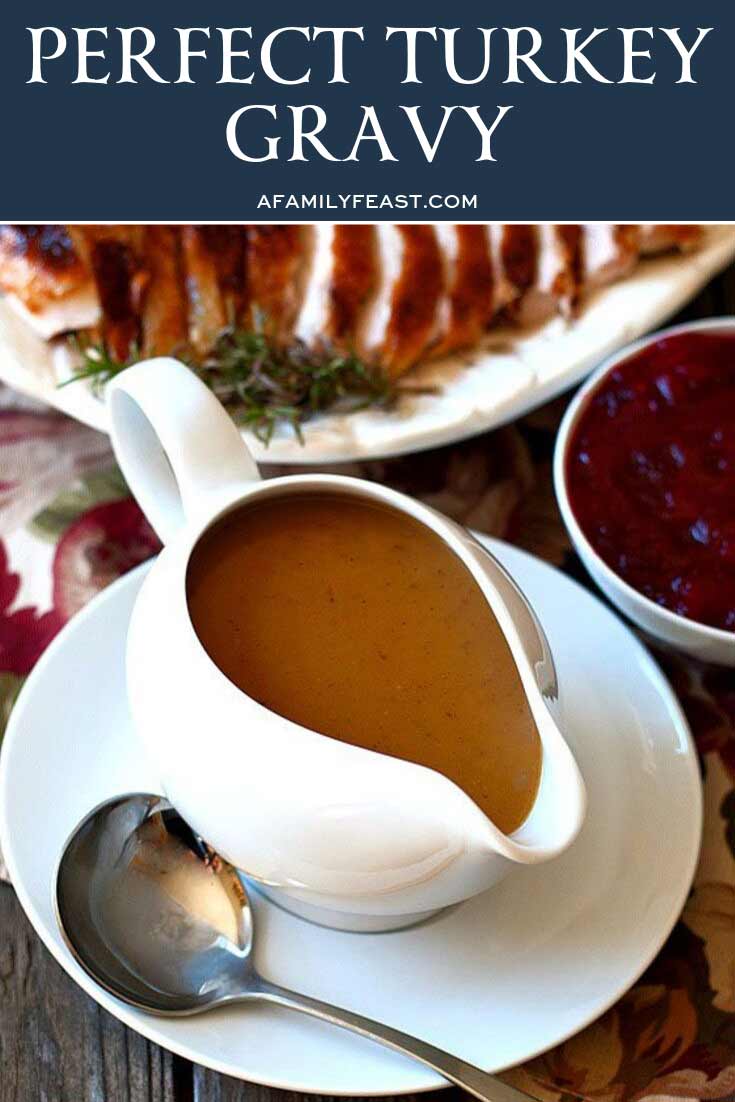
How to make Perfect Turkey Gravy! This gravy is so delicious, you’ll never want to make any other gravy recipe!
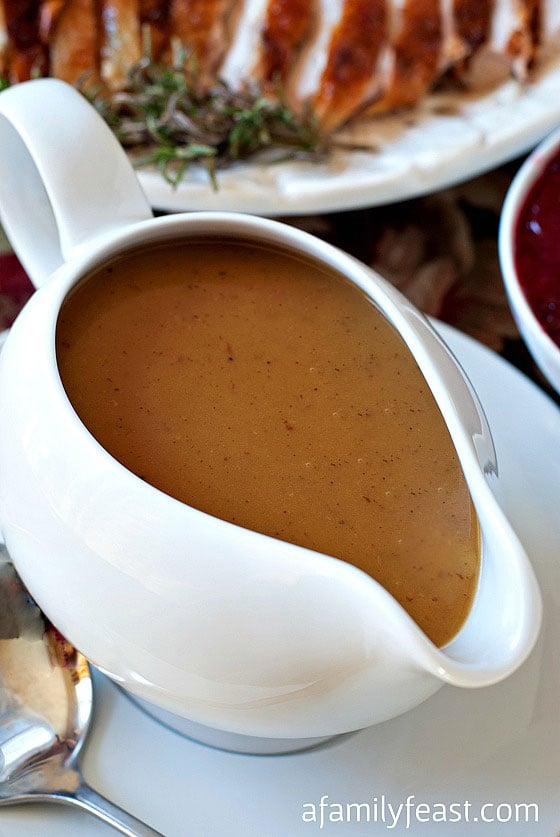
Growing up, my mom made the best, most Perfect Turkey Gravy in the world! At every family gathering – even when my mom wasn’t doing the hosting – she was still in charge of making the gravy because hers was so delicious!
So I like to joke with my husband Jack that I knew he was ‘the one’ when I discovered that his gravy was just as delicious as the perfect gravy my mother used to make!

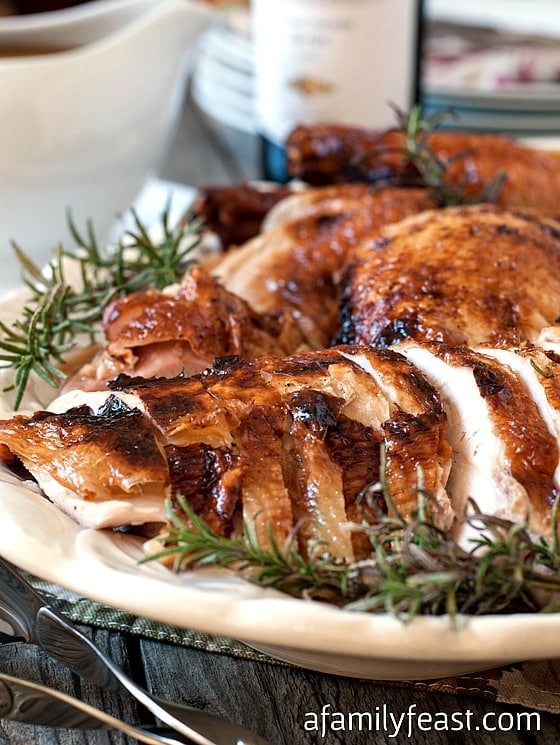
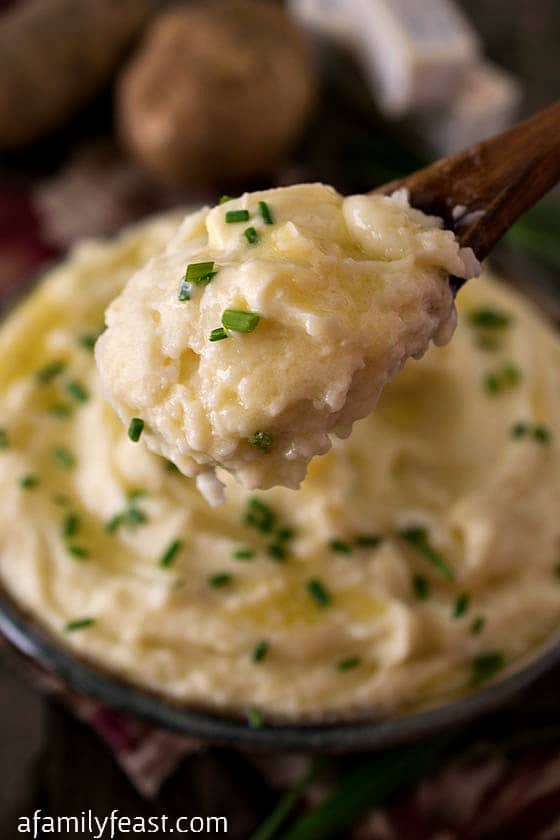
This perfect turkey gravy is super flavorful and it’s the absolute best complement to our Perfect Roast Turkey and our Perfect Mashed Potatoes. I guarantee – with this recipe, you’ll become the star gravy-maker at your family gatherings too!
There are full step-by-step instructions in the recipe card below.
We love seeing what you made! Tag us on Instagram at @afamilyfeast or hashtag #afamilyfeast so we can see your creations!
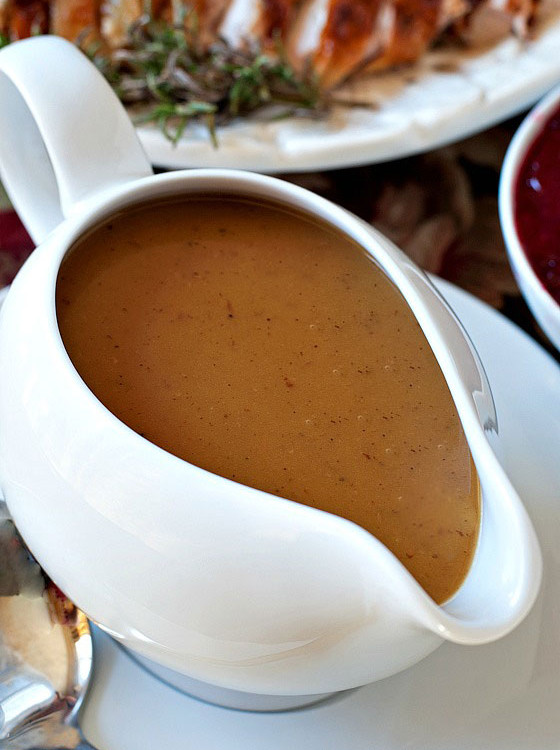
Perfect Turkey Gravy
Note: As written, we’ve assumed that you’ll be making our Perfect Roast Turkey recipe and this gravy will go along with it. You’ll see references to the turkey recipe in the steps below.
Ingredients
- Back and neck removed from your Perfect Roast Turkey
- 1 pound additional chicken or turkey parts (neck, wings, backs, etc.)
- 2 stalks celery with leaves, roughly cut
- 1 medium onion, peeled and roughly cut
- 2 medium carrots, cleaned but not peeled with tops trimmed off, roughly cut
- 1 bunch parsley with stems
- 5 black peppercorns
- 2 bay leaves
- 3 garlic cloves crushed
- 1 teaspoon kosher salt
- 3 quarts water
- 1 teaspoon browning and seasoning sauce, such as Kitchen Bouquet (found in the spice aisle at your supermarket or buy it here
- 1 stick butter
- 1/2 cup flour
Instructions
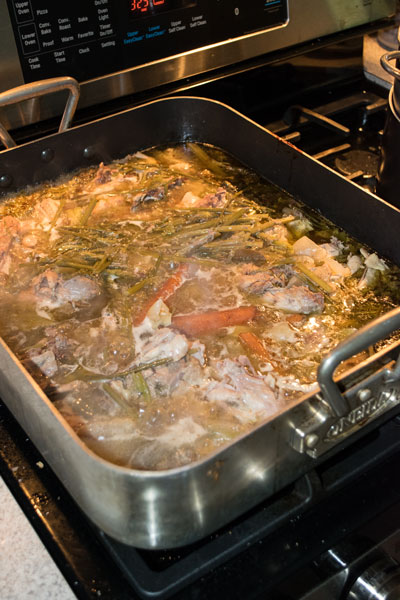
- While your turkey is roasting, in a medium to large stock pot, place the back, neck and chicken or turkey parts along with the celery, onion, carrots, parsley, peppercorns, bay leaves, garlic, salt and water and bring to a boil. Simmer with cover partially on letting steam escape. Simmer for the entire time the turkey is roasting, adding a little more water as needed.
- Once your turkey is done roasting and is resting, place the empty roasting pan over two burners on your stove and add the pot of cooked stock with all of the solids and the cooked vegetables and drippings saved from cooking the turkey. Cook and stir, loosening up any browned bits from the roasting pan.
- Place a colander over the stock pot you just emptied and with a spider, scoop out solids into colander. When the roasting pan is light enough to lift, pour all of the liquid into the colander and pot. Pull the colander out letting the liquid drain into the pot and try to squeeze out every last drop, crushing and pressing the cooked vegetables to give up their liquid. Then discard solids.
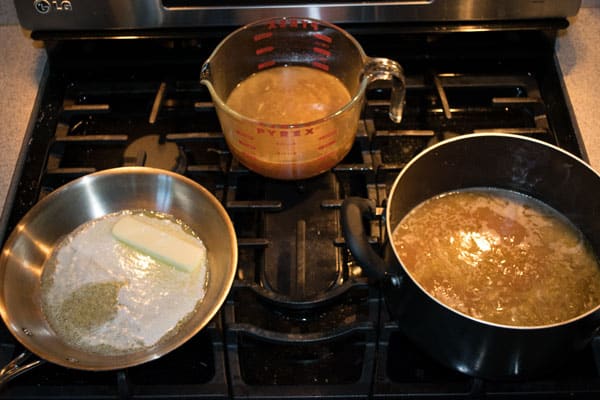
- Skim off the fat that floats to the top of the stock. What is left should be two quarts of turkey stock. Reserve one quart of stock for Step #18 in our Perfect Roast Turkey recipe and heat the other quart to a low boil in the same pot. Add the browning and seasoning sauce.
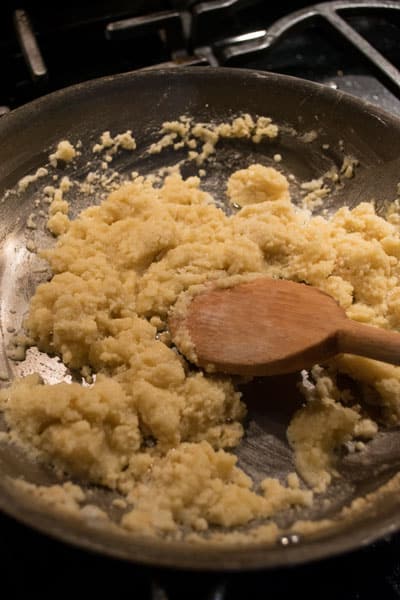
- While stock is getting hot, melt the stick of butter over medium heat in a medium pan and add flour. (If you like your gravy on the thicker side, add a few more tablespoons of flour to the butter) Stir with a wooden spoon and cook over medium low for about four minutes until the raw flour smell is gone. This is called a roux.
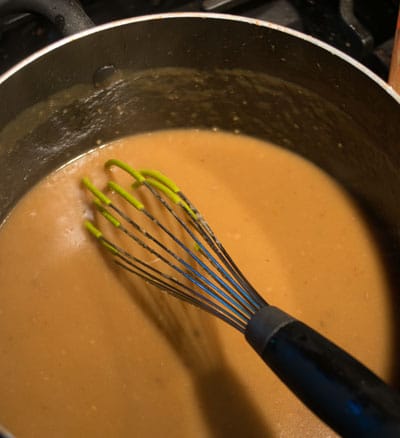
- Add all of this to the hot stock whipping briskly as you add. (Normally stock should be added to roux, not the other way around but as long as you whip while adding and they are both hot, it should not get lumpy. If it does, just strain before serving).
- Taste and adjust seasonings.
Last Step! Please leave a review and rating letting us know how you liked this recipe! This helps our business thrive & continue providing free recipes.
Disclosure: This post contains affiliate links.
You may also like:
How far in advance can I make the stock? I’m talking days.
Hi Suzzanne – Two to three days in the refrigerator should be fine. Or if you want to make it sooner, you can freeze it, then thaw when you are ready to use it. Hope that helps!
A great recipe!!! I save the cooked vegetables and using an immursion blender, use them to thicken the gravy. Since I use extra wings/legs, I can make the gravy 1 or 2 days before Thanksgiving: adding a little broth to roasting pan to scrape bits off bottom on Thanksgiving. I can always thicken with some of the saved fat (or butter) and flour on Thanksgiving. I’ve never had to add bouillon or seasoning sauce. My gravy always has a lot of flavor, but glad to know I can add Kitchen Bouquet if needed.
Thanks Sheila!
What if my turkey is 19 lbs? How do I need to adjust this recipe so that I cook it thoroughly, as in the past, I have failed?!
Hi Elizabeth – since you’ve had problems in the past, the best advice we can give is to buy and use a probe thermometer and take your turkey out once it reaches 160 degrees internal temperature. That is the most accurate way to tell when it’s done and it’s better than going by a time. I hope that helps!!
This looks very good and easy, but I prefer to save the receipe at this time. Why is this option no longer available on all your recipes?
Hi Sally – We’ve moved away from the ZipList program because so many of our readers were complaining that they couldn’t print our recipes in certain browsers. Also, ZipList has just announced that they are discontinuing their program in the coming months so we’ve started the transition to a different recipe format for our newest recipes. I’m sorry for the inconvenience.
when you call it perfect I trust you completely – it looks delicious, and I will certainly be trying your method on Thanksgiving
Thanks Heather!
I definitely think using the carrots,celery and onion, when roasting the turkey makes all the difference in the flavor of the gravy. I’ve been doing my turkey similarly the last few years and the gravy is much better. I’ve never brined a turkey but after reading your post, I might give it a try. Thanks for sharing, Martha.
We hope you’ll give brining a try Irma! Thanks for writing to us today!
Yep, growing up our gravy always came from a jar – and it still does, haha! But man I’m swooning over that roasting pan, I think I may have to try homemade gravy this year!
I hope you’ll give homemade a try Kelly! Jarred gravy just doesn’t compare!
Such a classic! Bring on Thanksgiving!! 🙂
I usually smoke the turkey so don’t save the drippings, This is useful info. I’ll have to try it.
Your smoked turkey sounds delicious Paula!
This does look perfect! And now you have me craving a big Thanksgiving feast at 6 in the morning 🙂
Just a few more weeks and you’ll enjoy that Thanksgiving feast Taylor! 🙂 Hang on…