This post may contain affiliate links. Please read our disclosure policy.
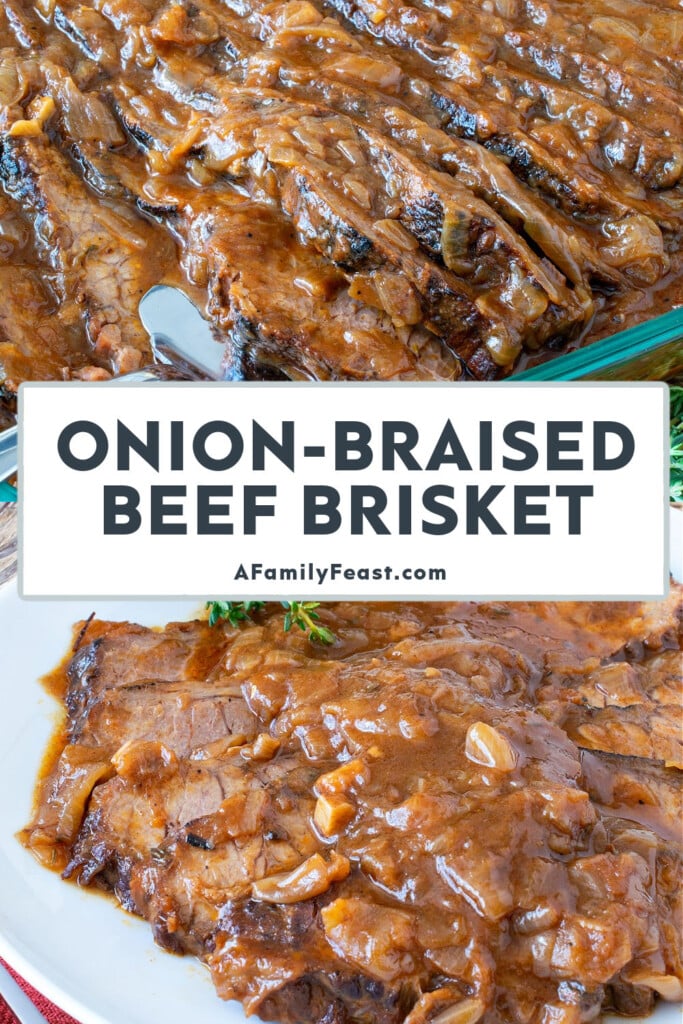
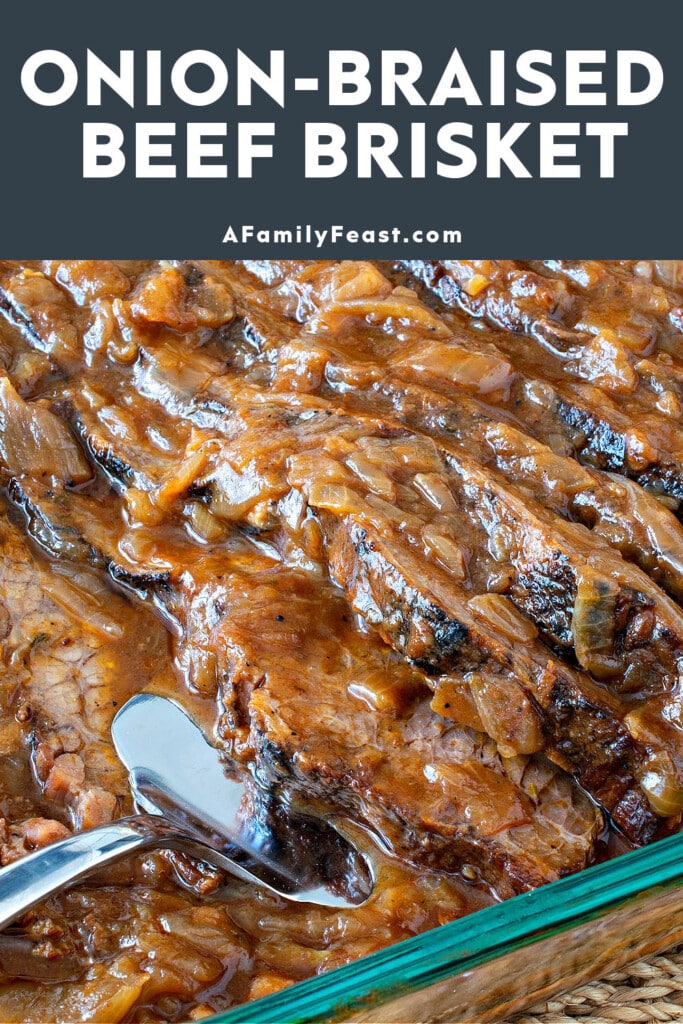
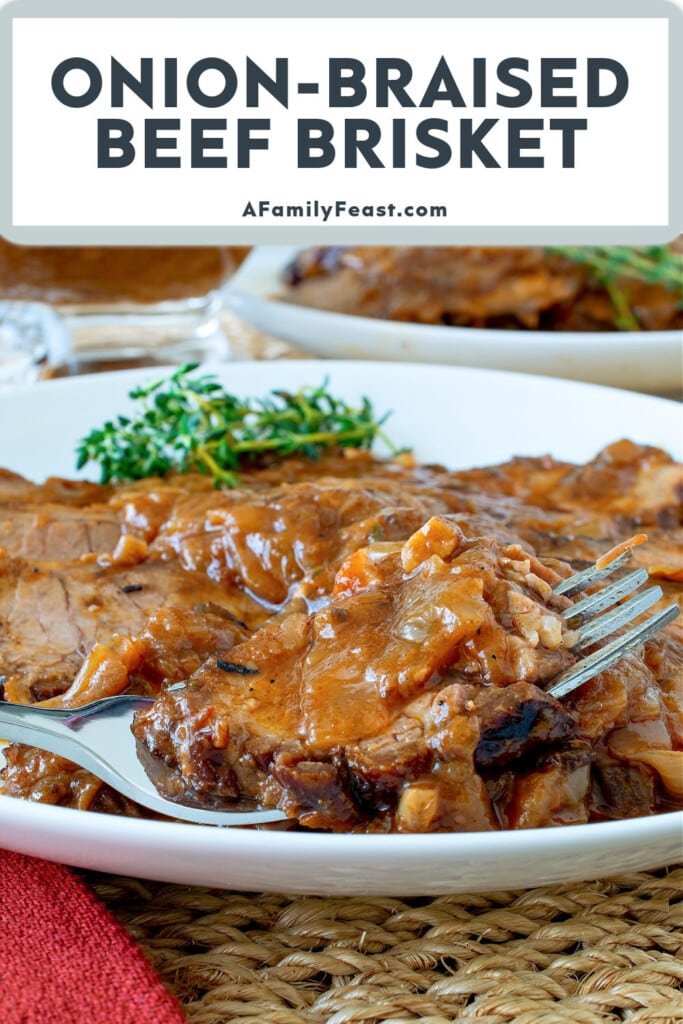
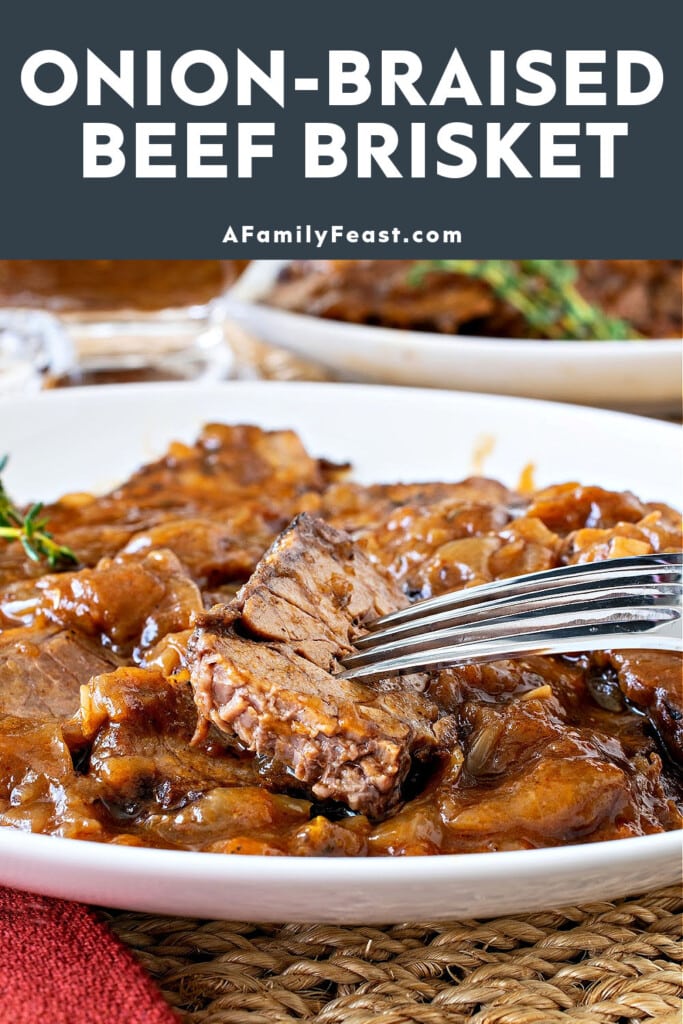
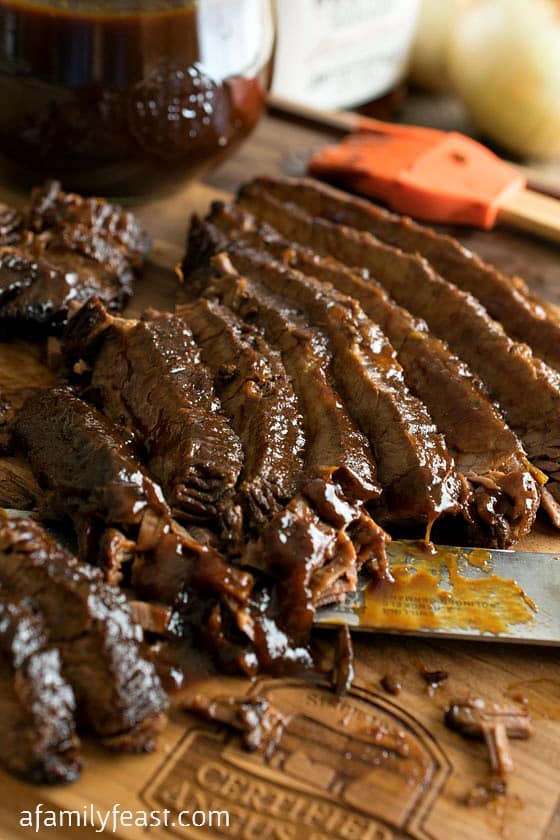
Onion-Braised Beef Brisket cooks low and slow in the oven until the meat is super tender. Chill overnight, slice, then reheat to serve an unforgettable meal!
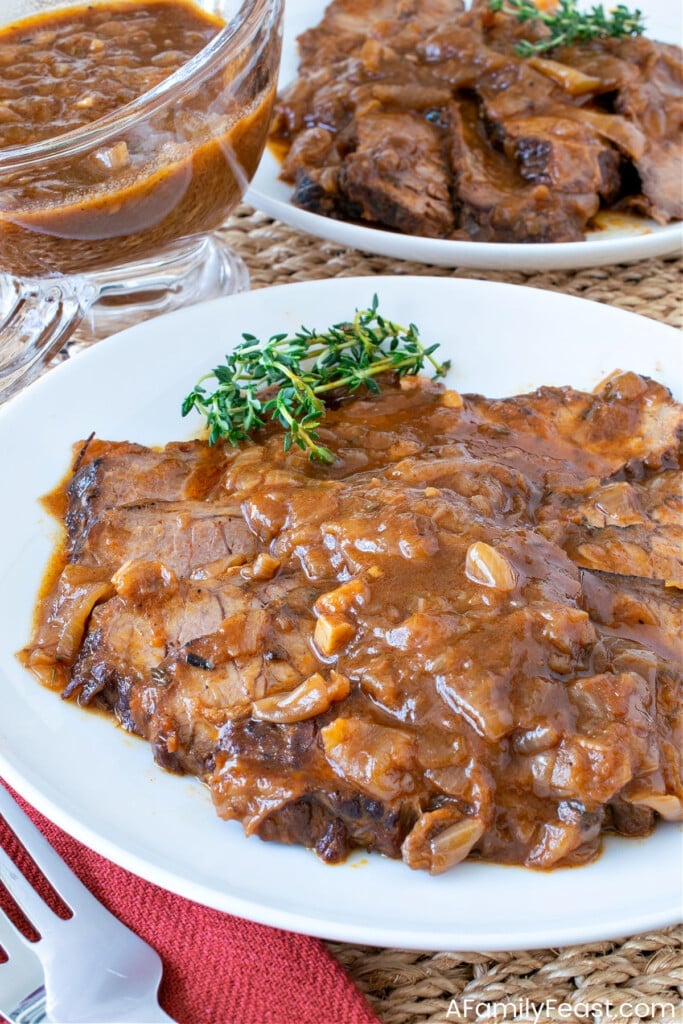
One of the Best Beef Brisket Recipes Around
Let me start off by giving America’s Test Kitchen credit for this delicious Onion-Braised Beef Brisket recipe. It’s a fool-proof recipe that yields incredible flavor and super tender meat thanks to a two-day cooking process.
On day one, you’ll cook the brisket with onions and garlic in a sauce made with tomato paste, flour, chicken stock, red wine, and a variety of spices and seasonings. After slow-braising in the oven for about four hours, the beef is chilled overnight – allowing the meat to reabsorb all of its juices, plus the flavors of the cooking liquid.
On day two, you’ll remove any excess fat that congeals on the beef – plus you can easily slice the cold brisket without shredding the meat.
Then – after a quick reheat, you’ll be ready to serve your Oven-Braised Beef Brisket with mashed potatoes or crusty bread on the side.
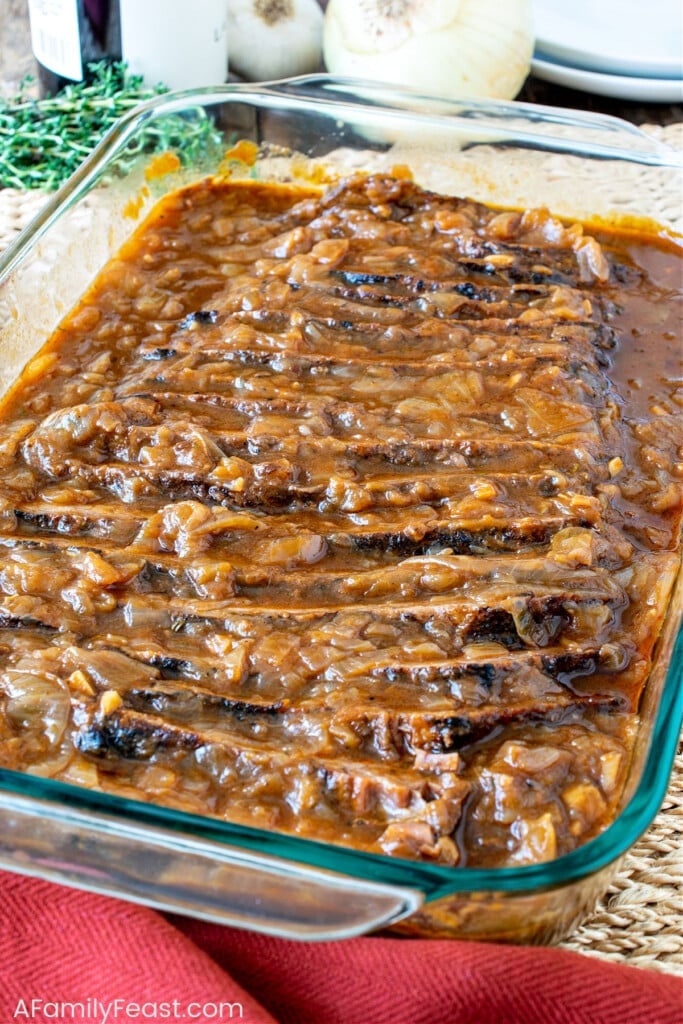
Why you’ll love Onion-Braised Beef Brisket
- The tender beef with the luscious, savory caramelized onion sauce is loaded with deep rich flavors.
- A two-day cooking process means you can (and should) do all the prep a day before serving – so when your dinner guests arrive, it’s quick and easy to get a delicious meal on the table.
- The meat is braised while wrapped in foil – so cleanup is very easy and convenient.
Brisket Buying Tips
Brisket is sold in several different cuts: Flat cut, point cut, and full brisket – all muscle from the cow’s chest area. Because the cow works that chest muscle quite a bit – it’s a tough cut of beef that requires a lengthy cooking process to become tender enough to eat.
- The flat cut of beef is the leaner end of a full brisket – sometimes labeled as “first cut” brisket. It’s topped with a layer of fat called a ”fat cap”.
- The point cut has more marbling throughout the meat, with less of a fat cap.
- A full brisket is both the flat and point cuts together – all in one piece.
For today’s recipe, you’ll want a full brisket with some of the fat cap still attached to the flat cut end. The fat cap adds flavor and prevents the leaner end of the meat from drying out and getting tough.
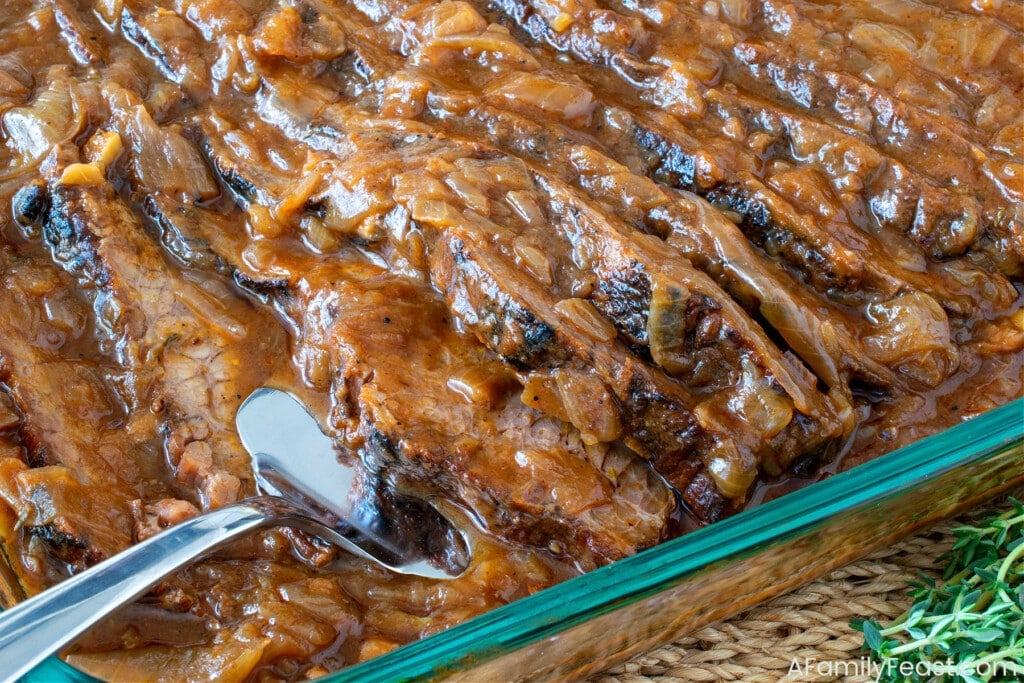
Key Ingredients & Substitutions
- Brisket – Choose a full brisket about four pounds in size. It’s fine if it weighs a little more or less – the recipe won’t change. Make sure that the butcher hasn’t trimmed off the entire fat cap on the flat side – a thin fat cap should remain.
- Onions – Yellow onions work best for this, as they are sweet and mild, but any onion can work. Sweet onions such as Vidalia will yield a mellow flavor, while white or red onions will yield a sharper flavor.
- Fresh Garlic
- Canola or Vegetable Oil – This is used to sear the beef.
- Tomato Paste
- All-Purpose Flour
- Stock – Chicken stock or beef stock can be used.
- Red Wine – Any dry red wine will work.
- Seasonings – Kosher salt, black pepper, paprika, cayenne pepper, bay leaves, fresh thyme, and brown sugar.
- Apple Cider Vinegar – This is added before serving to finish the sauce. The acidity of the vinegar helps balance the overall richness of the dish.
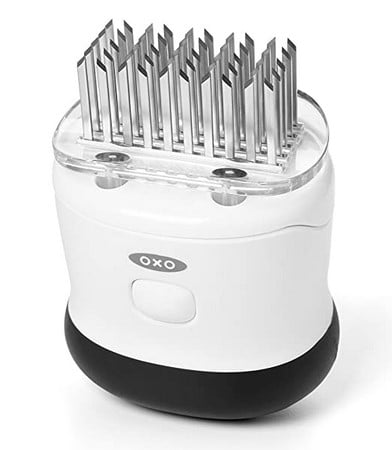
Product Recommendation
After seasoning the brisket, use a bladed meat tenderizer like this one to pierce the beef. It not only tenderizes the brisket, but it also pushes the seasoning inside the meat so every bite is full of flavor.
Special Tools Needed
- Paring Knife or Bladed Meat Tenderizer – This is the one we used.
- Large, deep skillet or Dutch Oven – To sear the meat and cook the onions. Does not need to be oven proof.
- Heavy Pan – To weigh down the brisket while searing. (A cast iron pan works great.)
- 9X13-inch Baking Dish
- Cutting Board
- Knives – A chef’s knife to cut the onions and garlic, plus a meat slicer to slice the cooked beef.
- Medium Saucepan
- Various measuring cups and spoons
- Food Containers – To store the cooked beef and onions overnight.
- 18” Wide Foil – To wrap the beef while braising and more foil to heat the meat the next day.
- Parchment Paper
- Mesh Strainer – Used to separate liquid from the onions after braising.
- Long-Handled Tongs
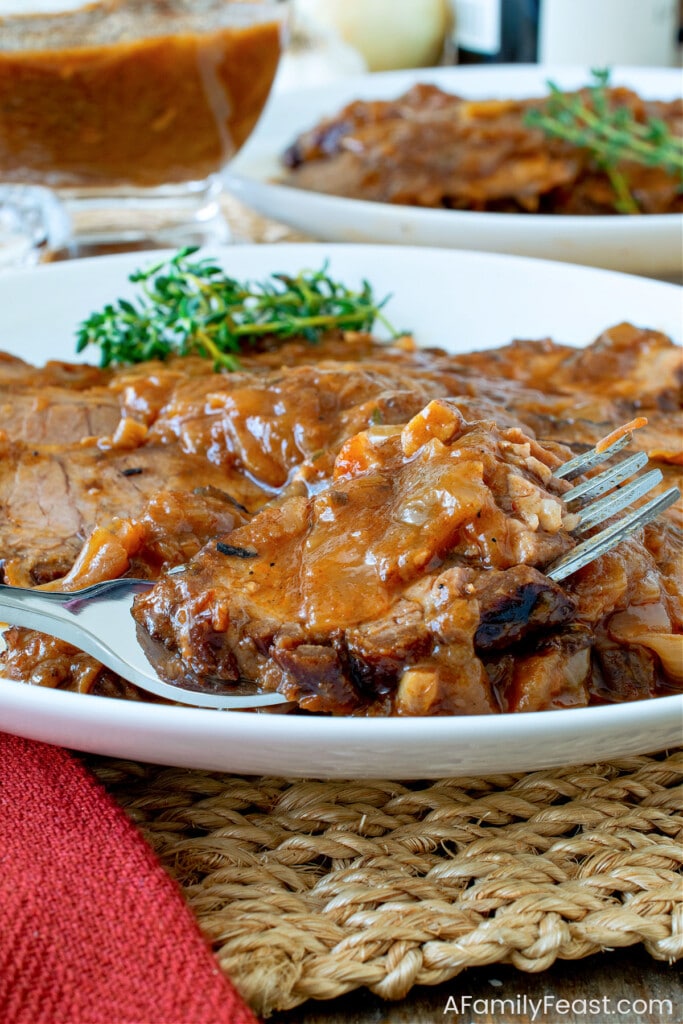
How do I make Onion-Braised Beef Brisket?
- Season brisket on both sides with salt and pepper. Poke holes in the fat side using a fork, paring knife, or meat tenderizer.
- Sear beef on both sides in oil, weighing down the flat end to prevent curling. Remove to a platter.
- Cook onions and garlic in the same pan.
- Add brown sugar, tomato paste, flour, paprika, cayenne, bay leaves, thyme stems, red wine and chicken stock and stir to combine, then simmer.
- Line a 9X13 pan with a very long piece of 18” foil, long enough so that the ends can fold up and seal in the seared brisket and sauce as it cooks.
- Pour the sauce into the prepared foil, then set the seared brisket in fat-side up. Fold up both sides of foil and crimp to seal.
- Place in a 300-degree F oven and braise for four hours.
- After four hours, remove meat and place in storage container. Place a strainer over the container and pour the onion sauce into it. Let the sauce cover the beef and place the strained onions in a separate container. Cover and refrigerate both overnight.
- 45 minutes before serving, preheat oven to 350-degree F. Remove chilled beef and place on cutting board and slice against the grain into thick slices from one end to the other and place slices into a 9X13 pan. Skim off and discard any fat in the container. Pour sauce into a saucepan and reduce to two cups then add vinegar and onions and heat. Pour onion sauce over beef. Cover pan with parchment and foil and place in oven to heat to hot, about 25-30 minutes.
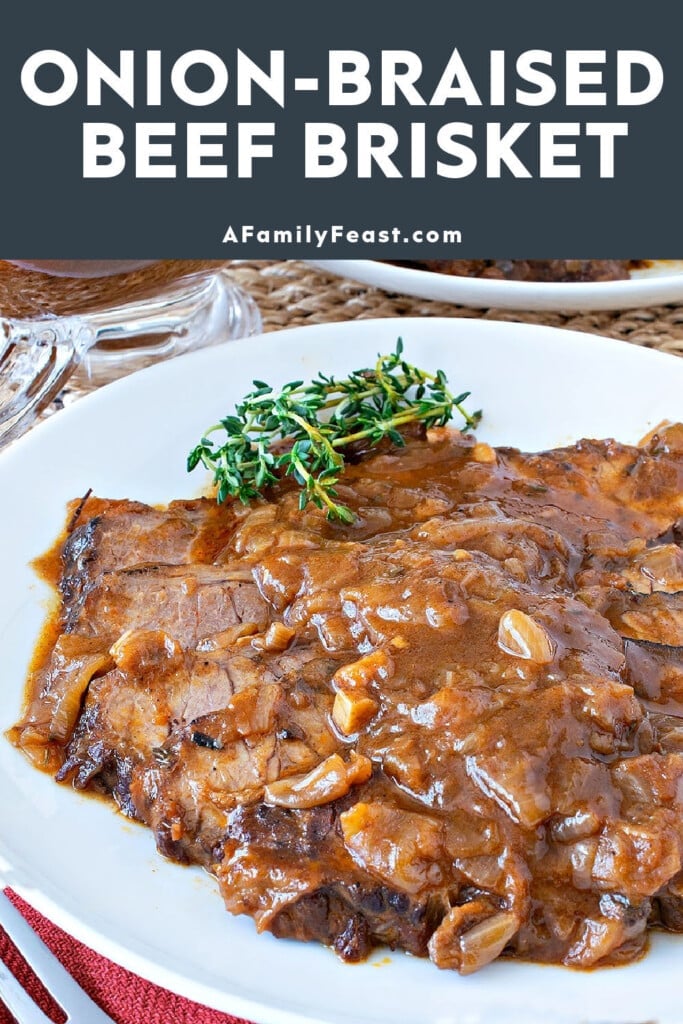
- Serve immediately with mashed potatoes or crusty bread.
Frequently Asked Questions
- Can I make Onion-Braised Beef Brisket ahead of time? Yes, this is best made the day prior and sliced cold before heating.
- How do I store leftovers? Store covered in the refrigerator for up to three days.
- How do I reheat leftovers? Heat individual portions in the microwave, or place the brisket and onions back in the oven (covered with foil) to warm through.
- Can I freeze this dish? The meat will freeze and thaw nicely, but the onions will get mushy once thawed and reheated.
- Can I make this recipe in the slow cooker? Technically yes, but you won’t get the same caramelization and flavor as you would by braising this dish in the oven. Also, the cooking time will be much longer to achieve a tender brisket.
You might like these other Beef Recipes:
Click here for more delicious Beef Recipes!
See the RecipesWe love seeing what you made! Tag us on Instagram at @afamilyfeast or hashtag #afamilyfeast so we can see your creations!
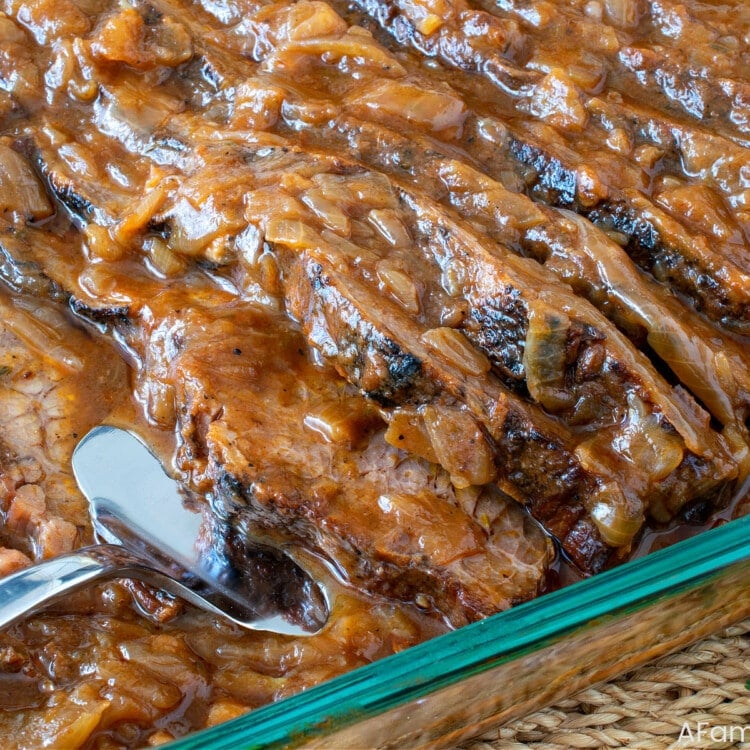
Onion-Braised Beef Brisket
Onion-Braised Beef Brisket cooks low and slow in the oven until the meat is super tender. Chill overnight, slice, then reheat to serve an unforgettable meal!
Ingredients
3 bay leaves
3 large or six medium thyme sprigs
4 pounds beef brisket with a fat cap on one side
1 ½ teaspoons kosher salt, divided
1 teaspoon freshly ground black pepper
1 teaspoon canola or vegetable oil
2 ½ pounds yellow onion peeled and cut in half top to bottom, then cut into half-inch thick half-moons
1 tablespoon brown sugar
1 tablespoon fresh garlic, minced
1 tablespoon tomato paste
1 tablespoon paprika
¼ teaspoon cayenne pepper, or less if you are sensitive to cayenne
2 tablespoons all-purpose flour
1 cup dry red wine
1 cup chicken stock or broth
2 teaspoons cider vinegar
Instructions
- One day prior to serving, preheat oven to 300 degrees F with rack in center.
- Line a 9×13-inch baking dish with a long 18” wide piece of foil. The foil needs to be long enough to fold back over and seal in the seared beef and cooked onions for a tight seal.
- Wrap bay and fresh thyme in butchers twine or a thin piece of cheesecloth. Set aside.
- Using a tenderizer, fork or paring knife, poke holes all over the fat side of the beef, poking hard all the way in.
- Using one teaspoon of salt and the black pepper, coat both sides of the beef. Reserve the half teaspoon of salt for later in the recipe.
- Heat a large high sided skillet or Dutch oven over medium high heat with the oil. This pan does not need to be oven proof and will be used to sear the beef and cook the onions.
- Place beef into the heated pan fat side up. Place a heavy pan on top of the beef to weigh it down. (We used a medium pot filled with water as our weight). Sear seven minutes.
- Remove weight and flip beef fat side down without the weight for another seven minutes.
- Remove beef to a platter and reduce heat to medium.
- Add onions, brown sugar and remaining half teaspoon of salt and cook 12 minutes, stirring occasionally.
- Add garlic and tomato paste and cook two minutes.
- Add paprika and cayenne and cook two minutes.
- Add flour and cook one minute.
- Add wine, stock, and the bay leaf & fresh thyme packet.
- Stir and simmer five minutes then remove from heat.
- Pour onion sauce into prepared 9X13 pan and place beef over the sauce, fat side up, pouring in any residual liquid from the platter.
- Tightly seal foil around the meat and onions and place in the preheated oven for four hours.
- After four hours, remove from oven and using tongs, pull beef and place into a storage container.
- Place a strainer over the storage container and pour the onion sauce in. Let the sauce pour over the beef, then place the strained onions in a separate container. Cover and refrigerate both containers overnight.
- 45 minutes prior to serving, heat oven to 350 degrees F.
- Skim off and discard any fat that floated to the beef container and move the beef to your cutting board.
- Pour the sauce into a sauce pan and if not already at two cups, cook and reduce to two cups.
- Add the vinegar and cold cooked onions to the sauce and heat just until hot.
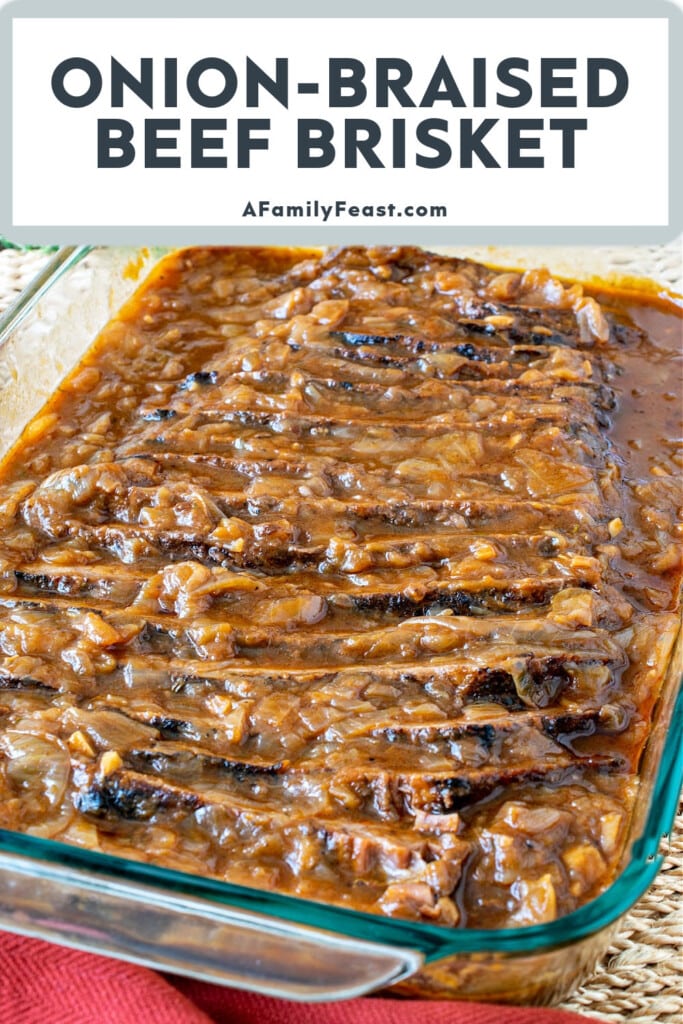
- Using a long sharp meat slicer, slice the cold beef into 16 thick slices against the grain from one end to the other. Carefully lay out in a 9×13-inch pan, layering each piece slightly overlapping the next.
- Pour the hot onion sauce over the cold meat. Cover with a piece of parchment and a piece of foil wrapped tightly to the pan and place in the oven just to heat, about 25-30 minutes.
- Serve immediately.
Last Step! Please leave a review and rating letting us know how you liked this recipe! This helps our business thrive & continue providing free recipes.

Leave a Comment