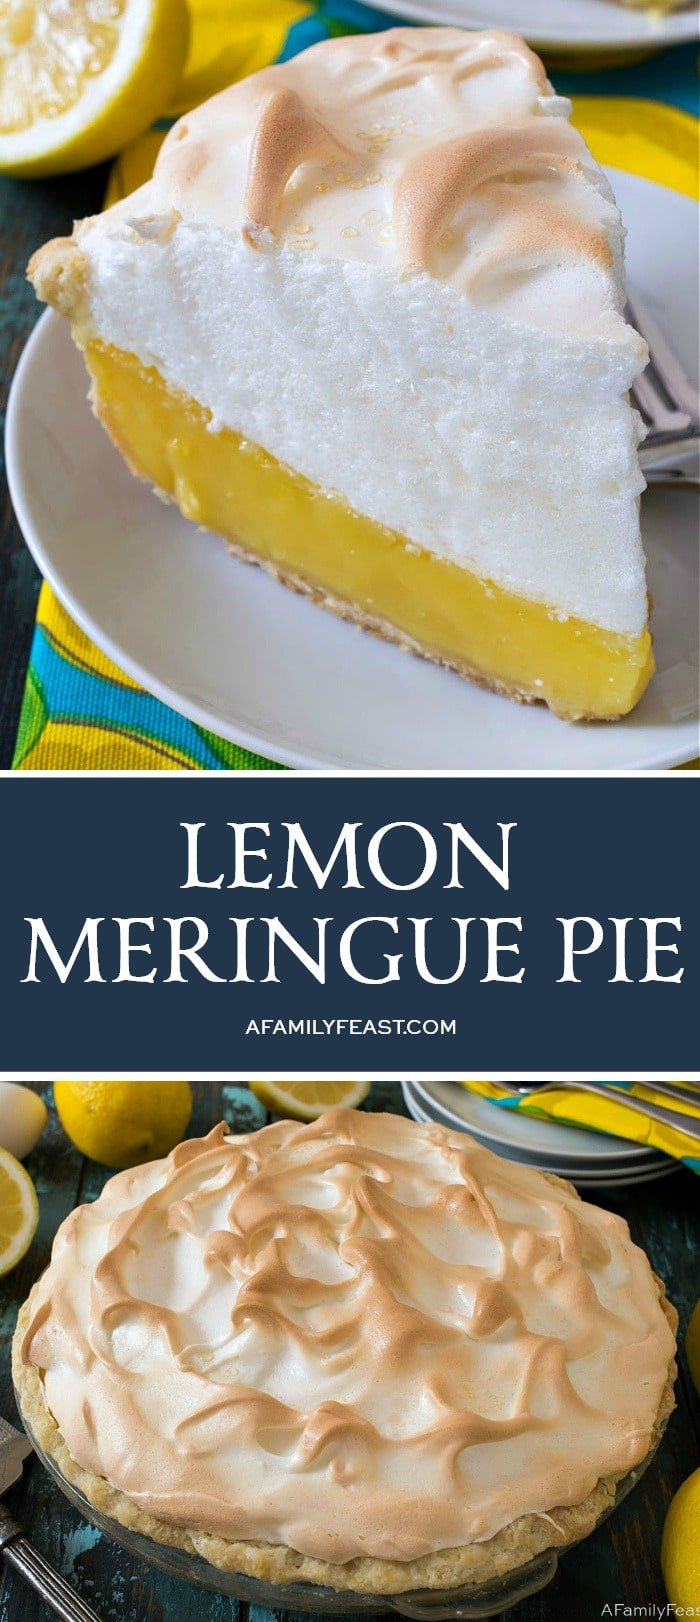
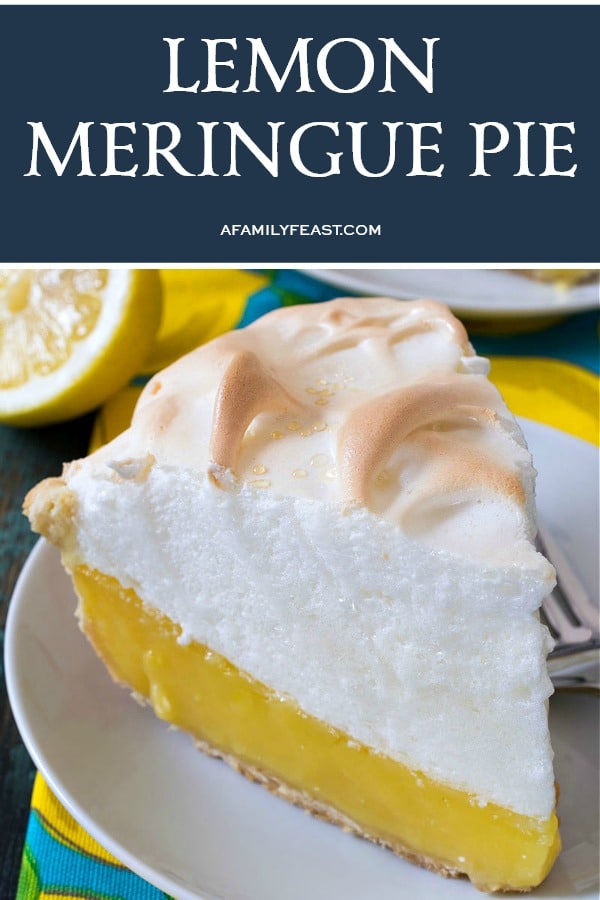
Lemon Meringue Pie is a classic that everyone should have in their recipe collection!
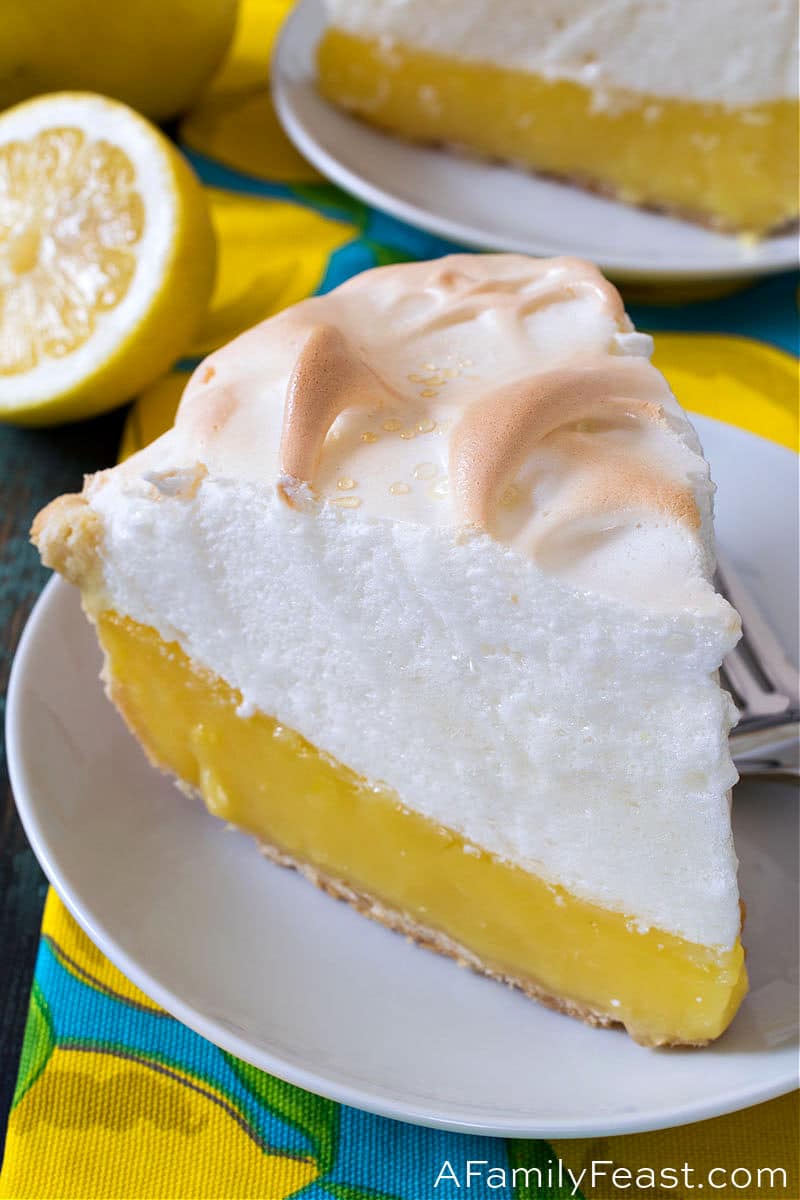
Lemon Meringue Pies are absolutely delicious, but they sometimes have a reputation for being difficult to make. Since originally sharing this recipe back in 2017, we’re including some updates today that address common pitfalls when making this luscious lemon pie.
How do you make a Lemon Meringue Pie?
A Lemon Meringue Pie is made in three general steps: You’ll pre-bake a pie crust, fill it with a hot lemon custard, then top it with an egg white meringue before baking. Here are a few basic tips:
- Follow our tutorial here on How to Blind Bake a Pie Crust. For a lemon meringue pie, you’ll want to bake the pie crust all the way through – so bake the crust with the pie weights for 20 minutes, carefully remove the pie weights (they will be hot!), then continue to bake the pie crust until golden brown (another 10 to 15 minutes).
- Bake your lemon meringue pie in a deep, glass pie dish. (This is the one we used.) A glass dish allows the heat of the oven to penetrate quickly through to the bottom of the pie as it bakes, which seems to help prevent the crust from getting soggy.
- Make sure the lemon filling is molten hot when you are assembling the pie. This will help ensure that the lemon filling sets up (read more on this below). Plus, the steam from the filling will also penetrate the egg white meringue on top, helping it to cook through and remain light and fluffy.
- When preparing both the filling and the meringue, measure the egg white and egg yolks by volume (ie. cups), not number of eggs, to ensure exact and proper proportions.

Why didn’t my lemon filling set up?
The lemon filling is thickened with corn starch. However, egg yolks contain an enzyme that can thin out the corn starch if the filling isn’t hot enough. Heat reduces that enzyme, so – as noted above – the lemon filling must be boiled long enough to get very hot.
How do I get really fluffy meringue?
You’ll want to add the sugar to the egg whites about midway through whipping them or when the egg whites have reached the soft peak stage. Then you’ll turn the mixer back to high and whip them to stiff peaks. (If you add the sugar too soon, the meringue will also deflate.)
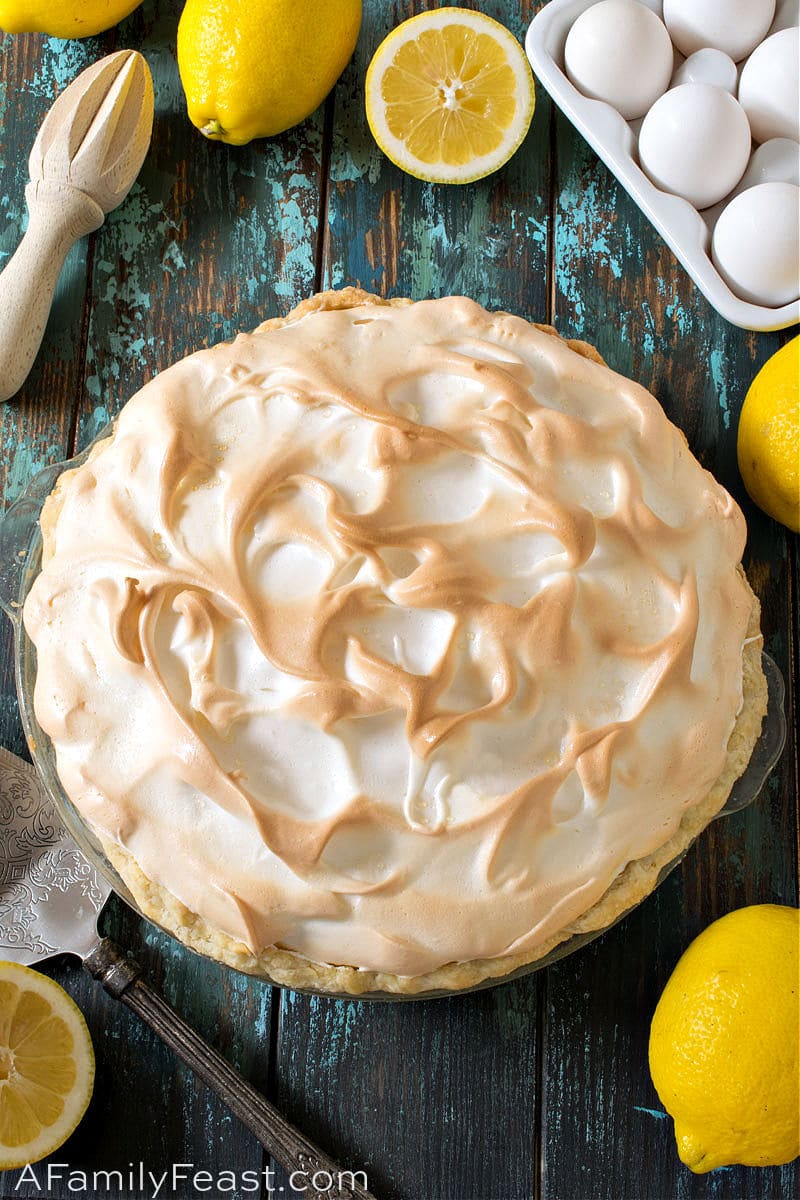
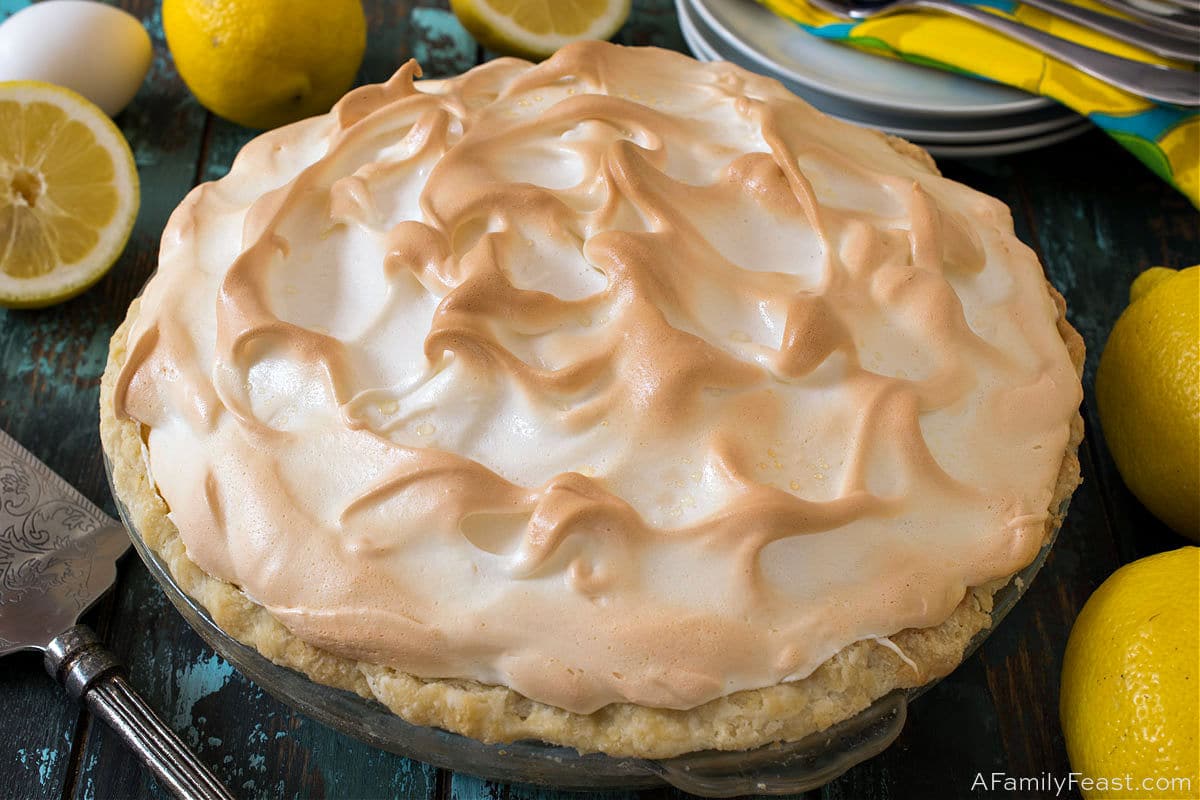
A stand mixer with a whisk attachment and a large bowl is really going to give you the best results when whipping your egg whites into a meringue. Today’s recipe makes a BIG, gorgeous pie with a tall layer of that fluffy, sweet meringue on top – so you’ll need the power and volume of a stand mixer and bowl.*
*We found it challenging to get ten egg whites beaten to a very full volume and to the perfect ‘stiff peak stage’ by just using a decent quality hand mixer. But if you have a super powerful hand mixer, by all means give it a try. (If your egg whites aren’t at stiff peaks by the end of the whipping process, your baked meringue will deflate in the oven.)
Also make sure that there are no little bits of egg yolk left behind in the egg whites. This will also prevent the egg whites from whipping up light and fluffy.
Why did my meringue weep?
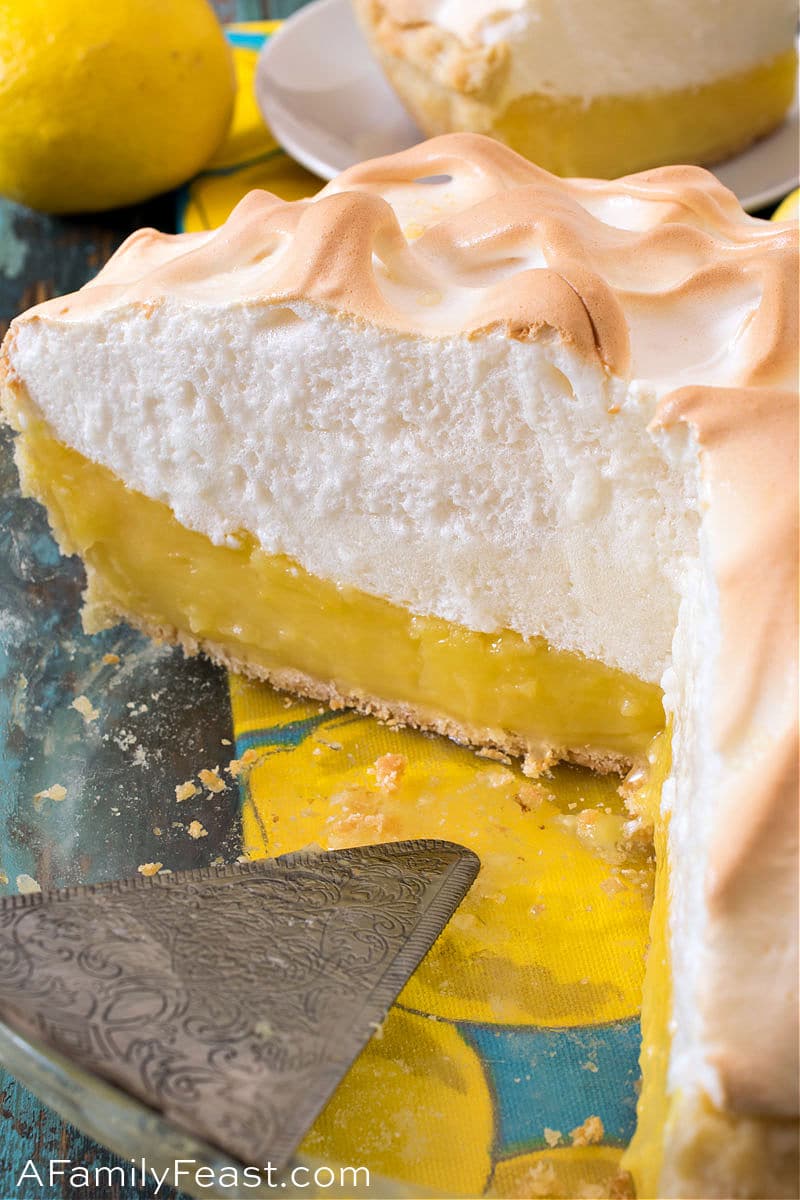
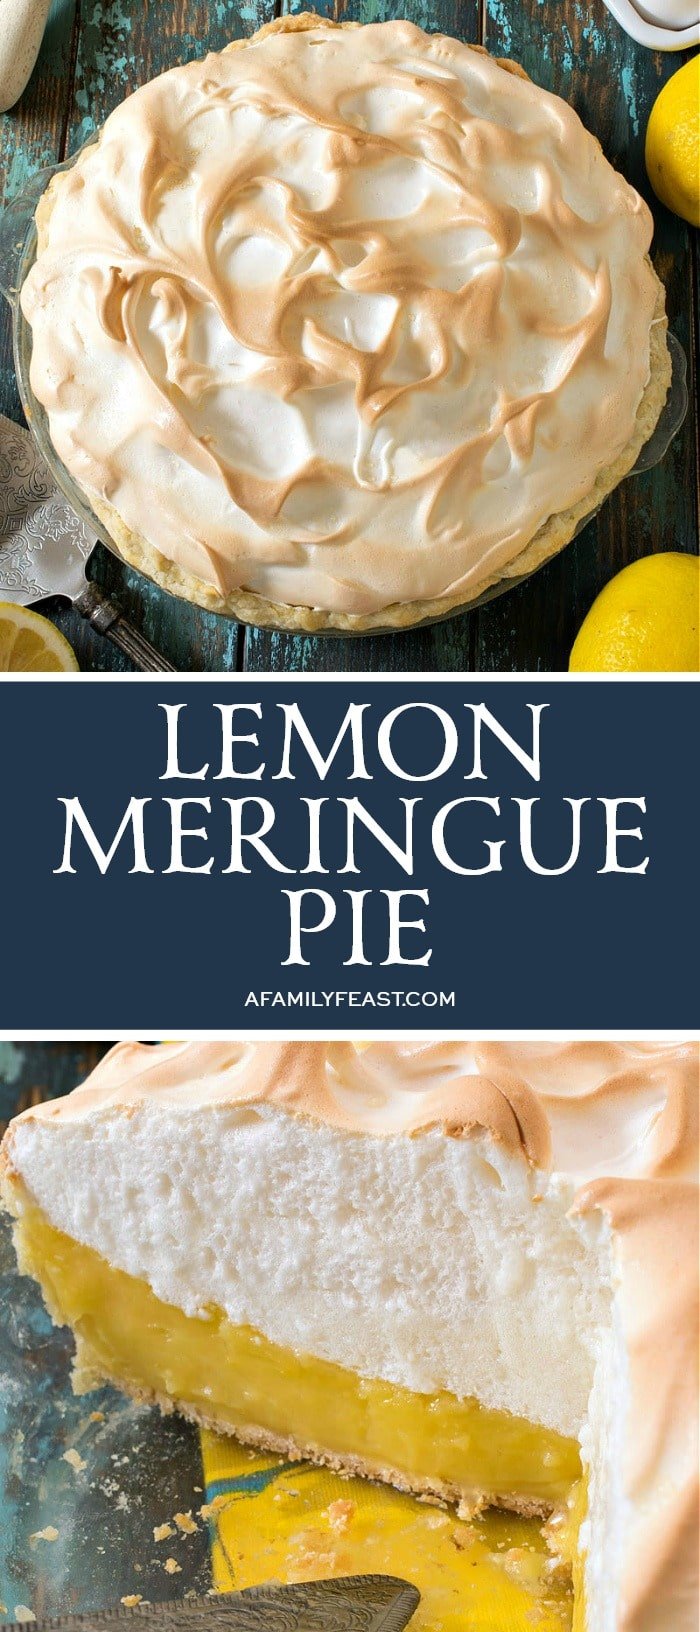
This is very common, and – full disclosure – you can even see a little bit of weeping in our own pie photos. There are a few reasons for this:
- We refrigerated our pie before taking these photos (because we were trying to take the photos while the sun was still shining in our kitchen), which can introduce moisture into the meringue. Ideally, you’ll want to make and serve your Lemon Meringue Pie on the same day to minimize this weeping. Allow your pie to sit at room temperature for several hours after baking to cool and set.
- We’ve also read that baking a Lemon Meringue Pie on a humid day can cause the meringue to weep. If you can plan your baking around the weather or have an air conditioned kitchen, this could minimize the weeping.
- Avoid over-baking the pie. It’s a fine balance – you want that nice golden, toasted meringue on top of your Lemon Meringue Pie, but you don’t want it overly browned. The meringue can dry out, and it can also start to weep.
- Finally, weeping can sometimes be caused by un-dissolved sugar in the meringue. Whisking the sugar into the egg whites at the soft peak stage (as described above) should ensure that the sugar is fulling dissolved in your meringue once it reaches the stiff peak stage.
My husband Jack made this Lemon Meringue Pie four times before perfecting the recipe. And even then, Jack still thinks there is room for improvement.
All that said, once you get it right, Lemon Meringue Pie is a classic favorite. And even if your first attempt isn’t perfect – the pie is still totally delicious. No one in our house was complaining about eating any of the less-than-perfect pies!) 🙂
Have fun mastering this classic and delicious pie recipe.
You may like these other pie recipes:
- Atlantic Beach Pie
- Shoo Fly Pie
- Cranberry Raisin Pie
- Malted Chocolate Buttermilk Pie
- Chocolate Peanut Butter Pie
Lemon Meringue Pie

Lemon Meringue Pie is a classic that everyone should have in their recipe collection!
- Prep Time: 1 hour (plus 5 hours cooling time)
- Cook Time: 50 minutes
- Total Time: 1 hour 50 minutes
- Yield: 1 pie (8 servings) 1x
- Category: Dessert, Pie
- Method: Baking
- Cuisine: American
Ingredients
1 14-ounce pie dough for a 10” glass pie plate (see our Perfect Pie Crust recipe here and weigh out 14 ounces using a kitchen scale)
Meringue
1 1/4 cups egg whites (about 8–10 large eggs separated)
1/2 teaspoon cream of tarter
1 teaspoon vanilla extract
1 cup granulated sugar
Lemon Filling
1 1/2 cups water
2 cups granulated sugar
7 tablespoons corn starch
1 1/2 tablespoons lemon zest grated fine (about 2 lemons)
3/4 cup freshly squeezed lemon juice (about 4–5 lemons)
1/2 teaspoon salt
1/2 cup egg yolks in a medium to large bowl (about 8 large eggs separated)
8 tablespoons butter cut into pats (1 stick)
Instructions
- Prepare the pie dough according to these directions. Measure out 14 ounces and set aside.
- Cut off a piece of foil larger than your pie plate then press into the pie plate to get the shape. Remove and set aside.
- Roll out the dough an inch or two larger than your 10” pie plate. Roll onto your rolling pin and unroll into the pie plate. Cut off excess leaving an inch hangover and fold that in over the edge. Then with your knuckle on one hand and thumb and index of the other, make a low fluted top.
- Place the pie plate in the freezer for 30 minutes to allow the dough to chill. Preheat your oven to 375 degrees F.
- After 30 minutes, press the foil into the frozen pie dough and fill with pie weights or dried beans, making sure they go up the inside edges so the sides stay firm during baking.
- Bake for 20 minutes.
- Remove and lift the foil and beans out and place the crust back in the oven for ten more minutes.
- Remove the pie crust and reduce the oven to 325 degrees F.
- While the crust is baking, make the meringue and filling. We found it easiest to get the filling ingredients ready but not mixed and the whites, cream of tarter and vanilla in the stand mixer ready but not whipped. As the crust got closer to finishing, we then completed the filling and meringue so the filling was nice and hot and the meringue freshly-whipped.
- In a sauce pan start the filling by placing in the water, sugar, corn starch, zest, juice and salt. Have the yolks and butter ready but not added yet.
- Start the meringue by whisking the whites, cream of tarter and vanilla to soft peaks with the whisk attachment. Once at soft peaks and with mixer running add the sugar then whisk to stiff peaks. Let sit in the mixer bowl for now.
- Finish the filling by heating the pan to dissolve the sugar and once hot and bubbling, temper the yolks by adding a little of the hot liquid to the yolks while whisking briskly. Keep adding small amounts of the hot liquid, up to two cups, then add the tempered yolks to the pan and whisk.
- Add the butter and whisk and cook to a hot thick filling. Don’t remove from heat until fully thick.
- When the pie crust comes out of the oven, and you have reduced the oven to 325 degrees F, pour the very hot lemon filling into the pie crust then top with the meringue by spooning on first around the edges then towards the center to form a peak. Take the back of a soup spoon and keep pressing and lifting across the top to form peaks.
- Place in the oven and bake 20 minutes, no longer.
- Cool completely at room temperature before cutting. We let ours sit for five hours to make sure the filling was completely set.
- Keep any leftover pie refrigerated.
Notes
You’ll want to make this Lemon Meringue Pie in a deep dish 10″ glass pie plate.


What a fun recipe to create!! Turned out absolutely amazing!
Thanks Susan!
Do you have a butterscotch meringue pie flavor recipe?
Hi Abby – No – I’m sorry, we don’t.
My mother used to make me lemon meringue pie instead of cake for my birthday. A cherished memory (now that she’s gone) is that when she got older, she didn’t see that she left some of the seeds in!
Such a nice memory Jeannette (seeds and all!) 🙂 We hope our recipe is as delicious as the one your mom used to make. Thanks for writing to us today!
I remember my mom used to do one of these when I was little, it’s been years since I tried one. Added to the list of recipes 😉
Hope you’ll give the recipe a try Diego!