This post may contain affiliate links. Please read our disclosure policy.
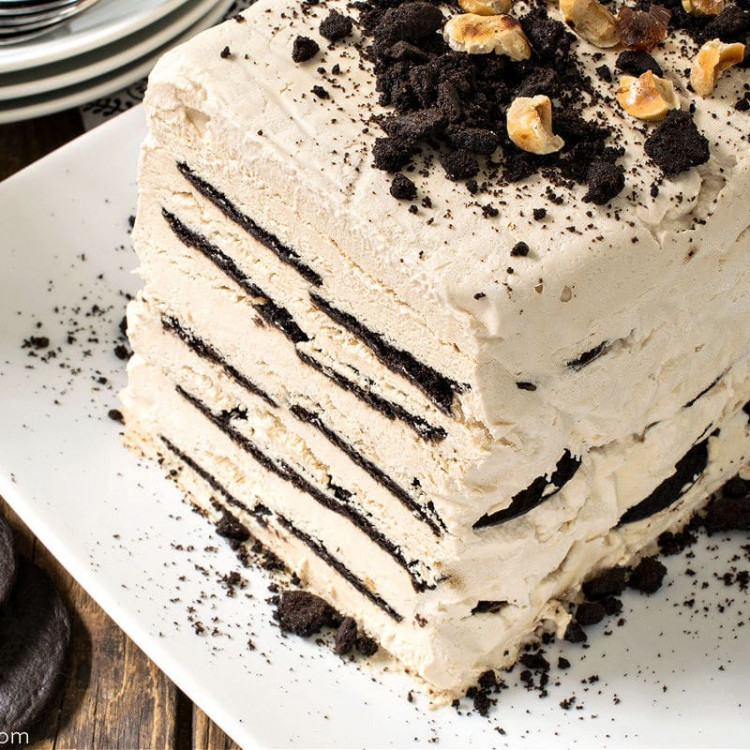
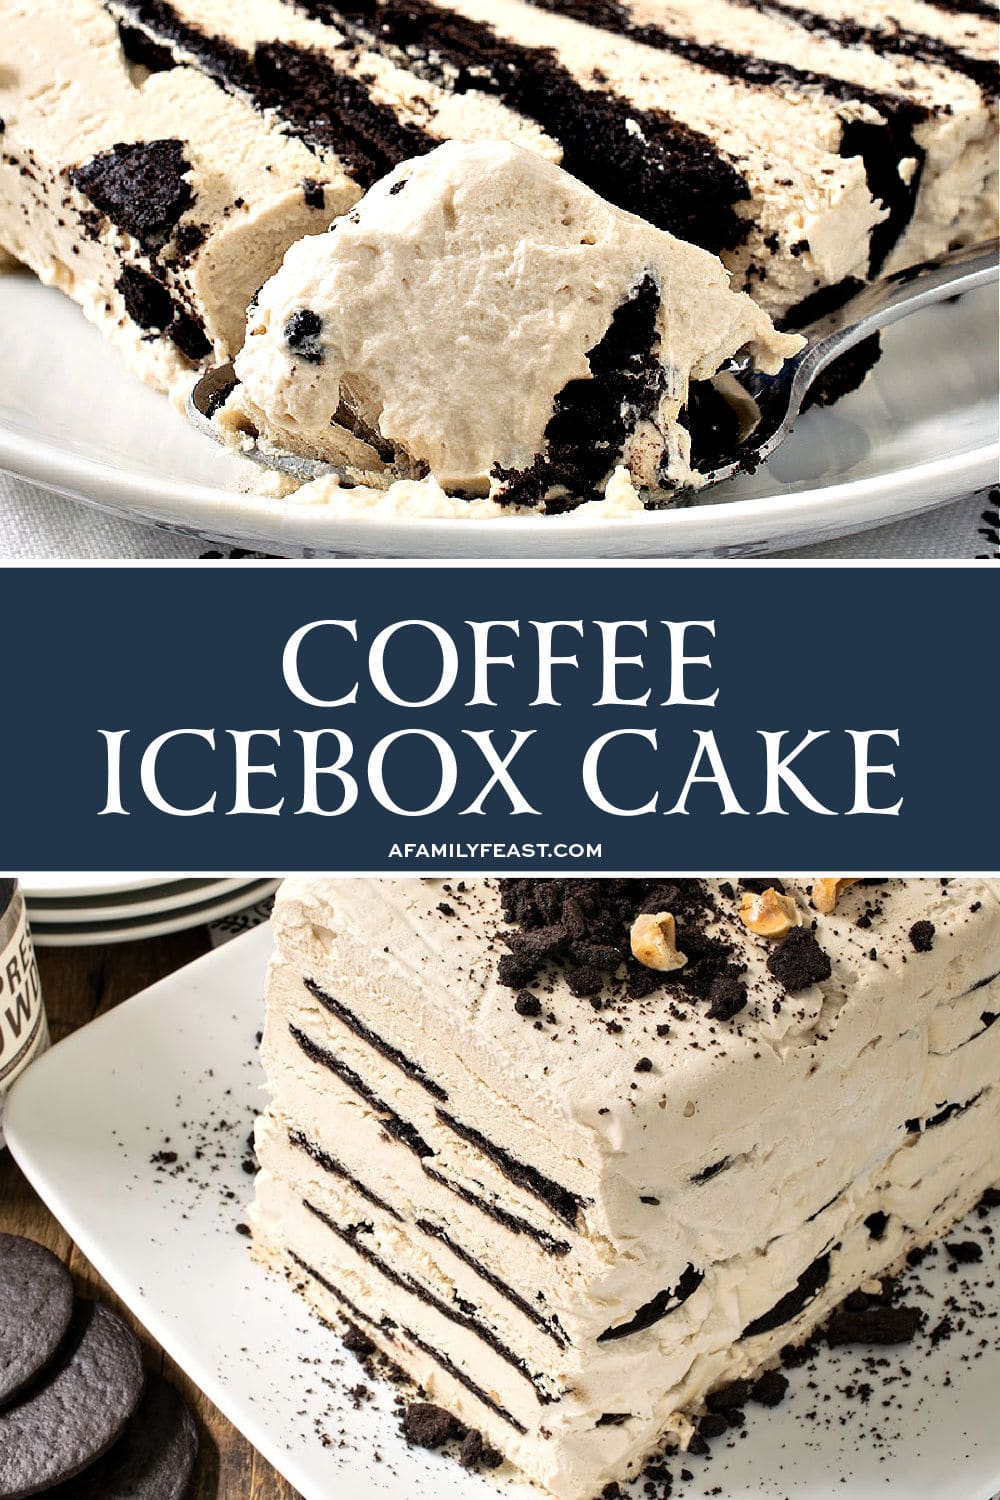
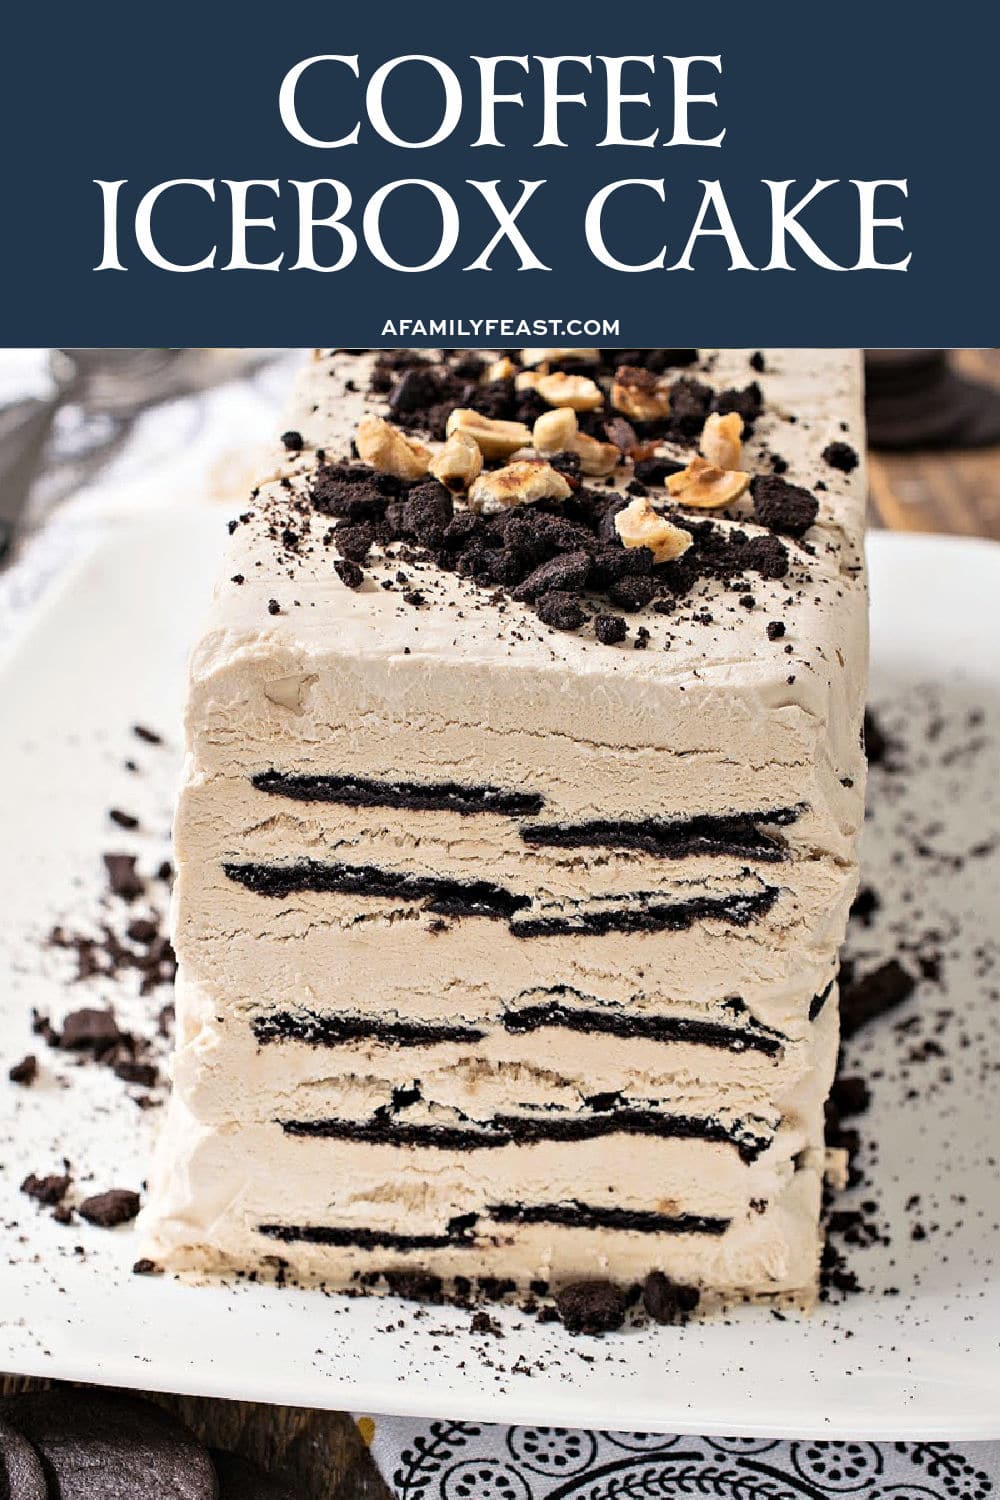
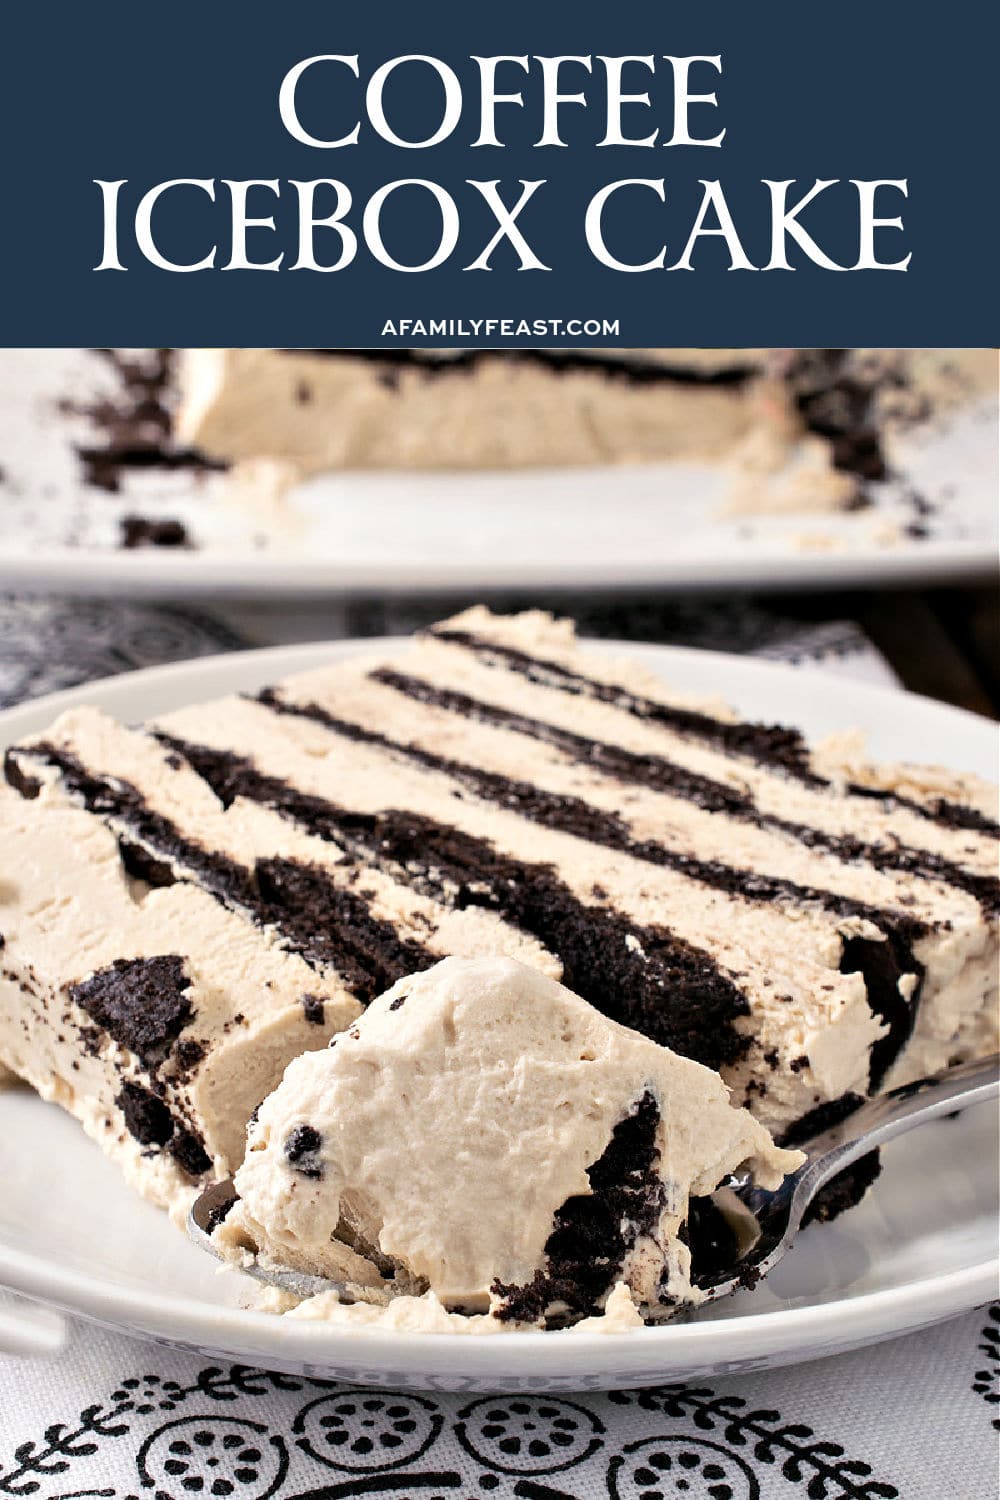
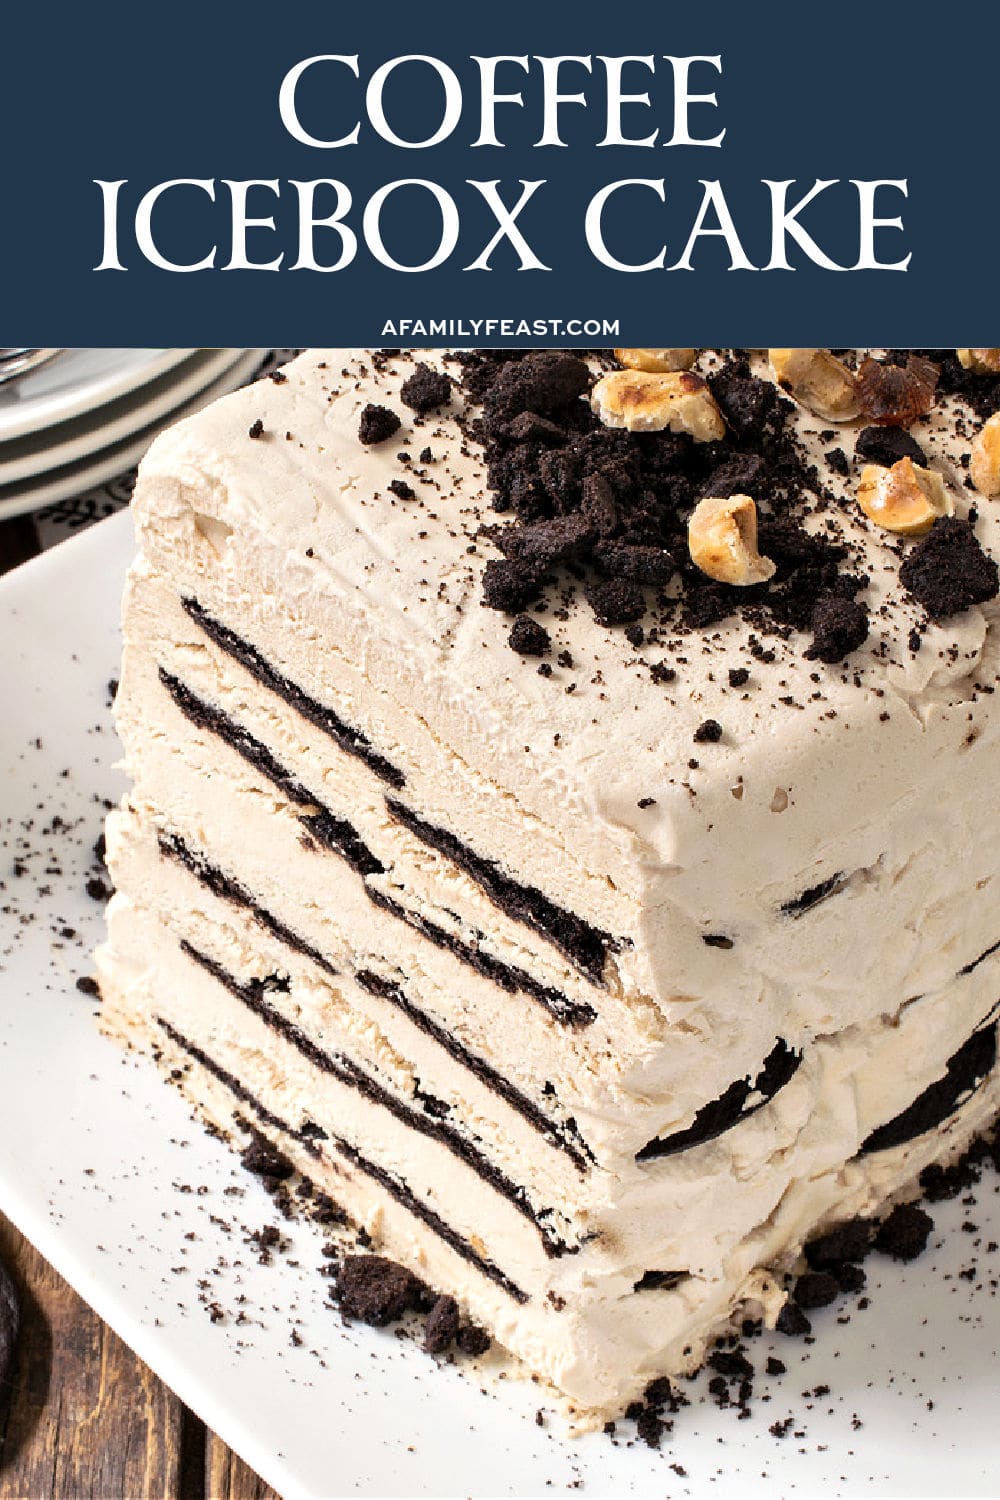
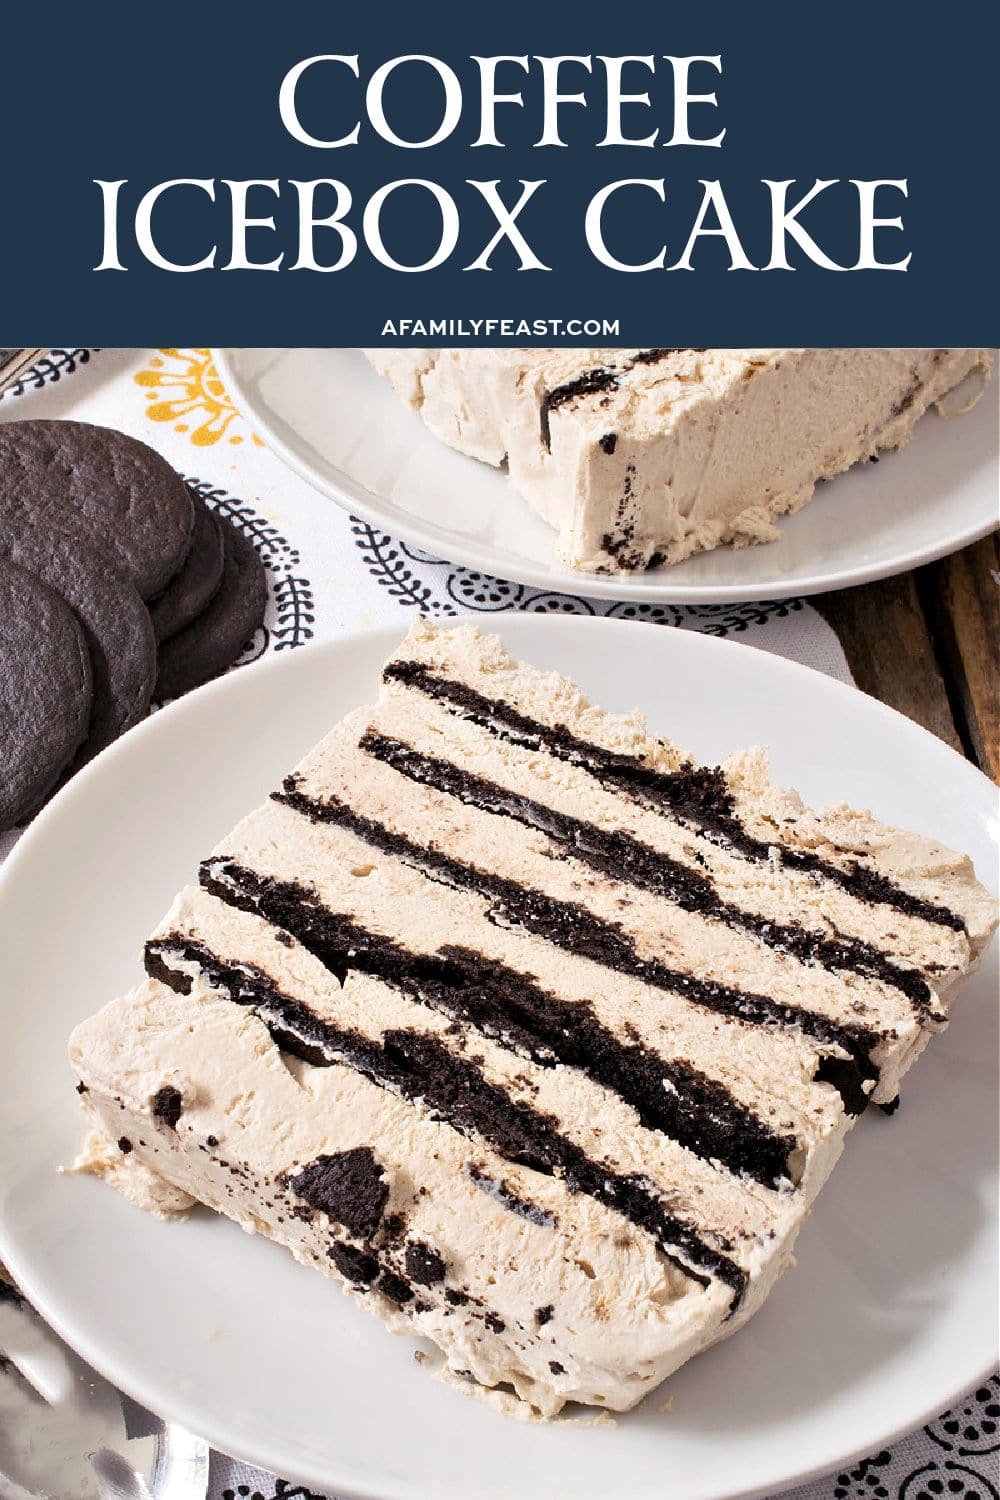
Our Coffee Icebox Cake infuses coffee flavor into a classic no-bake dessert made with chocolate wafers and whipped cream. Perfect for end-of-summer dinner parties.
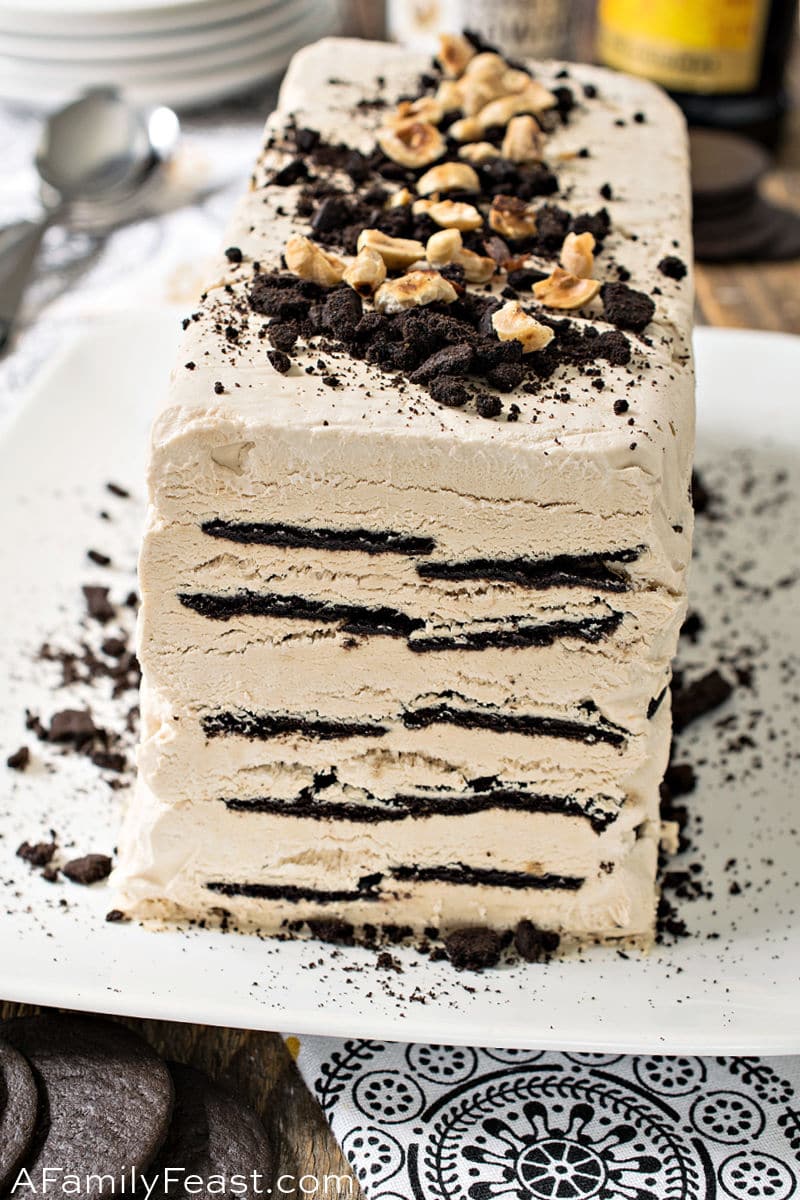
Coffee lovers rejoice! You are going to love this easy Coffee Icebox Cake!
What is an icebox cake?
It’s an old-fashioned dessert recipe made by layering whipped cream and Nabisco chocolate wafers in a loaf pan. The pan is chilled until set, then sliced or scooped for serving.
Icebox Cakes date back to the 1920’s. Iceboxes were non-mechanical refrigerators filled with ice to keep foods cold, and they became a popular appliance in many American households.
Companies like Nabisco shared an icebox cake recipe on the side of their Famous Chocolate Wafers package – and to this day, that simple recipe of whipped cream and chocolate wafers is a dessert classic.
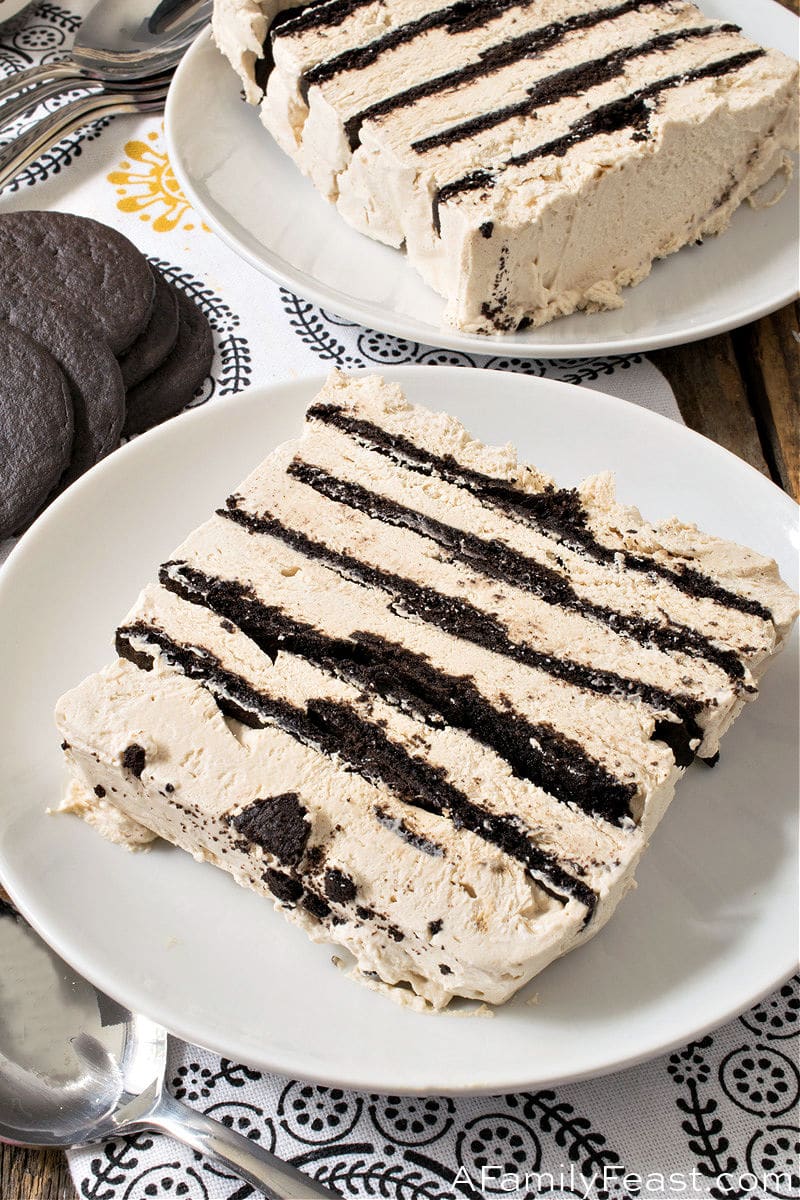
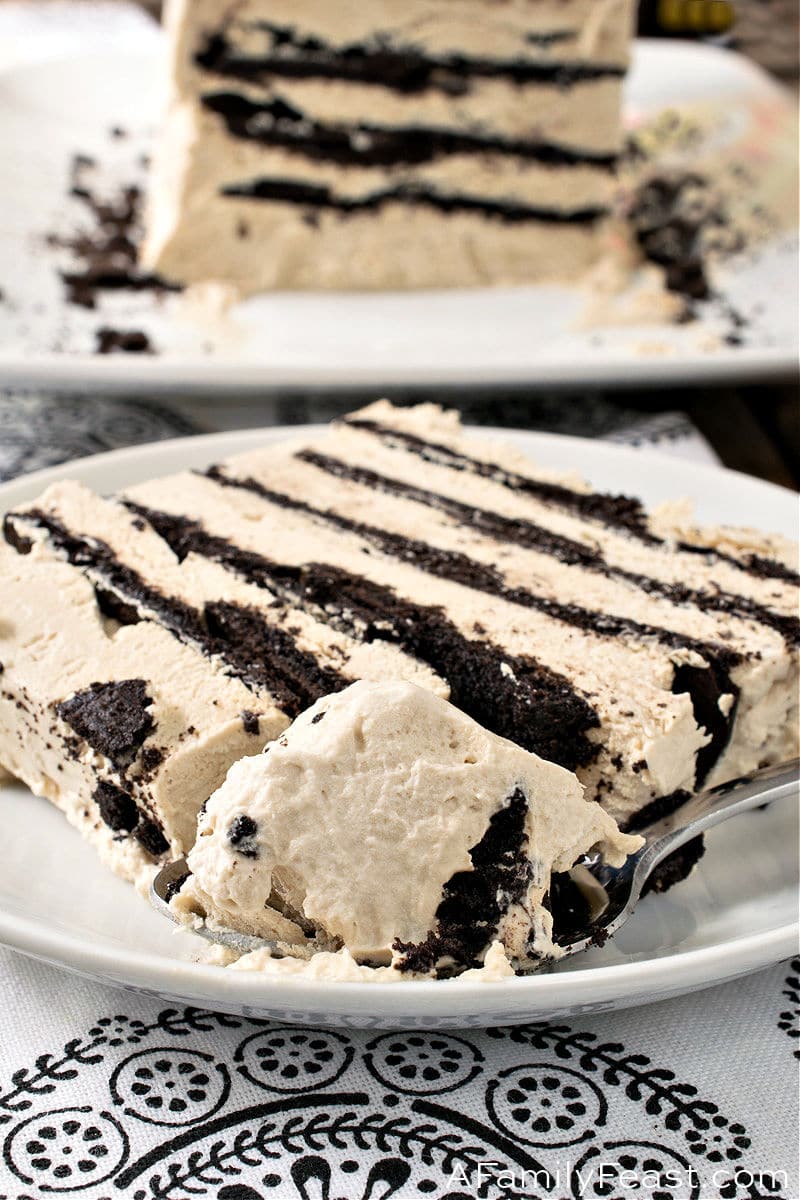
As the cream and chocolate wafers chill together, the moisture from the whipped cream softens the thin wafer – creating a cold and creamy cake-like texture. It’s absolutely wonderful – and so simple to make too!
Today, many variations of icebox cakes exist – some made with graham crackers, ladyfingers, or any other absorbent cookie, some adding nuts or candy. And some – adding flavors to the cream such as today’s Coffee Ice Box Cake!
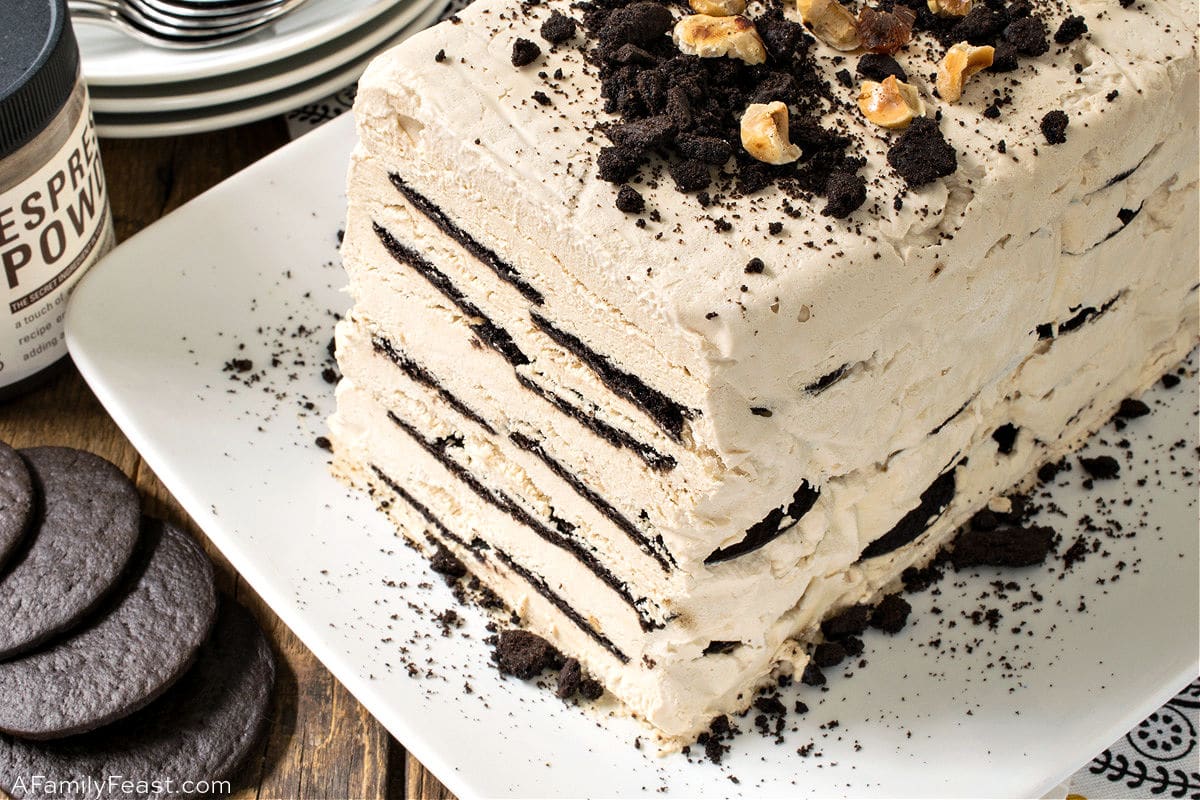
You can make this cake in the traditional loaf pan form as we did. Or, if you prefer, follow the assembly instructions in this recipe for a round, layered cake.
Special Note
Since originally posting this recipe, Nabisco has sadly discontinued selling their Famous Chocolate Wafers. (We hope they will bring them back!)
In the meantime, a good alternative is Dewey’s Bakery Brownie Crisp Cookie Thins. You can find these at some local supermarkets, or buy them online here.
Key ingredients and Substitutions
- Famous Nabisco Chocolate Wafers – An essential ingredient for this cake! (Buy them at Walmart or your local supermarket – it’s much cheaper than ordering online.)
- Cream Filling – We used a combination of cream cheese and heavy cream along with powdered sugar for our whipped cream filling.
- Coffee flavor – We use Kahlua, espresso powder and coffee extract to make a thick strong syrup to infuse this no-bake cake with the perfect amount of delicious coffee flavor.
- Nuts – Optional, toasted hazelnuts were added to the top for garnish. You can leave them off if you prefer, add a different, favorite toasted nut instead, or even top with chopped chocolate candies.
Special supplies needed
- A loaf pan is traditional. Ours was a small metal pullman loaf pan, 9×3½x3½ inches in size, but you can also make this in any other sized freezer-safe loaf pan. Your icebox cake may come out wider and flatter depending on the pan you use.
- Small non-stick saucepan
- Mixer – either a hand or stand mixer will work.
- Small sauté pan – for toasting the nuts
Chef’s Tip –
Don’t worry, the alcohol in the Kahlua will cook off as you make the syrup. You could substitute these three ingredients with coffee-flavored syrup, however the flavor will not be as intense and the pre-made syrup may loosen the filling.
How do I make Coffee Icebox Cake?
- Make the coffee flavoring by cooking down Kahlua, espresso powder and coffee extract to create a thick, strong coffee syrup. On its own, this syrup will taste very strong, but after it is blended with cream cheese and whipped cream, it adds the perfect coffee flavoring to the filling.
- Beat the cream cheese to a light and fluffy consistency, then add the warm and reduced coffee flavoring to make a flavored, thick base for the filling.
- Whip heavy cream in a separate bowl along with powdered sugar, then fold into the thick coffee flavored cream cheese base to form the filling.
- Line a loaf pan with two pieces of wax paper (crossed lengthwise and widthwise) and start building layers of filling and wafers.
- Freeze the cake overnight.
- Toast and crush hazelnuts, along with more crushed wafers to decorate the cake before serving.
- Invert the coffee ice box cake onto a platter and remove the wax paper. Top with hazelnuts and crushed chocolate wafers, then slice to serve.
Chef’s Tip –
Reducing the coffee flavoring liquid down to three tablespoons is key to perfectly smooth and flavored filling. The mixture will harden if left to cool so add to the cream cheese when slightly warm. The syrup can always be reheated slightly if too thick.
Frequently asked Questions
- Can I make Coffee Icebox Cake ahead of time? Yes, this cake should be made ahead of time and kept frozen until ready to serve.
- How do I store leftover icebox cake? Place any leftover cake back into the loaf pan, then cover tightly and freeze.
You might enjoy these other No-Bake Desserts:
- No-Bake Mini Pumpkin Cheesecakes
- Tiramisu
- Chocolate Nutella Toffee Icebox Cake
- No-Bake Greek Yogurt Cheesecake Squares
- No-Bake Eggnog Cream Pie
We love seeing what you made! Tag us on Instagram at @afamilyfeast or hashtag #afamilyfeast so we can see your creations!
Coffee Icebox Cake
Ingredients
½ cup Kahlua
1 teaspoon espresso power
1 teaspoon coffee extract
4 ounces cream cheese, softened
3 cups heavy cream
½ cup powdered sugar
2 boxes Nabisco Famous Chocolate Wafers
¼ cup hazelnuts
Instructions
Cut sheets of wax paper to fit a loaf pan like this both sideways and lengthwise. Line the strips of wax paper crossing across the bottom. Set aside.
In a medium non-stick saucepan, place Kahlua, espresso powder and coffee extract and cook over medium low to low and reduce to three tablespoons. The mixture will foam up so constant whisking is needed. It will take about 20 minutes to reduce. Once reduced, it will start to thicken so have the next step all ready.
While the coffee mixture is reducing, beat the cream cheese in a stand mixer with a paddle to a creamy fluffy consistency, about 4-5 minutes.
In a separate large bowl with a beater, whip the cream to soft peaks, add the powdered sugar then beat to stiff peaks.
Once the coffee mixture has reduced, cool just slightly so it is still creamy and easy to pour and add it to the whipped cream cheese and beat to a smooth consistency. Scrape the bowl and beat again. Make sure the syrup hasn’t hardened before adding to the cream cheese. If it has, reheat slightly to soften.
Add one third of the whipped cream and beat slightly to incorporate.
Remove the bowl and fold in the remaining whipped cream to combine.
The cake will have six layers of filling and five layers of cookies.
Place 1/6th of the filling spread on the bottom of the prepared loaf pan using an offset spatula.
Place ten cookies over that, overlapping from one end to the other.
Repeat layering filling and cookies ending with a top layer of filling.
Fold the wax paper over the top and freeze overnight.
When ready to serve, dry toast the hazelnuts in a small skillet over medium heat for about five minutes then crush with a pan bottom.
Place some of the wafers in a plastic bag and pound those to crush.
Fold the wax paper back and place a serving platter over the top then invert and remove the wax paper. The bottom is now the top.
Sprinkle with crushed hazel nuts and chocolate wafers, cut into eight slices and serve.
Last Step! Please leave a review and rating letting us know how you liked this recipe! This helps our business thrive & continue providing free recipes.
Notes
To make the cake slide easily out of the pan, use your hands to warm up the loaf pan for a few seconds. The pan should then slip right off after being inverted.

i spoke to the nabisco delivery guy in my local store the other day and he told me these cookies have been discontinued and are no longer being made. any suggestions for a replacement?
I’ve heard the same sad news Joan – unfortunately I don’t have a suggested replacement.
Hi Joan – Just wanted to follow-up once again with you about a replacement for the Chocolate Wafers…my husband Jack and I browsed around the supermarket today looking for options and the closest we could find was in the Goya/ethnic aisle – we found these chocolate Maria Cookies. (You can see them here on Amazon: https://amzn.to/3KdPnGM) – while they aren’t an exact match, they probably would work! Hope this helps. (Time for us to update our recipes…)
Thanks for sharing this about the Goya chocolate wafers. The recipe looks delicious. Can’t wait to try.