This post may contain affiliate links. Please read our disclosure policy.
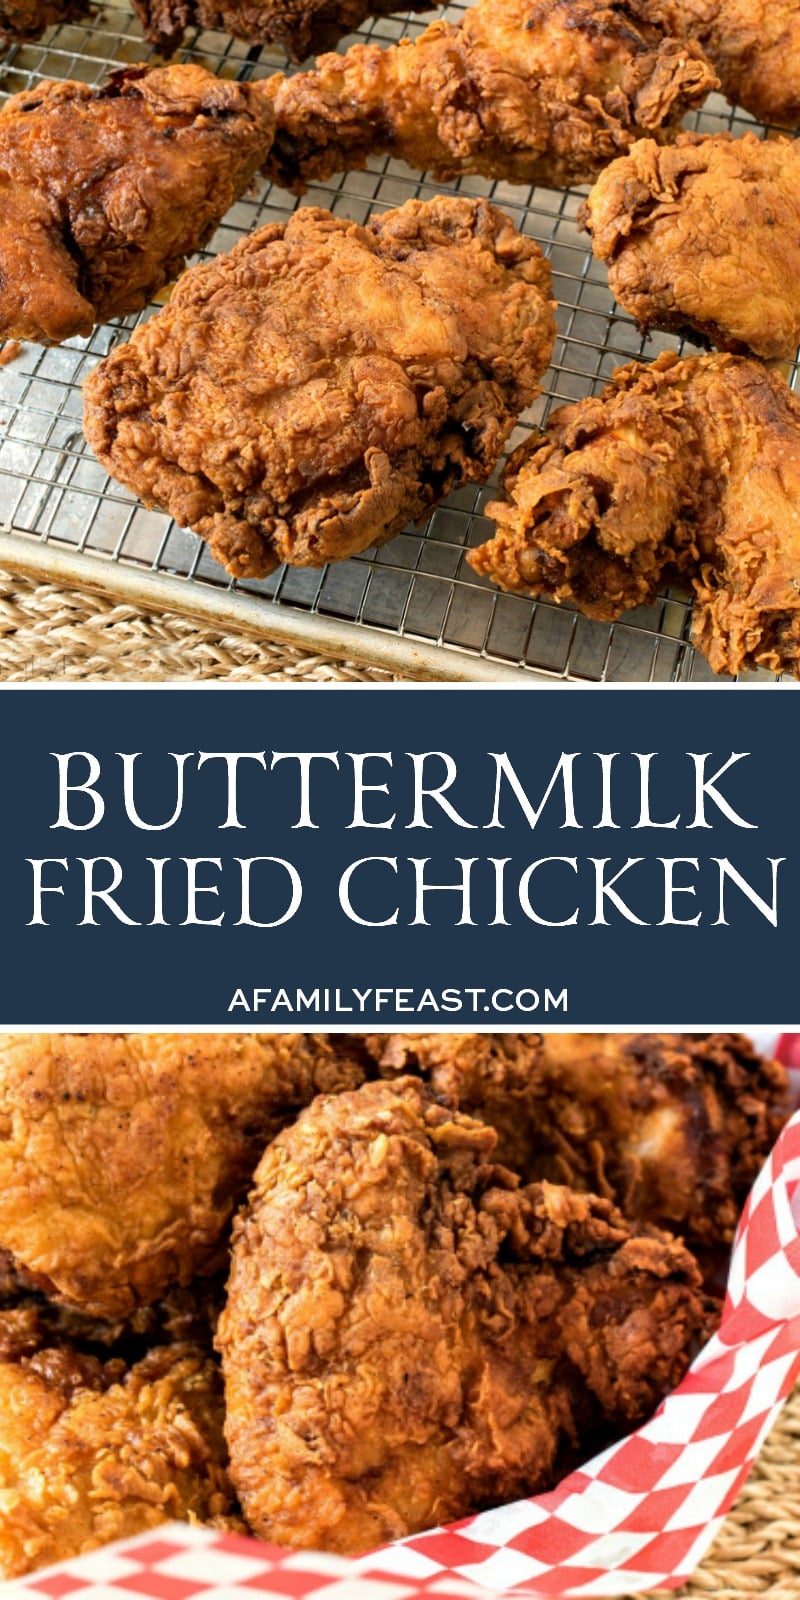
This Buttermilk Fried Chicken recipe is crispy and flavorful on the outside, and juicy and tender on the inside!
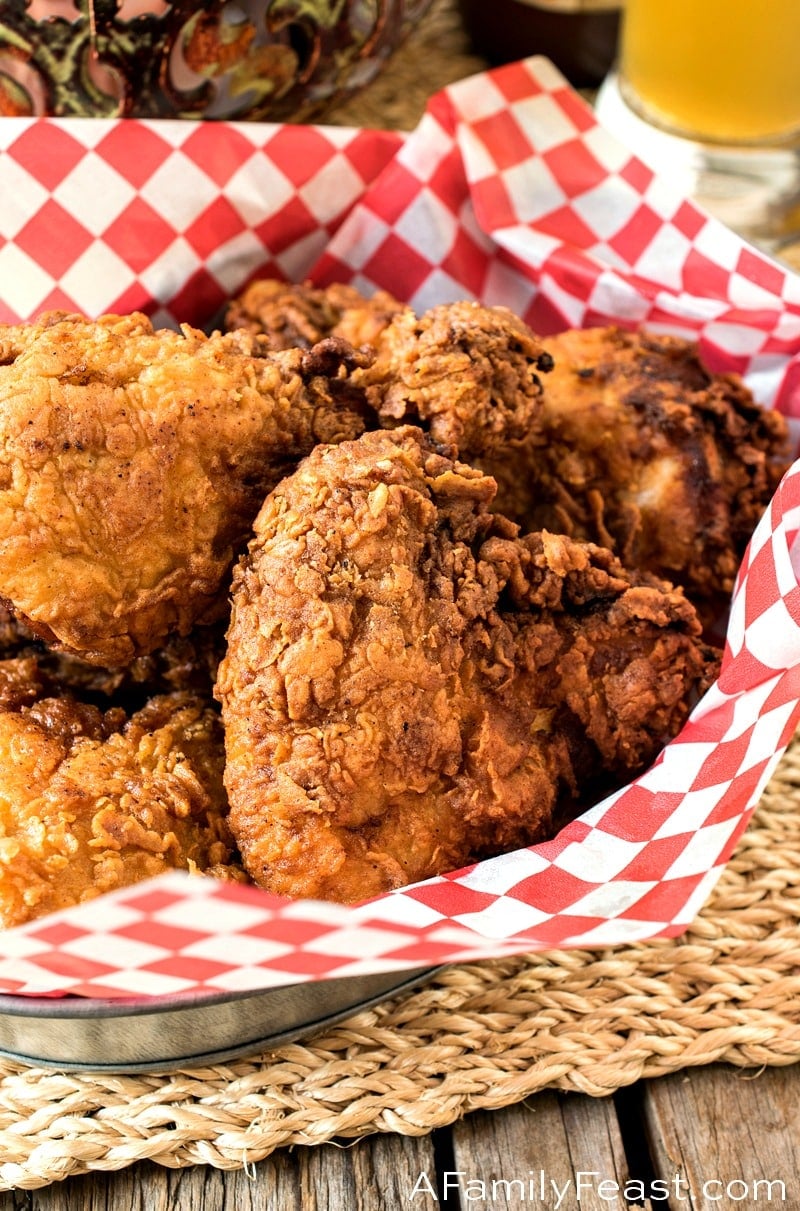
This is Jack sharing our recipe today. At one point in my career, I was the Food Service Director of a mental health facility in Boston. We fed patients, staff, medical personnel, and also provided prepared meals to a homeless shelter and a meals-on-wheels program – so needless to say, my kitchen staff was very busy.
My head chef, a true Southern gentleman named Welton, shared a number of recipes with us from his childhood down in Georgia. Among his family recipes was Welton’s fantastic Buttermilk Fried Chicken recipe.
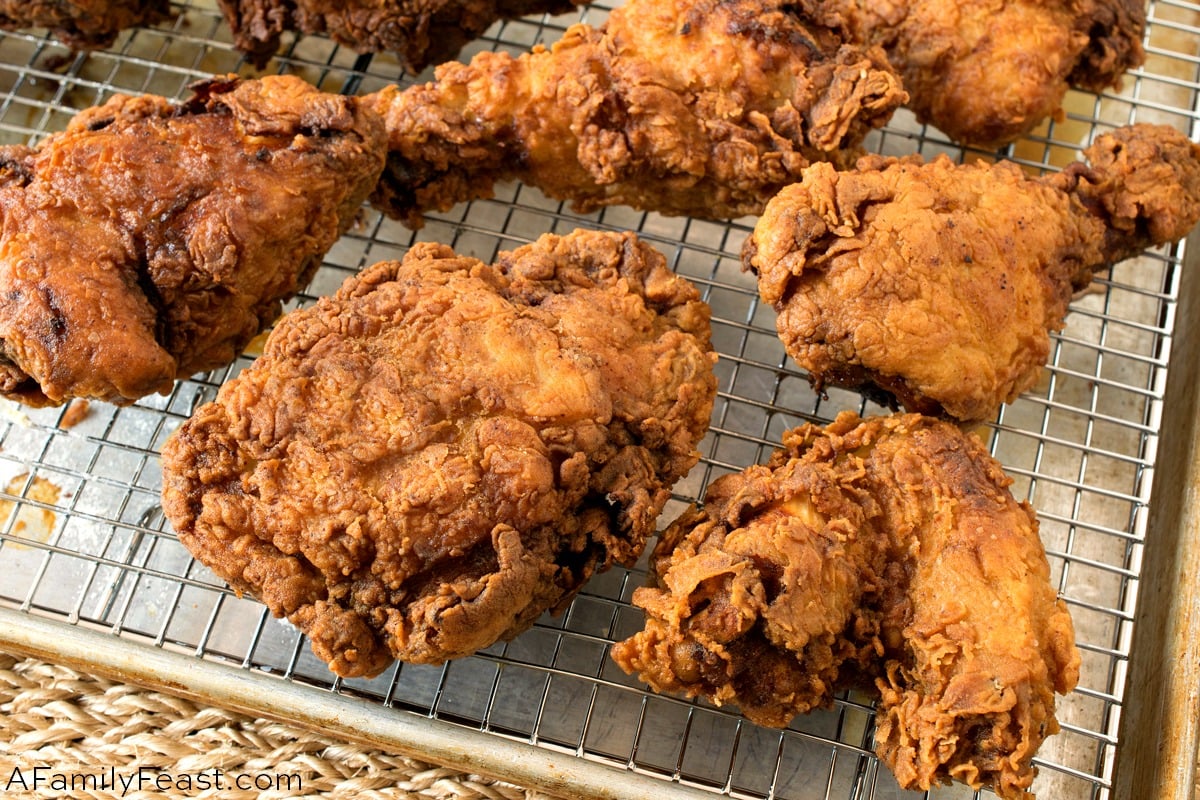
Now – I know that a really good Southern fried chicken recipe is worth its weight in gold – and to this day, I’m so thankful that Welton taught this New Englander how to make it the ‘right’ way.
How to make the best fried chicken:
To make the best fried chicken, Welton stated five rules:
- The chicken must be brined before cooking. Brining ensures lots of flavor as well as a juicy piece of chicken once it is cooked.
- You must use buttermilk – both in the brine and in the breading batter. The acid in the buttermilk helps tenderize the chicken. Plus it adds great flavor to the fried chicken breading.
- The chicken must be double-breaded. This is the only way to get that thick, crunchy coating you want for your fried chicken.
- The chicken must be fried in lard. Lard is rendered pork fat and it has a high smoke point so your chicken will not scorch at lower temperatures. Welton also stated to never use vegetable shortening.
- And the most important rule: Your buttermilk fried chicken must be cooked in a cast iron skillet. Cast iron pans hold the heat without creating hot spots. This will ensure that the chicken cooks through without burning.
Personally, I have found over the years that cooking in a cast iron skillet takes some skill and practice. If you start frying with the lard at too high a temperature, the heat from the pan keeps it hot and when you are cooking Buttermilk Fried Chicken the outside of the chicken will scorch and get too dark until the temperature regulates.
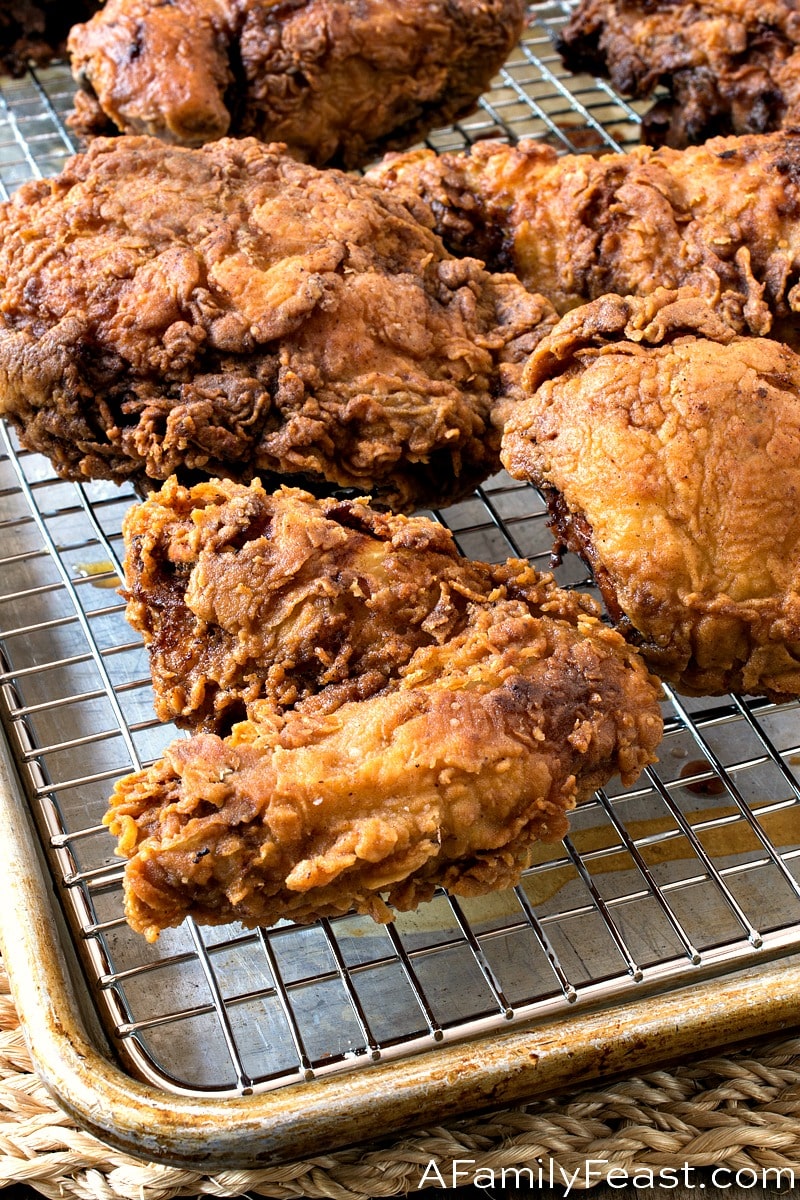
So Welton taught me that the trick is to get the temperature at about 340 degrees F, then to maintain that temperature through the cooking process. First things first – you really need a deep-fry or candy thermometer (like this one – it isn’t expensive at all!) clipped onto the side of your skillet so you can easily monitor the oil temperature fluctuations. As you add the first batch of chicken to the cast iron skillet, the oil temperature will drop and that’s totally fine. Just gradually increase the flame under the skillet until you are back at 340 degrees F for cooking.
The natural tendency when you see the temperature drop while frying is to crank the flame up to high, but that will get that pan too hot too quickly. The fat temperature will come up too quickly and sail past 340 degrees F – and your chicken will scorch. So slow and steady wins the race, and you end up with perfectly cooked, juicy and crunchy Buttermilk Fried Chicken.
Hope I have made you proud Welton. I know you are watching me from above.
You may also like:
- Oven Fried Rosemary Chicken
- Sweet Buttermilk Biscuits
- Buttermilk Corn Muffins
- Lemon Buttermilk Sorbet
- Sausage Gravy Over Chicken Fried Steak
We love seeing what you made! Tag us on Instagram at @afamilyfeast or hashtag #afamilyfeast so we can see your creations!
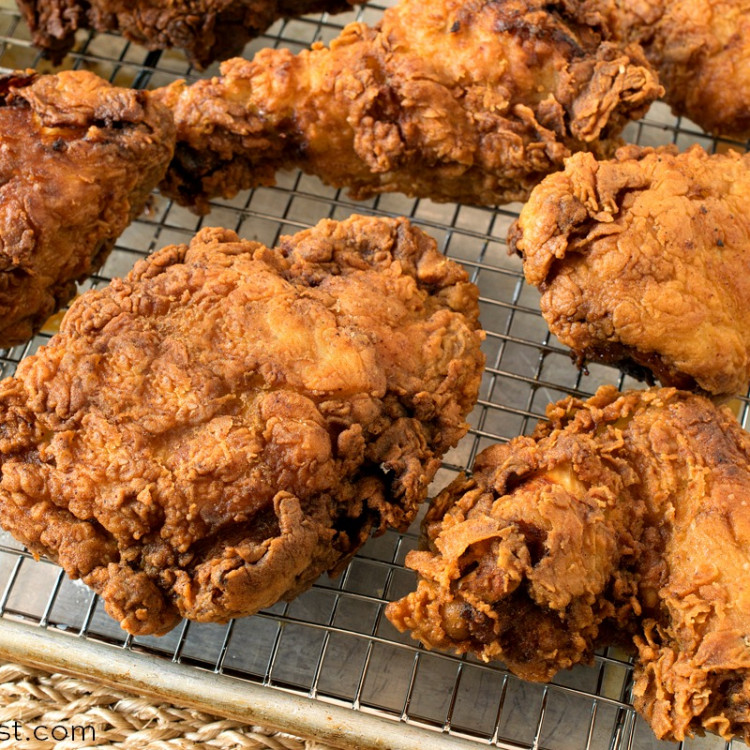
Buttermilk Fried Chicken
This Buttermilk Fried Chicken recipe is crispy and flavorful on the outside, and juicy and tender on the inside!
Ingredients
3–4 pounds whole chicken or chicken pieces
2 cups buttermilk
1 cup water
3 tablespoons kosher salt
1 tablespoon granulated sugar
2 teaspoons garlic powder
6 whole black peppercorns
2 large sprigs fresh rosemary
8 small sprigs fresh thyme
2 more cups of buttermilk
3 cups all-purpose flour
1 1/2 teaspoons kosher salt
1 teaspoon white pepper
1/4 teaspoon ground cayenne pepper
1 1/2 teaspoons garlic powder
1 1/2 teaspoons onion powder
1 teaspoon paprika
3 or more cups lard *
Instructions
Cut chicken into 10 pieces (2 wings, 2 thighs, 2 legs and two breast halves cut in half again) and place in a gallon zip lock bag.
In a bowl mix two cups of buttermilk with water, salt, sugar, 2 teaspoons garlic powder, peppercorns, rosemary and thyme.
Pour marinade over chicken. Press out air and refrigerate overnight for at least 12 hours and as long as 24 hours.
The next day discard marinade and rinse chicken pieces under cold water.
Place chicken pieces on a rack that sits over a sheet pan and let sit at room temperature for one hour.
Place two cups of buttermilk in a medium bowl.
In a separate medium bowl, place flour, salt, pepper, cayenne, garlic powder, onion powder and paprika. Whisk to combine.
Place a cast iron skillet on your burner and add enough lard to come half way up the side of the pan. Heat to 340 degrees F. Use a candy thermometer or other means to maintain that temperature and never go any higher.
Turn oven on to warm and place a rack over a sheet tray and set aside.
Cook four breast pieces first by placing in butter milk, then flour, then back in buttermilk then back into flour mixture. On this second pass, really push the flour into the chicken so it has clumps of flour. This will provide a nice crispy crust.
Use tongs and place the chicken breasts skin side down one at a time into the hot fat. Each piece will froth up the fat, so be careful that it doesn’t froth over. Adding one piece at a time and waiting a few seconds for the froth to die down before adding the next one will avoid any issues.
Cook the breasts for about four minutes then check color of bottom using tongs. If nice and golden, flip with tongs and continue cooking for about 12-16 minutes total. I turned mine a few additional times to get an even brownness. They are done when the internal temperature is 165 degrees F. Use a probe thermometer.
Remove these to the pan with the rack and place in the oven to keep warm while you cook the remaining chicken.
Once the fat is back up to 340 degrees F, double bread the remaining pieces as before and start by placing the thighs in, skin side down. Then add legs skin side down, then finally the wings.
As before, wait about 4-5 minutes, check color and flip to cook both sides.
The wings will be done first, then the legs and thighs. Use tongs to move each to the rack in the oven. The same internal temperature rule of 165 degrees applies, however the cooking time will be less by 2-4 minutes overall.
I don’t salt after they come out of the fat because I think they are seasoned correctly and do not need additional salt.
Last Step! Please leave a review and rating letting us know how you liked this recipe! This helps our business thrive & continue providing free recipes.
Notes
Some bacon fat can be added to the lard for additional smoky flavor, but don’t let Welton see you do it.

How often can you refuse the lard?
Hi Nina
If you are talking about during cooking if you think you need to add more lard between batches, just add to the pan and wait for it to melt and come up to temperature before cooking. If you are talking about storing it and reusing it, we strain it through a cheese cloth lined sieve over a large glass measuring pitcher before it solidifies and once cool enough, we store in in a plastic container with a lid. We do the same with oils and store them back into the container they came from. We keep using these fats and oils for similar recipes over and over until they no longer can be used, then we dispose of them. Over time they pick up odors and tastes and can not be reused but we at least try to get more than one use out of them.
Hope this helps,
Jack
Fantastic recipe! Due to the current situation I couldn’t get my hands on a whole chicken. So I used boneless breast instead. Most were thin a few were not. Question: is there a trick to keeping the breading on the meat since it is skinless? Thanks for this awesome recipe!!
Hi Shelbey – We’re actually posting a boneless skinless fried chicken breast recipe within the next few weeks! Our recipe is pretty much what you did – same ingredients/process, just with the different cut of chicken – with no changes other than being gentle because, as you noted, the breading can easily slip off. So – no new suggestion…
It really wasn’t that good. Pretty bland.
Thanks for taking the time to share your feedback Niki – we’re sorry you were disappointed in the recipe.
Hands down best authentic fried chicken recipe ever. Made it for my husbands birthday dinner and he can’t stop talking about it. Even suggested i print and laminate it lol! Winning😉
Wow Mony! Thank you so much!!
I made this last night and it is truly the best fried chicken I have ever had!!
Thanks Rowena! So glad you enjoyed it!
WOW THIS IS A GREAT MOUTH WATERING DELICIOUS RECIPE.!!!! THANKS AND GOD BLESS
You’re very welcome – glad you enjoyed the recipe!
Instead of using lard is there something that I can substitute it for?
Hi Abby – If you are looking to avoid using a lard (which is pork fat), you can use suet (which is beef fat) or vegetable shortening. Hope that helps!
Can you fry the chicken in a regular fryer and not lard?
Hi Karri – We recommend frying in lard both for flavor as well as for the high smoke point. If you are going to use your deep fryer (which is fine), we’d suggest using peanut oil which also has a high smoke temperature rather than canola or vegetable oil which can scorch at high temps. Hope that helps!
Tip top son.
Thank you Lee!
Hi Jack, sounds fantastic and a keeper. As I don’t often cook with lard, this one sounds like I’ll have to try it. What are your recommendations for lard type/brand as the regular green-boxed type has gotten bad press over the years.
Hey Mitch
Lard is one of those ingredient types that gets bad press because there are three different grades and usually the grade sold in markets is the lowest grade. Leaf grade is the best and there are a few on line available, however a little pricy at about a dollar per ounce, compared to 35 cents per ounce for market brands. If you don’t mind paying the extra few bucks, the leaf lard is worth it.