This post may contain affiliate links. Please read our disclosure policy.
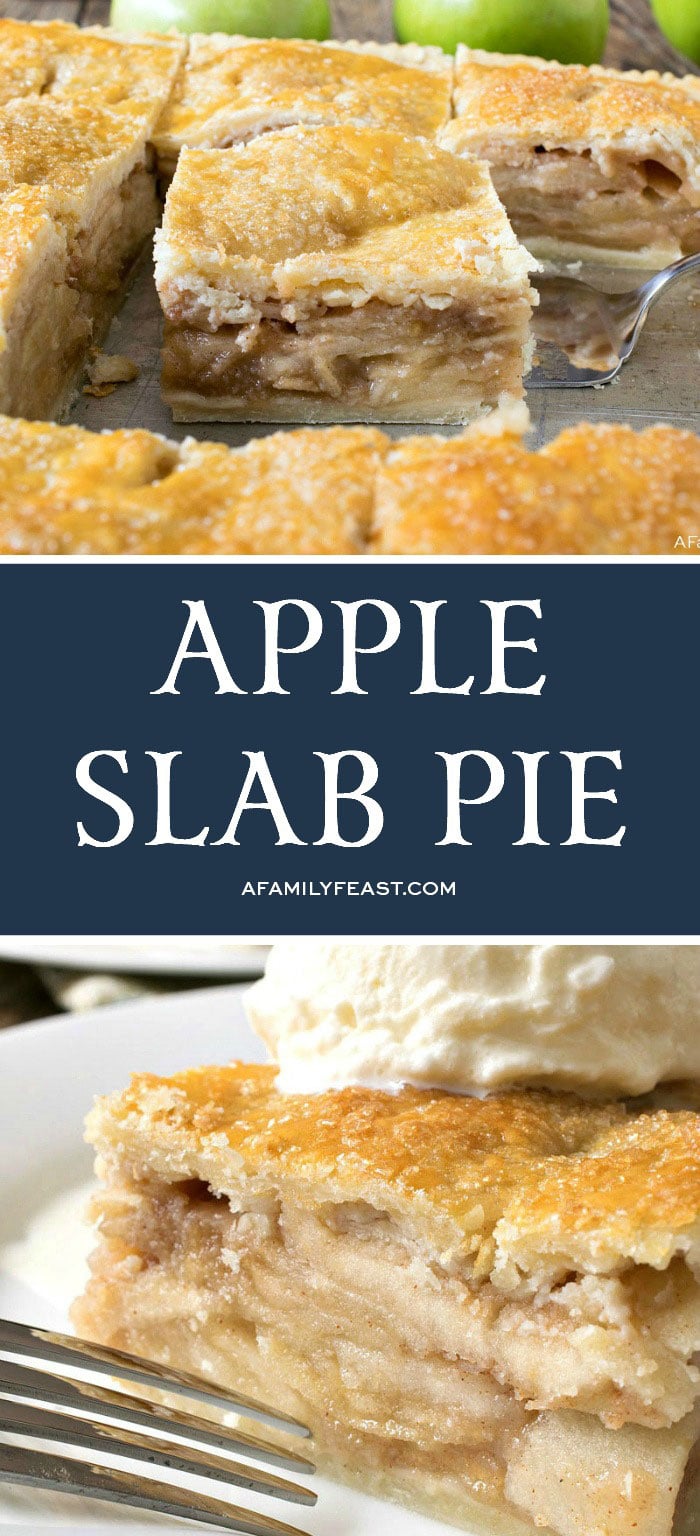
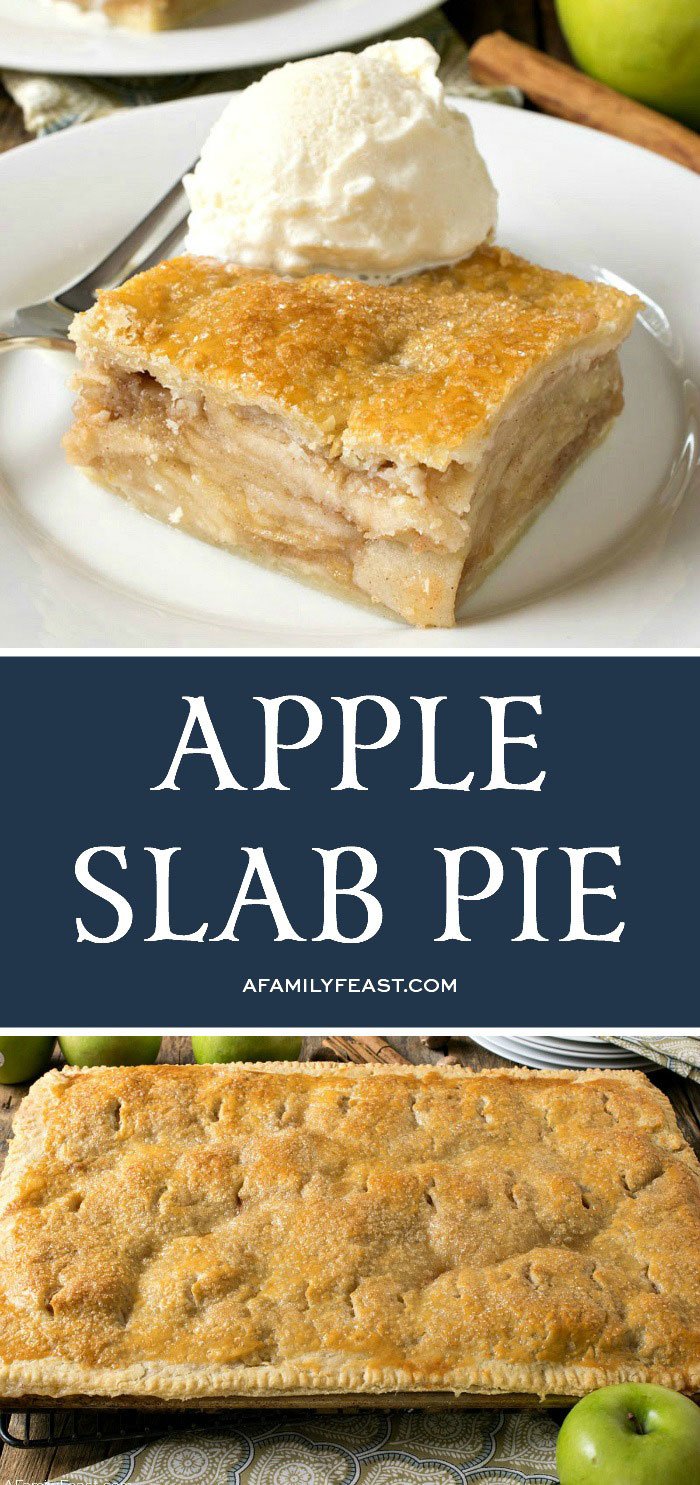
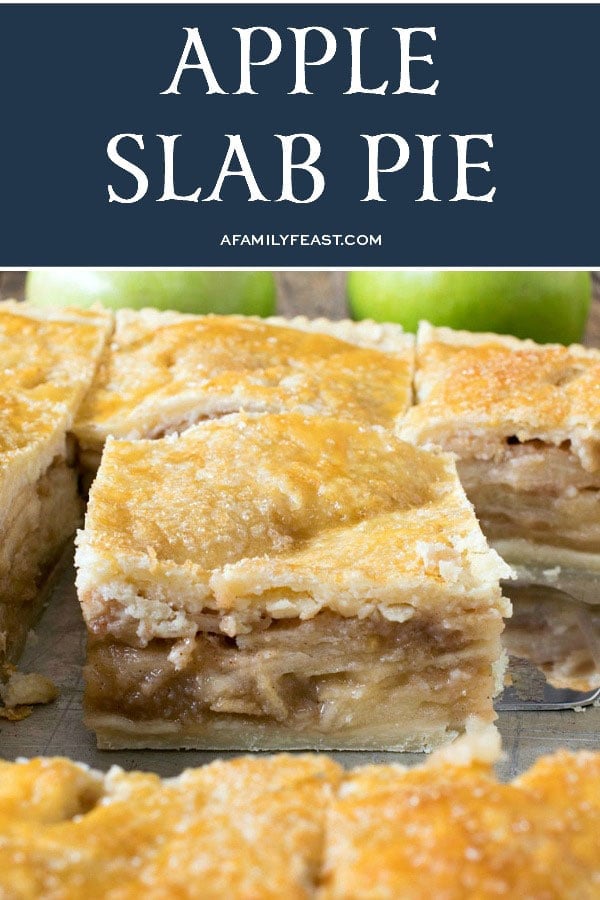
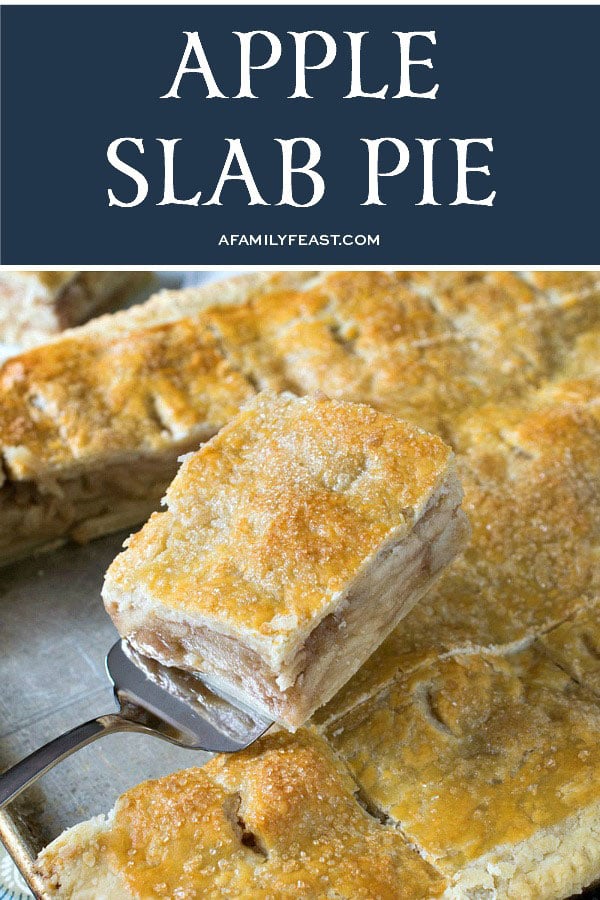
This delicious Apple Slab Pie is a great dessert option for a large crowd, or for holiday gatherings.
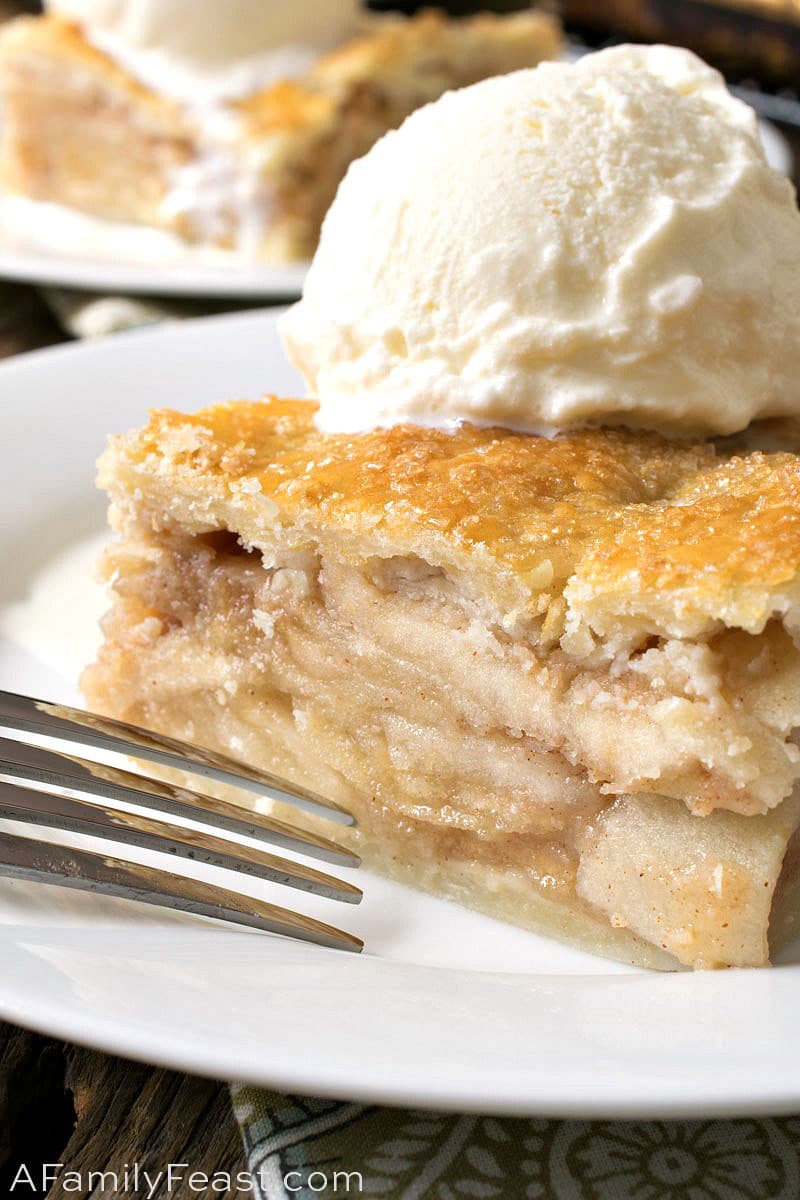
Every time we make apple pie for parties or the holidays, we end up baking two or three separate pies just to be able to feed a large crowd. (Afterall, everyone loves a delicious apple pie, and it’s often the first dessert to get eaten!)
But now, we make this Apple Slab Pie.
What is an Apple Slab Pie?
Basically, it’s the equivalent of two to three apple pies but baked in one large sheet pan. Then, the apple slab pie is cut into squares for serving – and you can get twenty generous servings, or more if you cut smaller squares.
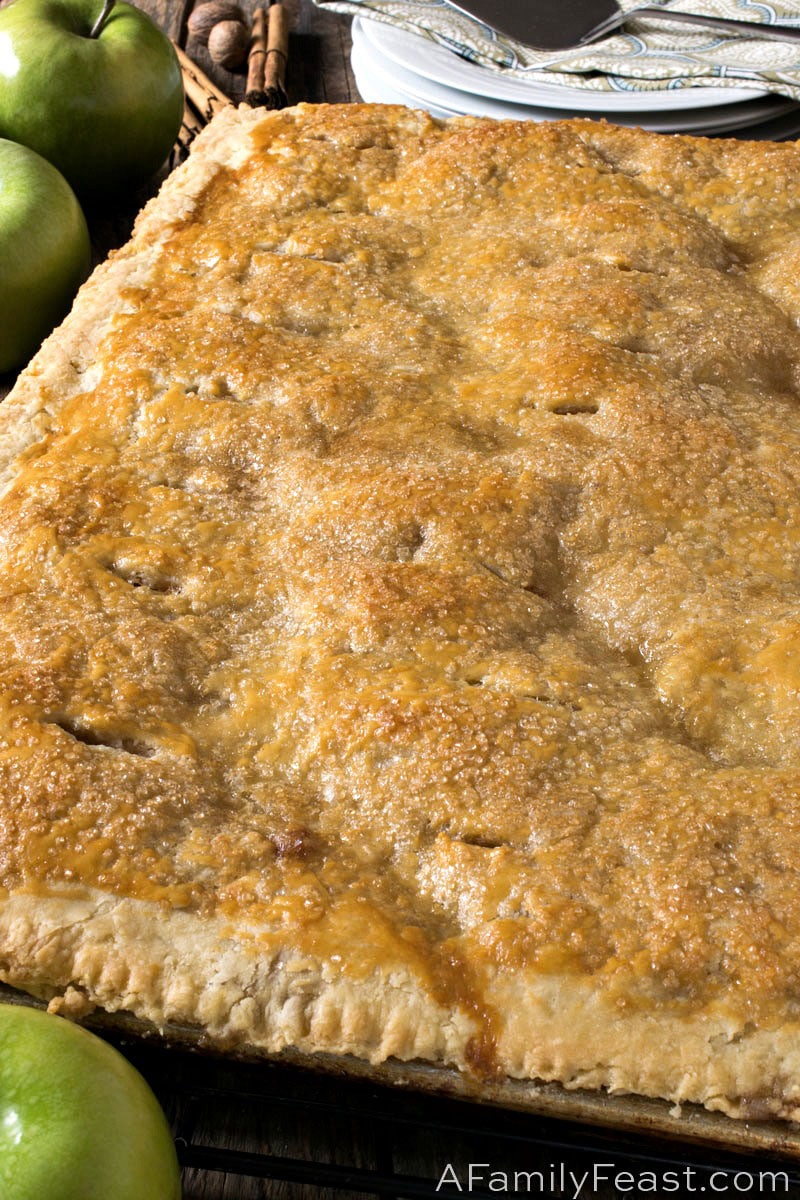
How do you make it?
You’ll start by mixing up a large batch of homemade pie crust. (Using a food processor is a big time-saver!) Then, split the dough in half – one for the bottom and one for the top of your pie – wrap in plastic, and chill until you assemble your pie.
While the crust chills, make a silky sauce for the pie filling. Melt butter in a saucepan, then whisk in some flour to create a roux. In a separate sauce pan, combine both granulated and brown sugar with cinnamon, nutmeg and ginger, then add some water to the saucepan. Stir and heat until the sugar is melted.
Combine the melted sugar mixture with the butter and flour roux – then stir and simmer to combine.
Peel and slice about five pounds of Granny Smith apples – placing the cut slices into a bowl of water and lemon juice so that the apple slices don’t oxidize and turn brown. We used this inexpensive mandolin slicer – and it made this slicing step quick and easy.
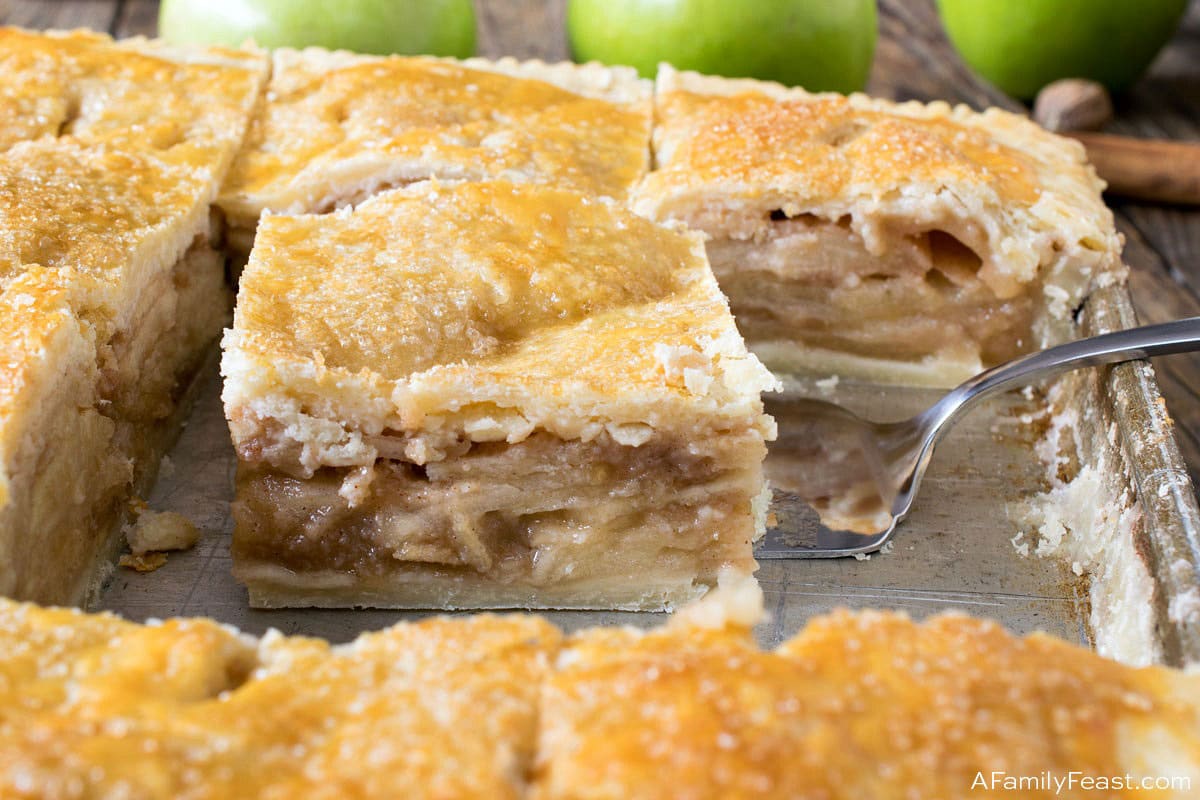
Now, you are ready to assemble your Apple Slab Pie.
Roll out one half of the pie crust dough and lay it in the bottom of sheet pan with the outer edges hanging over the sides of the pan.
Drain the apples, then place them evenly all over the dough-lined sheet pan. Then, pour that luscious sauce all over the apples.
Roll out the remaining dough and carefully place over the sliced apples. Trim any excess dough from the edges, then crimp with a fork. (We wanted this Apple Slab Pie to be big and rustic, and not at all fancy, so we used a fork to crimp the edges rather than making a fluted edge with our fingers.)
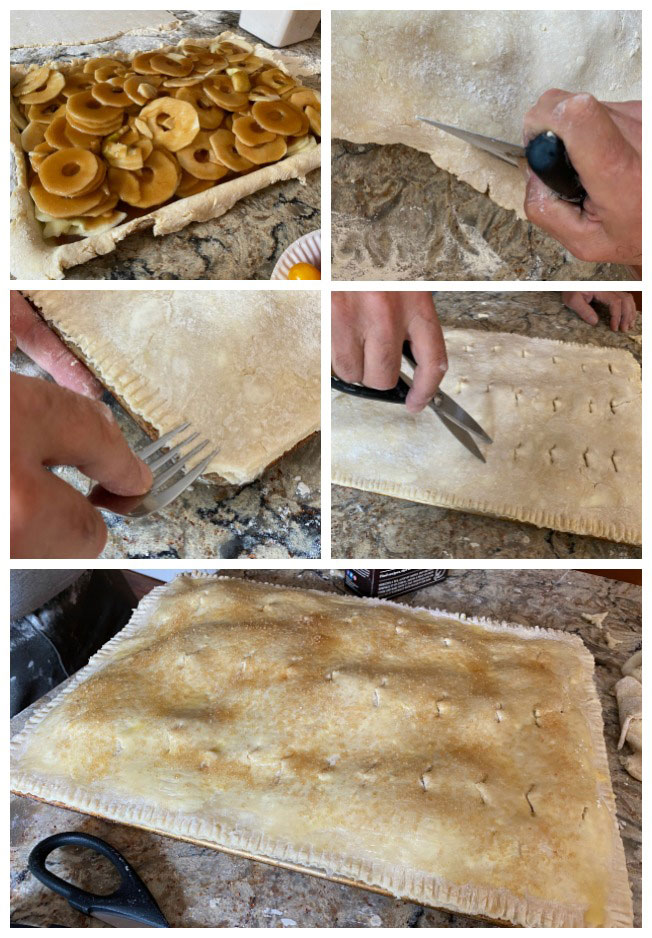
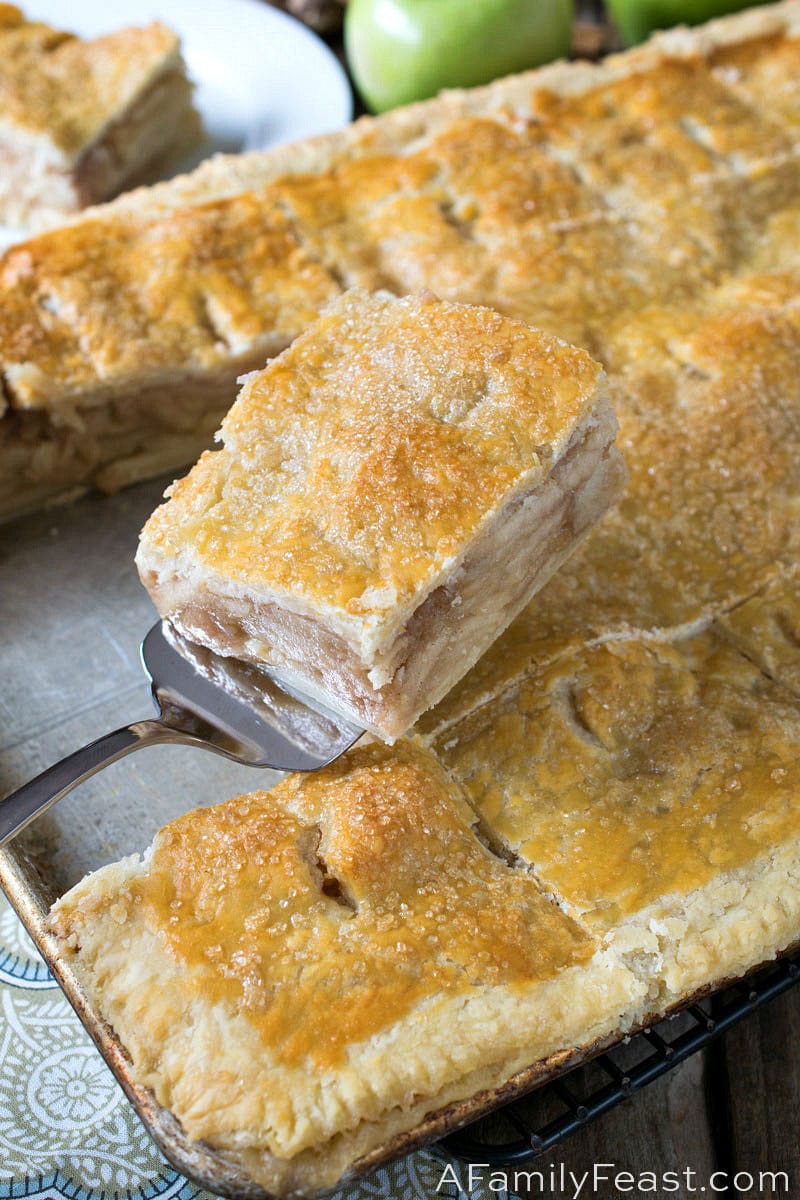
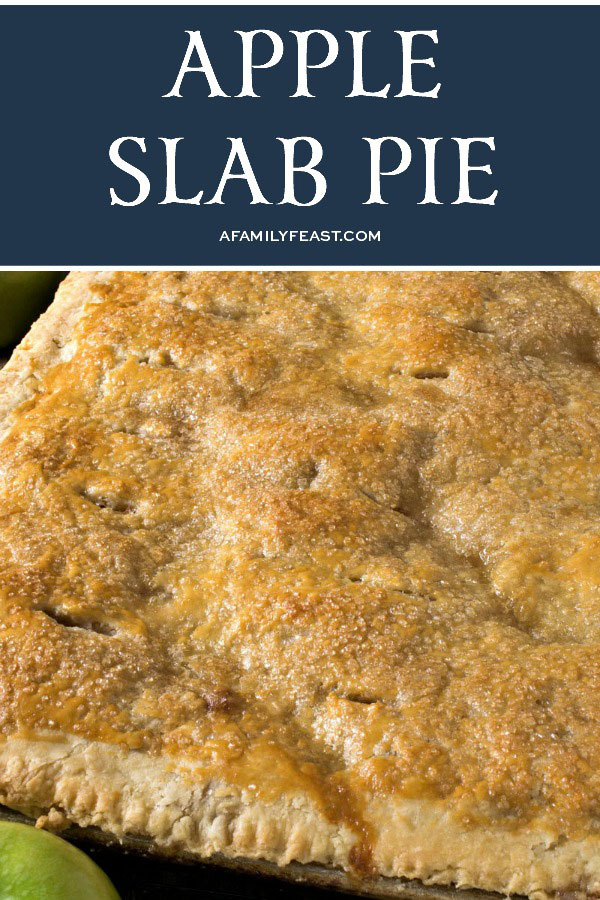
Use pastry shears to cut rows of holes in the top of the pie crust, then brush with an egg wash and sprinkle with Demerara sugar. This gives the top of your Apple Slab Pie that golden glisten.
Bake at a high temperature (425 F) for the first fifteen minutes, then lower the heat to 350 F, and bake until the top is golden and the inside is hot and bubbly.
How do I serve Apple Slab Pie?
Once out of the oven, it’s a good idea to let your Apple Slab Pie rest for at least an hour before serving. This will allow the filling to set up a bit.
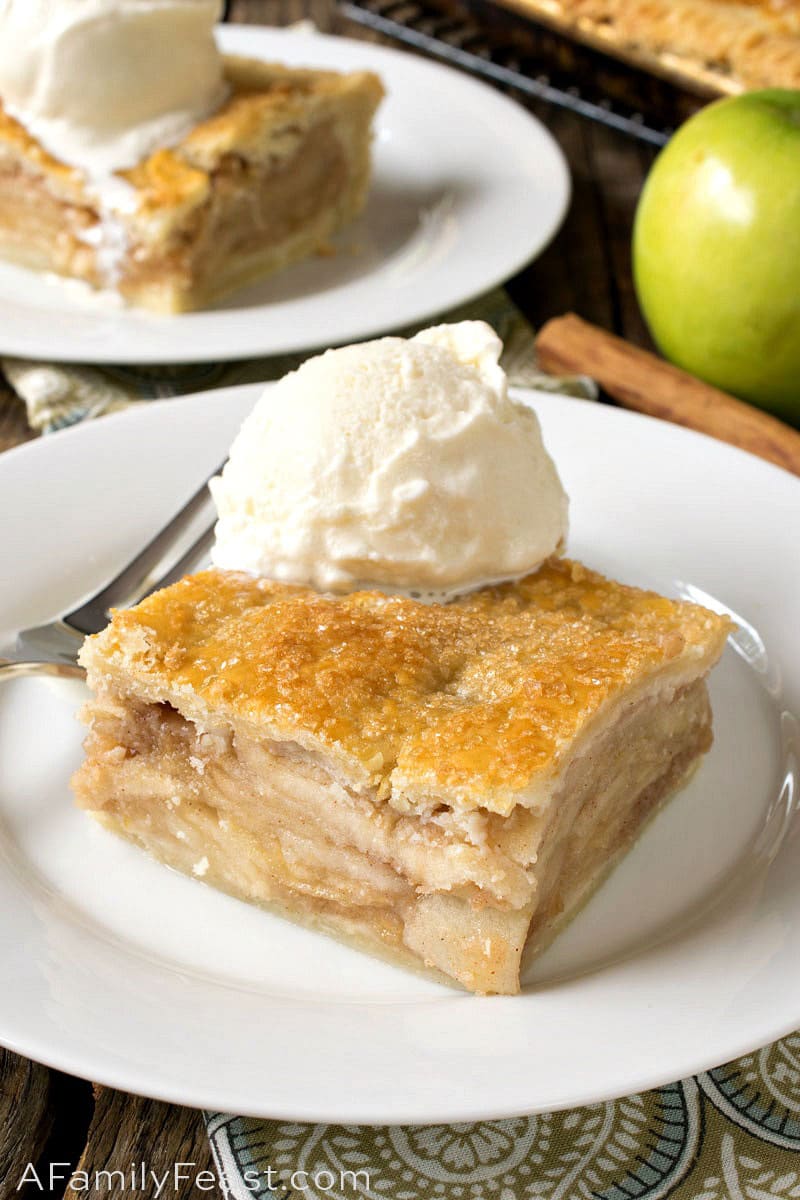
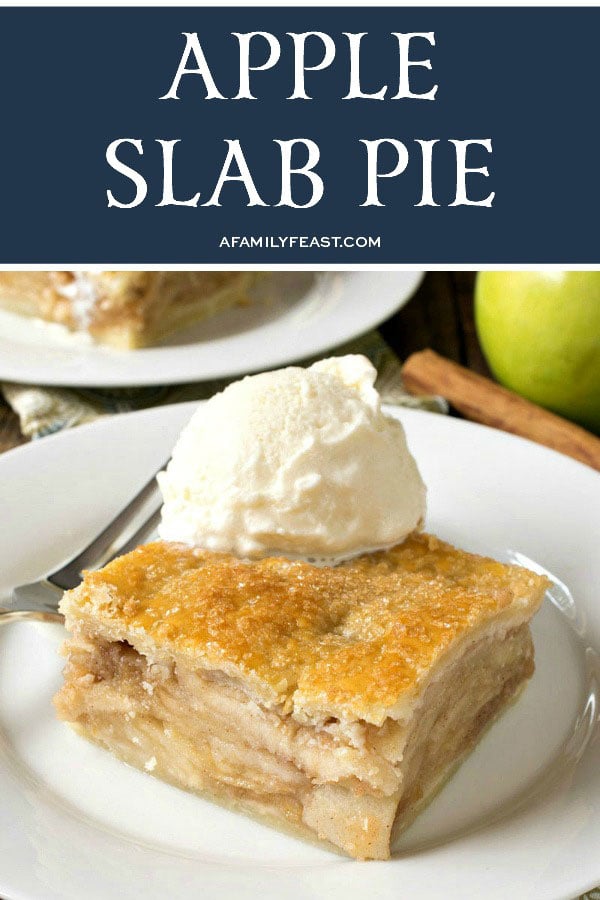
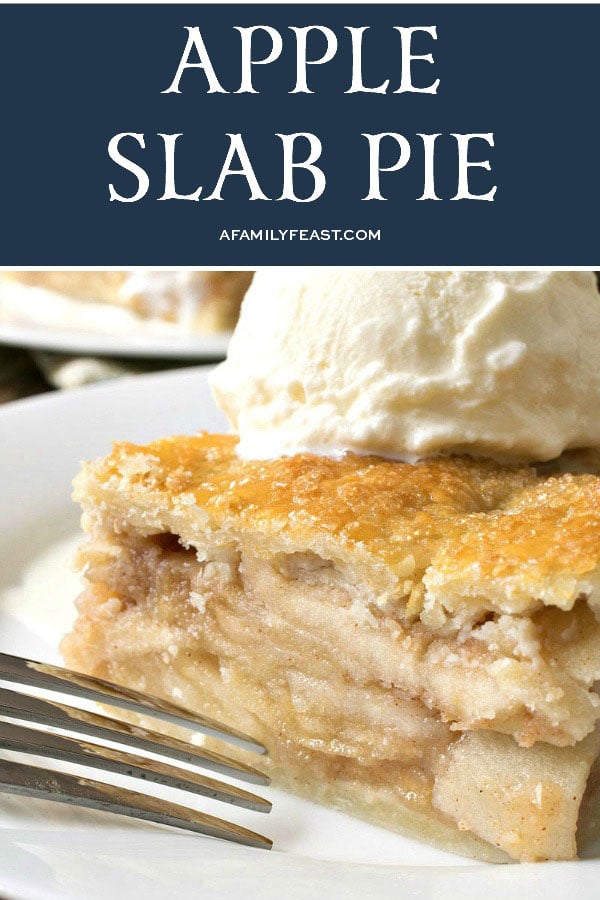
Slice into twenty slices (4 rows by 5 rows) then serve with vanilla ice cream while still warm.
Enjoy!
You may enjoy these other apple recipes:
- Apple Crisp
- Apple Pie Jam
- Apple Cider Poke Pound Cake
- Apple Buttermilk Waffles with Apple Bourbon Sauce
- Apple Custard Pie
We love seeing what you made! Tag us on Instagram at @afamilyfeast or hashtag #afamilyfeast so we can see your creations!
Apple Slab Pie
Ingredients
Instructions
In the bowl of a food processor, place 3 ¾ cups of flour, 1 ½ tablespoons sugar and 1 ½ teaspoons of salt and pulse to combine.
Cut three sticks of cold butter into pats and add one stick at a time, pulsing to combine each stick. Then keep pulsing until the butter is rice sized. Pour this into a large bowl.
Repeat with 3 ¾ more cups of flour, another 1 ½ tablespoons sugar and another 1 ½ teaspoons of salt and three more sticks of cold butter, added as above. Pour this into the large bowl with the first batch.
Add a half cup of cold water at a time to the bowl, mixing the dough with your hands as you go. You may not need all of the water to produce a shaggy dough. It should form together but be a little shaggy and rough. If you grab a handful and squeeze, it should stay formed in your hand and not crumble. (I actually dumped mine onto my counter, made a well in the center and mixed by hand pouring the water into the well. But either way will work.)
Divide this shaggy dough in half (each half should weight about 2 ¼ pounds). Form each dough half into a 4X8 inch rectangle, wrap each tight with plastic wrap and refrigerate for at least 30 minutes while you work on the filling.
In a medium to large sauce pan, melt the three sticks of butter over medium heat and once melted, add all of the flour and whisk. Cook this over low heat for three minutes.
While the butter/flour mixture is cooking, in a smaller sauce pan, place both sugars, cinnamon, ginger, nutmeg and water and bring to a boil to dissolve the sugar.
Whisk the sugar mixture into the butter/flour mixture and bring to a boil. Lower to a simmer and keep on low for ten minutes.
After ten minutes, whisk again to incorporate any butter that rose to the top and set aside.
To prepare the apples, have a large bowl standing by half filled with water and the juice from the two lemons.
Core and peel each apple. Use a mandolin and cut the apples top to bottom 1/8th inch thick and place in the water.
Repeat for all of the apples but keep a wet paper towel over the top as you work so they stay wet and submerged in the lemon water. The lemon water will be discarded before baking and is used to keep the apples from oxidizing.
Preheat the oven to 425 degrees F and place the oven rack in the center position.
Form a large piece of foil larger than the sheet tray and bend up the edges. Place this in the oven on the rack just below where you will place the sheet tray. This will be used to catch drips (and it will drip).
Flour your counter and roll out one of the pieces of dough a little larger than a standard 12X18 sheet tray.
Roll it up on the rolling pin then unroll into the pan, pressing the sides in and letting excess flop over.
Drain the apples in a colander, then use your hands to place them neatly into the pie dough lined sheet tray, spreading evenly.
Whisk the liquid one more time and slowly and carefully pour over the apples so that it seeps down and around the apples.
Flour your counter and roll out the second dough again a little larger than the sheet tray.
Brush the edge of the bottom dough with a little water so the top dough will stick.
Roll the top dough onto the rolling pin then unroll over the apples.
Use kitchen shears or a bench scraper to trim the edge and press the two dough pieces together.
Take a fork and press into the edge all the way around to seal.
Use the shears to make several slits across the top for steam to escape.
Brush the top, but not the edges, with the beaten egg then sprinkle on the sugar.
Bake for 15 minutes at 425 degrees F then lower to 350 degrees F and bake for 40-45 minutes longer or until the apples are tender, the top browns and you see the liquid starting to bubble up from the slits. Ours was done in 55 minutes total.
A probe thermometer inserted into one of the slits should register between 160- and 175-degrees F. The probe should easily pass through the cooked apples and not meet resistance.
Remove and let cool at room temperature for at least an hour to set. I placed mine in the refrigerator overnight but you can serve within an hour of it coming out of the oven.
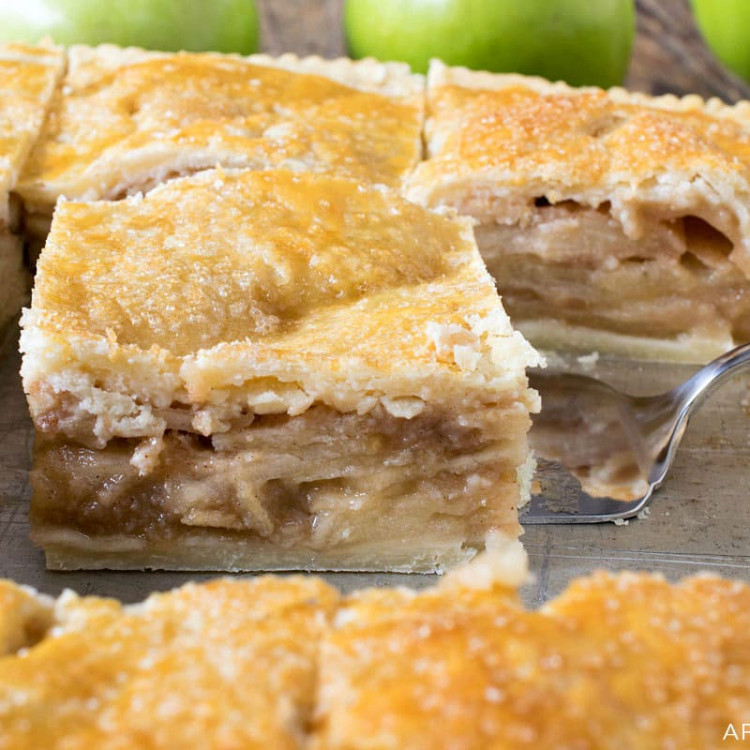
You can cut this pretty much any way you want, but I cut mine 4X5 into 20 squares.
Serve with vanilla ice cream.
Last Step! Please leave a review and rating letting us know how you liked this recipe! This helps our business thrive & continue providing free recipes.

can this be made ahead and frozen?
Hi Linda – We’ve never tried doing so – if you try it, please let us know how it works out!