
A few years back, my husband Jack decided that he wanted to perfect his bread-baking skills, so he started trying many different recipes in search of the perfect bread.
As part of that project, Jack came across the awesome cookbook, The Bread Baker’s Apprentice: Mastering the Art of Extraordinary Bread, a really great, informative book for anyone who wants to make homemade breads. This Pane Siciliano – or Sesame Seed Sicilian Bread – is by far our most favorite bread that he makes!
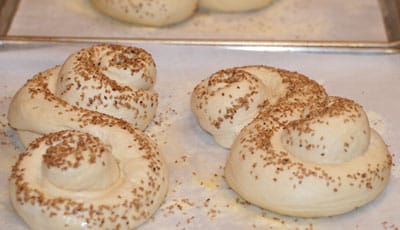
Be forewarned that this is not a quick mix-and-bake bread. The entire process (much of it letting the dough rest or rise) is spread out over three days to get the texture and taste of the bread just right. This Pane Siciliano is perfectly crusty on the outside – but not too crackly – and has a soft inside with large irregular holes. (Our idea of the perfect crusty bread!)

This dough is very versatile and it can be used to make a variety of breads and rolls. We’ve made it into a beautiful twisted shape here, but this dough also makes a great baguette, a large loaf, or even individual rolls.
This Pane Siciliano is so good! Back when Jack originally started making it, we once brought some loaves to a family holiday gathering and my niece Carrie absolutely fell in love with this bread! We had an extra loaf leftover, so Jack decided to give it to Carrie to take back home. On the drive home, my sister (Carrie’s mom) later told us that Carrie kept talking about “that bread” over and over again in the car – she loved it so much!
PrintPane Siciliano (Sesame Seed Sicilian bread)

- Prep Time: 72 hours
- Cook Time: 30 mins
- Total Time: 72 hours 30 minutes
- Yield: 3 loaves 1x
Ingredients
For the Pate Fermentee (used below)
- 1 1/8 cups unbleached all-purpose flour
- 1 1/8 cups unbleached bread flour
- 3/4 teaspoon of salt
- 1/2 teaspoon instant yeast
- 3/4 cup to 3/4 cup plus 2 tablespoons water (room temperature)
For the Pane Siciliano dough
- 1 3/4 cups bread flour
- 1 3/4 cups semolina flour
- 1 1/4 teaspoon salt
- 1 1/4 teaspoon instant yeast
- 2 tablespoons olive oil
- 1 tablespoon honey
- Pate Fermentee from above
- 1 1/4 to 1 1/2 cups warm water (90 to 100 degrees)
- Toasted sesame or black sesame seeds
Instructions
Day One
To Make Pate Fermentee
- In the bowl of a stand mixer with a paddle attachment, sift both flours, salt and yeast. Add ¾ cup of water.
- Mix on low speed until mixture comes together. If too dry, add additional 2 tablespoons of water a little at a time until mixture is sticky and pulling away from sides of bowl. If more water is needed, add one tablespoon at a time.
- Trade the paddle for a dough hook and mix the dough for four minutes or kneed by hand for six minutes on the counter.
- Transfer the dough to a bowl with a little bit of olive oil, turning dough so it is covered on all sides.
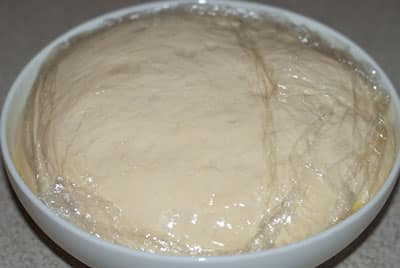
- Cover the bowl with plastic wrap and a dish towel and place in a warm location for about 90 minutes or until the dough rises to 1½ times its original size.
- Lightly punch the dough down and then cover. Place in the refrigerator overnight. This pre-dough can be kept in the refrigerator for up to three days or freeze for three months.
Day Two
To Prepare the Pane Siciliano Dough
- The next day and one hour before starting the bread dough, take Pate Fermentee out of the refrigerator and cut into 10 individuals pieces. Cover with plastic and a towel and let the dough warm up for one hour.
- In the bowl of a stand mixer with a paddle attachment, sift together both flours, salt and yeast. Add in olive oil, honey, Pate Fermentee pieces and 1 ¼ cups of water. Mix on low speed until mixture comes together and is tacky and sticks to the sides of the bowl. Add remaining ¼ cup of water a teaspoon at a time if needed and only if needed. Dough should be sticky not dry.
- Switch the paddle attachment for a dough hook and turn on low speed. Continue at low speed for 4-6 minutes until know is properly kneaded, or kneed by hand for 6-8 minutes. If you pull out a piece and stretch it between your hands, it should stay together and you should be able to see light through the stretched dough. If it tears, continue to kneed.
- Transfer the dough to a bowl with a little bit of olive oil turning the dough so it is covered on all sides.
- Cover the bowl with plastic wrap and a dish towel and place in a warm place for about two hours or until the dough doubles from its original size.
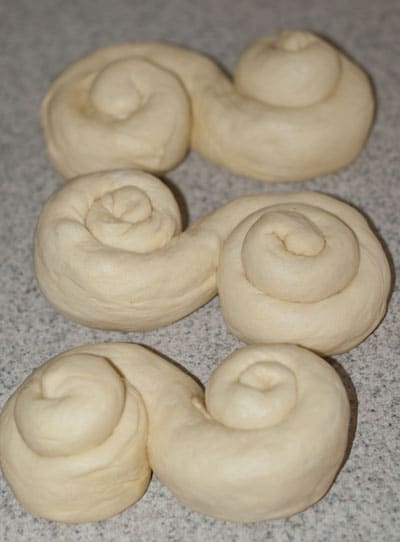
- Gently divide the dough into three equal pieces and roll out into three two foot long rolls trying not to degas the dough too much. Press a crease down the center of each roll and fold over and seal as if you were sealing and envelope ending with seam side down. If dough is not pliable enough, let rest for five minutes then continue. You want the dough to stretch and stay stretched and not bounce back or pull back.
- Roll each end around pin wheel style towards the center. Each end should roll in the opposite direction of the other end so it forms the letter S. Do not roll too tight, the S loop on each end should be just one 360 degree turn.
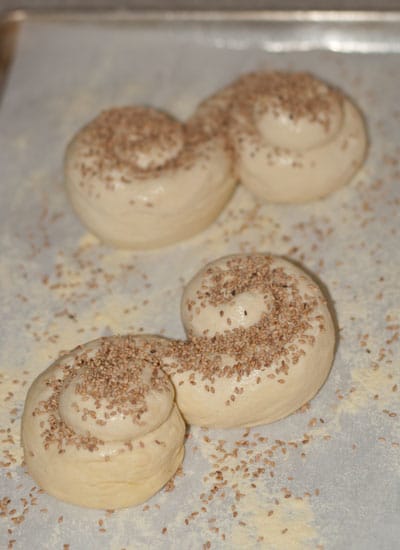
- Sprinkle two sheet pans with a little semolina flour and place two loaves of dough on one pan and the third in the center of the other pan. Leave enough room for the bread to double in size.
- Mist the top of each dough with water and sprinkle sesame seeds over.
- Spray the tops with pan spray so plastic wrap does not stick.
- Stick a tooth pick or two into each dough and cover pan with plastic wrap.
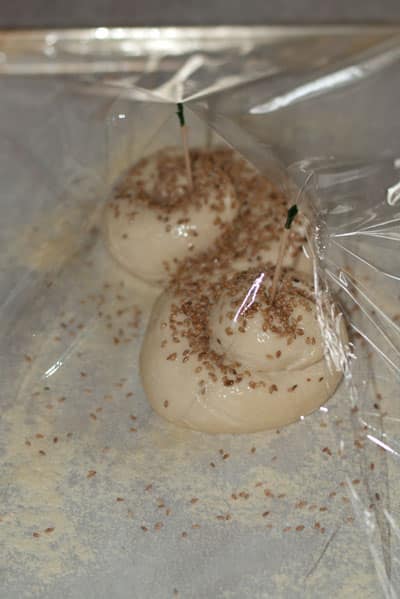
- Place pans in the refrigerator overnight.
Day Three
To Make the Baked Loaves – To recreate “Hearth Style Baking” follow the below steps.
- Remove the three pans from the refrigerator and bring up to room temperature (a few hours) The dough should be twice the size as the day before and when poked, should not spring back.
- Place the oven rack in the middle of the oven and place a shallow roasting pan or a cast iron pan in the bottom of the oven. Preheat the oven to 500 degrees.
- Fill a teapot with water and bring to a boil. Fill a water mister with water.
- Once the oven is hot and the water is hot, uncover the dough and remove the tooth picks.
- Working quickly, place the bread dough onto the middle rack and pour a cup of hot water into the pan at the bottom of the oven and close the door. After 30 seconds, spray the oven walls with the mister and close the door. Repeat twice more at 30 second intervals.
- After the final spray, lower the oven temperature to 450 and bake for 15 minutes. Rotate the pan 180 degrees. At this point, if the loaves are touching, separate them slightly.
- Bake for another 10-15 minutes more until the loaves are rich and golden brown all over. If there are still white parts, extend the baking time a few extra minutes. Internal bread temp should be between 200 and 205 degrees using a probe thermometer.
- Remove the pans and transfer the bread to a cooling rack and cool for 45 minutes.
- Note: If you have the standard home oven, bake the two pans separately to make sure the heat and moisture are dispersed properly. If you have a larger oven, bake both pans together. All of the steps in this very long recipe are absolutely necessary for a superior finished product. Spray a fine mist of non-stick cooking spray (such as Pam) to give the loaves a fine sheen.
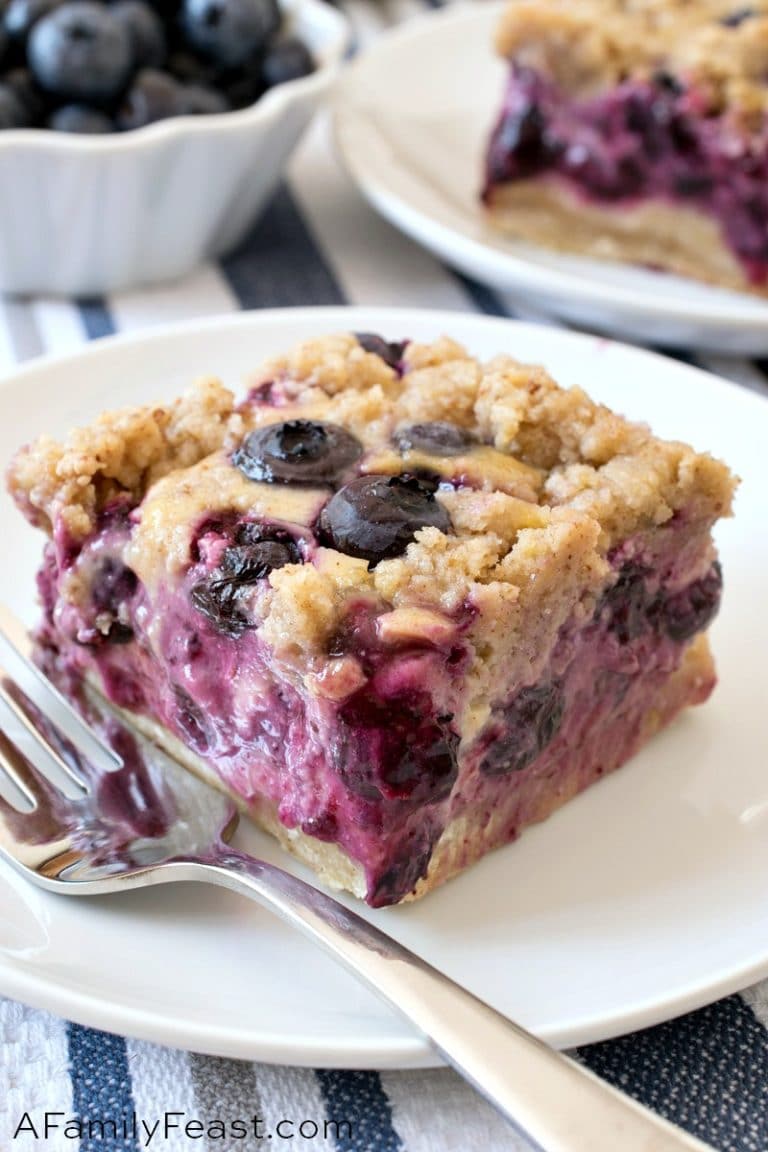
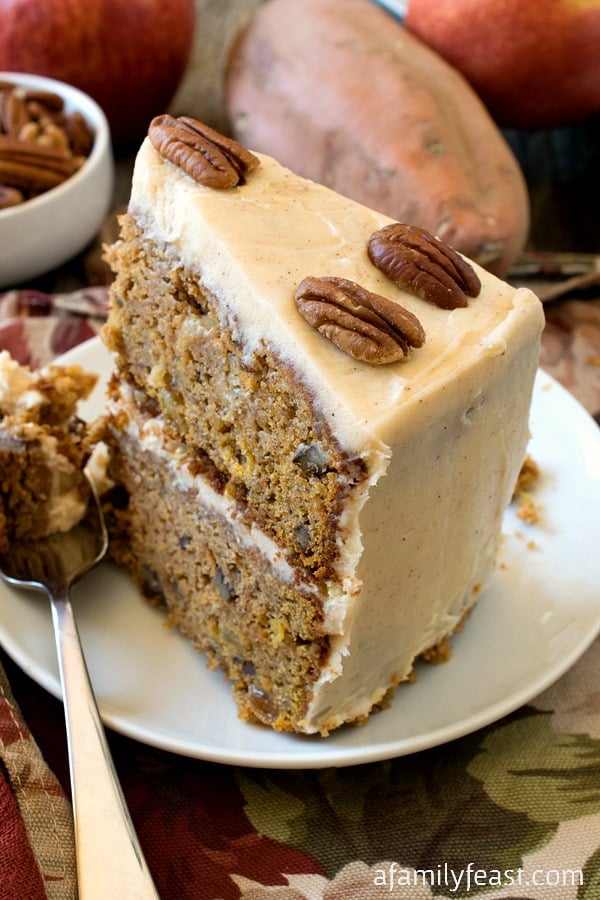
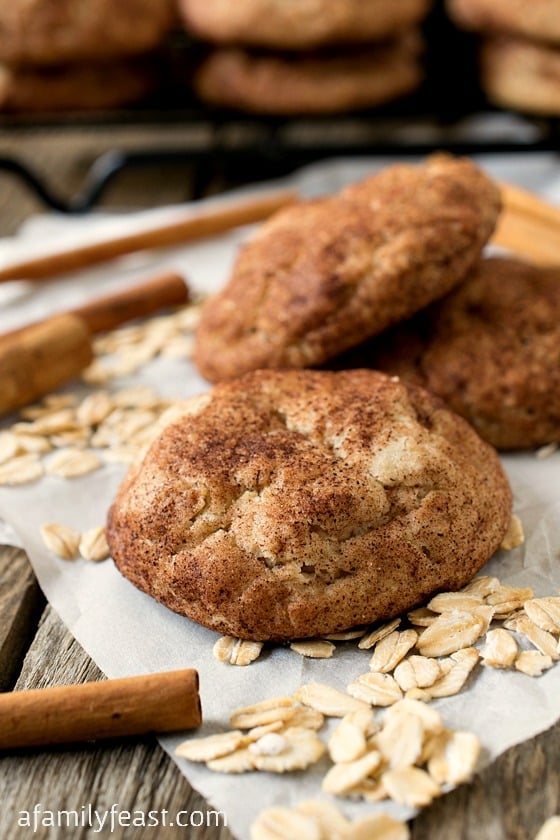
You may also like:


It needs 10 stars. I had this in Palermo Italy. This bread it’s so delicious!
Wow Aurora – thank you so much!
Loved this recipe! I cheated a little though….I started the Pate Fermentee at 4am Saturday morning, completed day 2 instructions Saturday evening and baked the loaves Sunday morning. Worked out perfectly with my schedule. Baked them on parchment on my baking stone and the crust was incredible! The inside was soft and flavorful. If I had more time I would have done it over the 3 days as I enjoy using cold fermentation for many dough recipes. It creates amazing flavor. Made one with sesame seeds and two without. I truly can’t wait to make this bread again!
So glad you shared a few shortcuts with us Julie!
I can’t wait to try this bread. Thank you for mixing/kneading in a stand mixer!!
Hope you enjoy the bread Kathy!
Hi I am in the process of making your bread at this moment, I am on day two and waiting for it to rise it has about another hour and a half, I’m still stumped about rolling the bread out 2 feet long but yet trying to keep the gases in, however it would be so amazing if you guys would make a video showing those portions of making the spread, I think it would answer a lot of unanswered questions thank you so much and wish me luck tomorrow when I bake this sincerely Tere Lopez
Thanks for your feedback Tere – we’ll definitely consider making a video the next time we bake this bread!
Hi I found this bread recipe and I’m so interested in making it, I absolutely love Italian bread I believe exactly what I’m looking for, how would I go about what is it in the final step when you divide them in three separate loves no one how would I feel this bread with some cheese and prosciutto for ham and proceed to bake this could you please direct me in the correct direction. Thank you
This is one of favorite recipes from my favorite book, “The Bread Baker’s Apprentice”. I just read through the dialog from the author and all he states is that “This dough can be used for many purposes beyond the traditional S-shaped loaf. It can be used as a pizza dough, for small rolls of any shape, and is also great for bread sticks”. Although he doesn’t specifically state that you can bake it with meats and cheese, I would think small amounts should bake up OK. At the most, I would think that the meat and cheese may affect the rise in the oven as it adds denseness to the bread. Maybe try it on one small piece formed into a roll before you commit to the whole loaf.
Good luck,
Jack