This post may contain affiliate links. Please read our disclosure policy.
Everyone needs a great Chocolate Cream Pie in their recipe collection. (This is the one you’ve been searching for!)
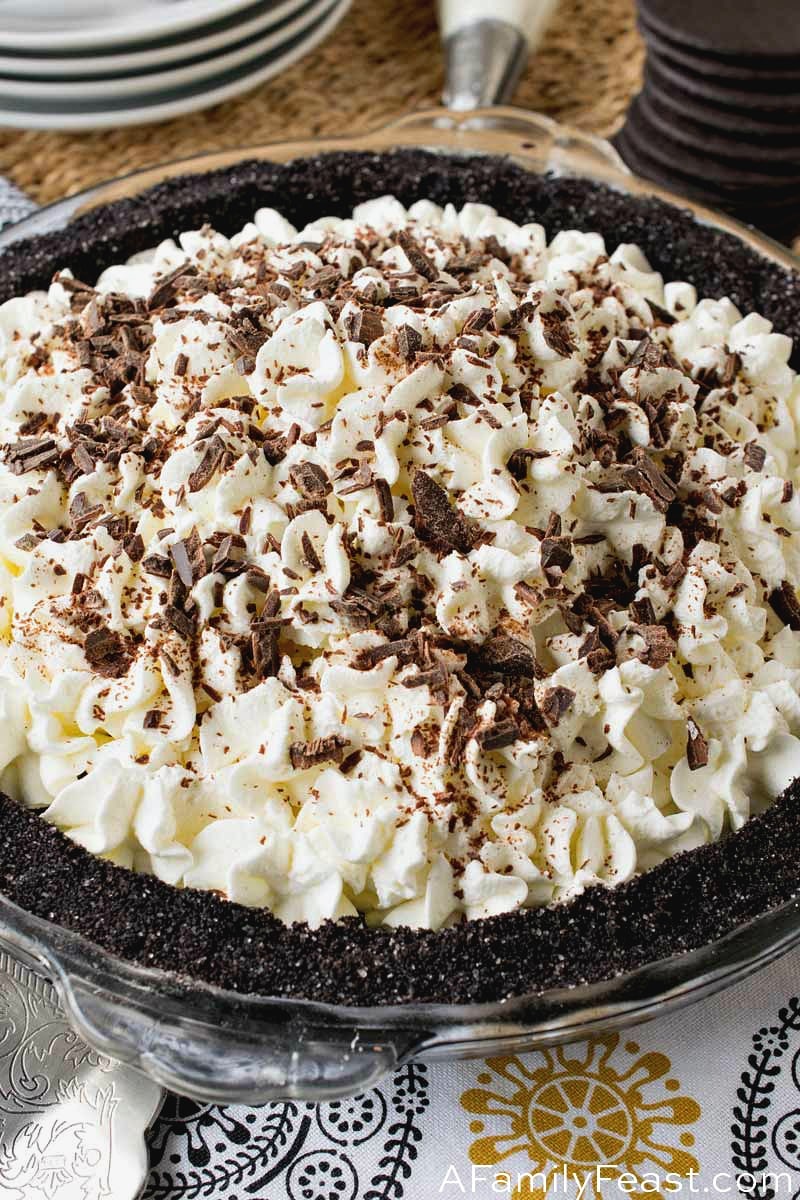
There’s always room on your holiday dessert table for a Chocolate Cream Pie! In fact – I predict – this will be one of the desserts that is sure to get eaten first. (My apologies to the pumpkin pie…)
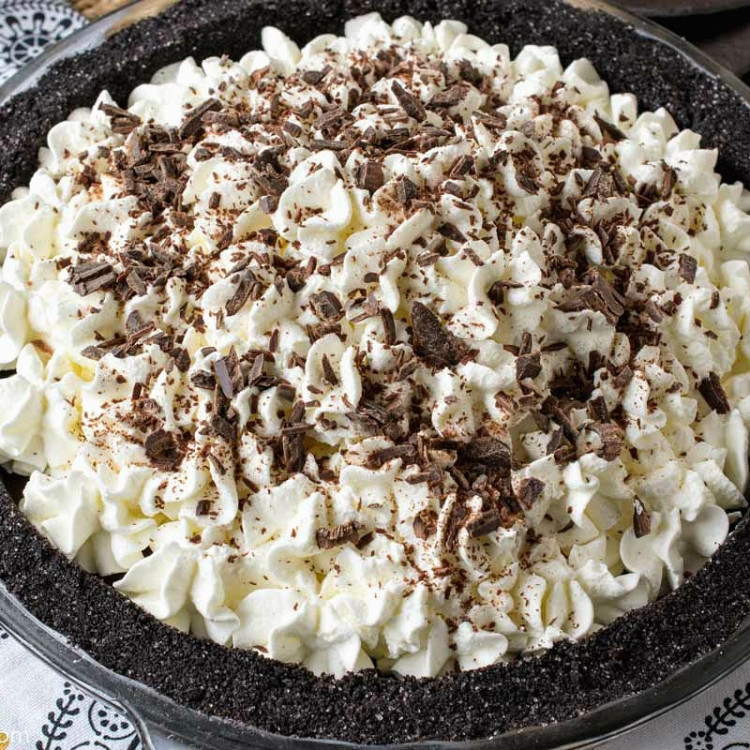
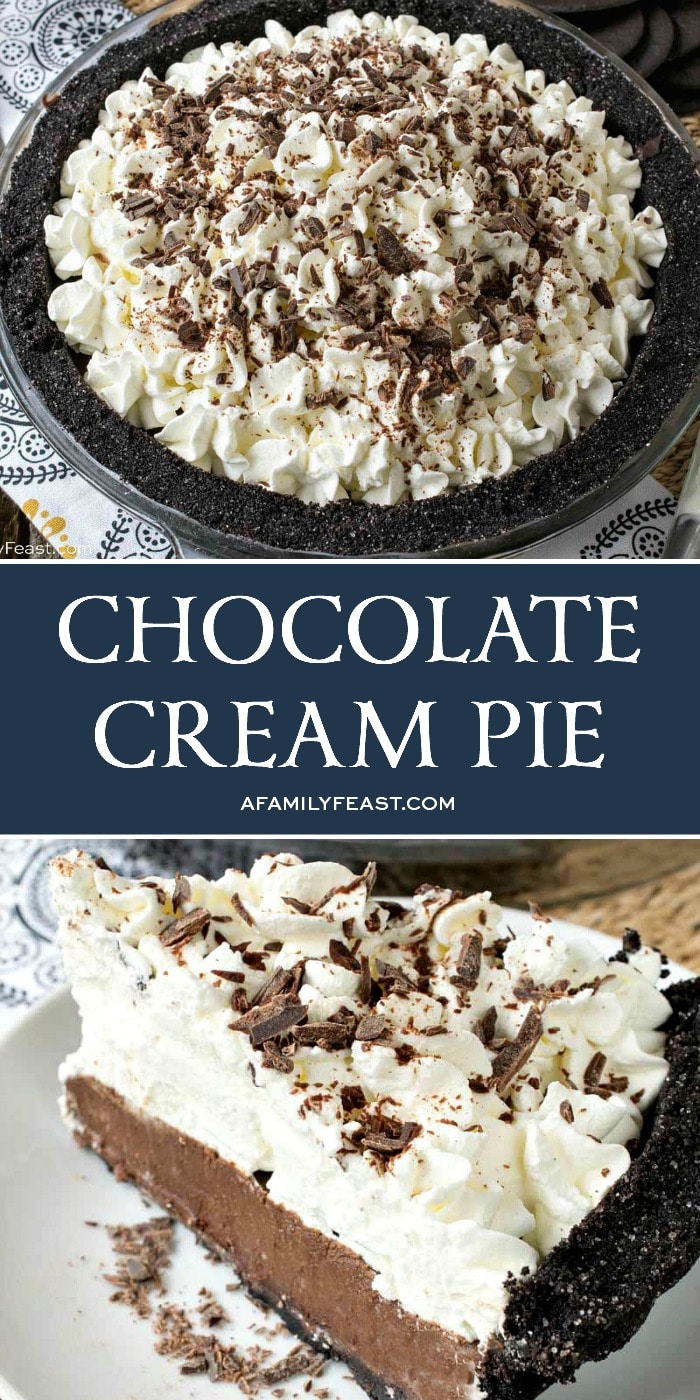
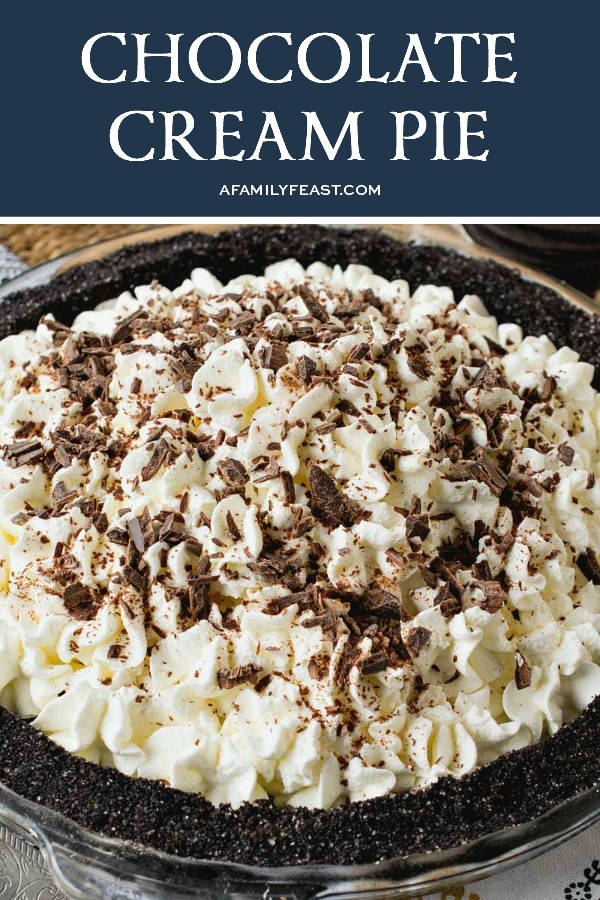
Who can blame your dinner guests? This creamy, rich chocolate pie has a sweet chocolate cookie crust, loaded with a dark chocolate filling, then topped with whipped cream and chocolate shavings. It’s heavenly!
This Chocolate Cream Pie is one of those recipes that you’ll want to make a day ahead of time, so plan accordingly.
How do you make Chocolate Cream Pie?
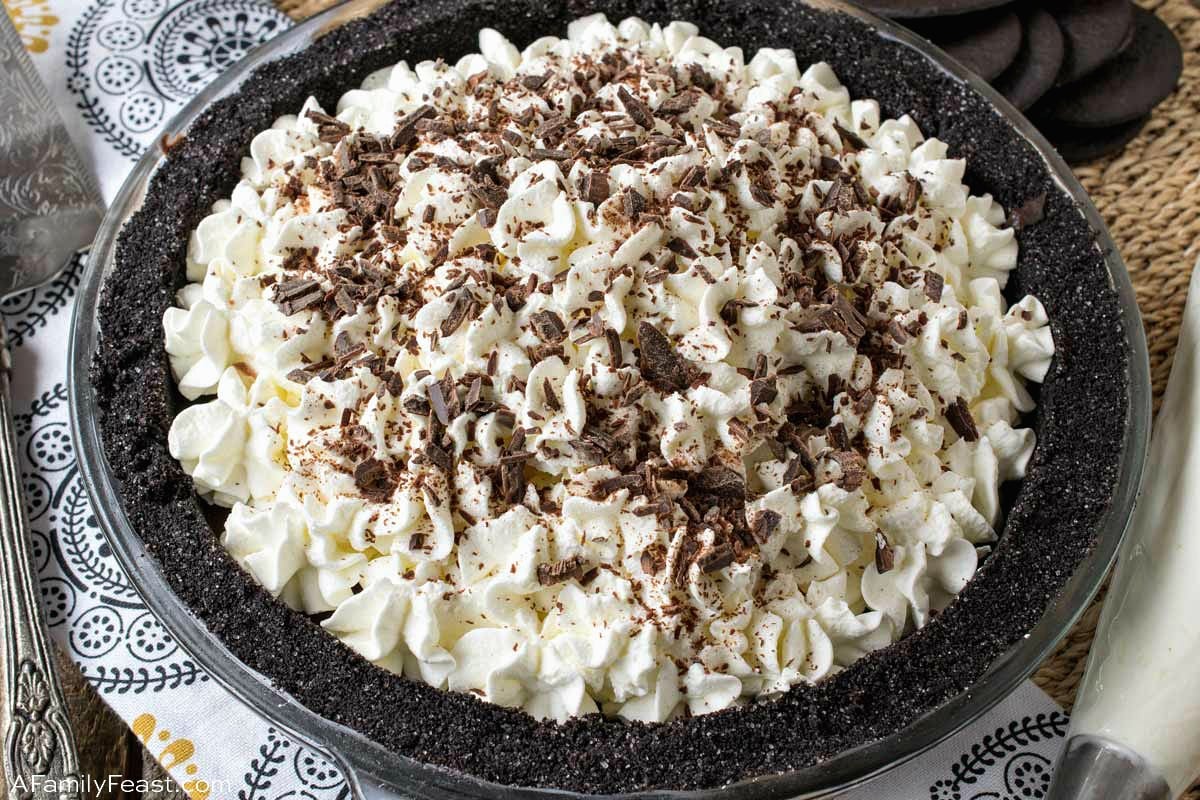
You’ll start by crushing a package of chocolate wafers in a food processor, then mixing the crumbs with sugar and butter. Press the crumbs into a pie plate, then bake in the oven for a few minutes. Sprinkle shaved chocolate over the hot crust – then place back in the oven just long enough for the chocolate to melt.
Use a pastry brush to spread the melted chocolate all over the inside of the crust – then allow it to cool. This melted chocolate coating adds delicious chocolatey flavor – and it prevents the crust from getting soggy once the filling is added.
While the pie crust sets, make a luscious chocolate-custard filling. Step-by-step instructions are detailed in the recipe card below – but I did want to point out that you can use whatever mix of chocolate you’d like, as long as it totals six ounces of chocolate.
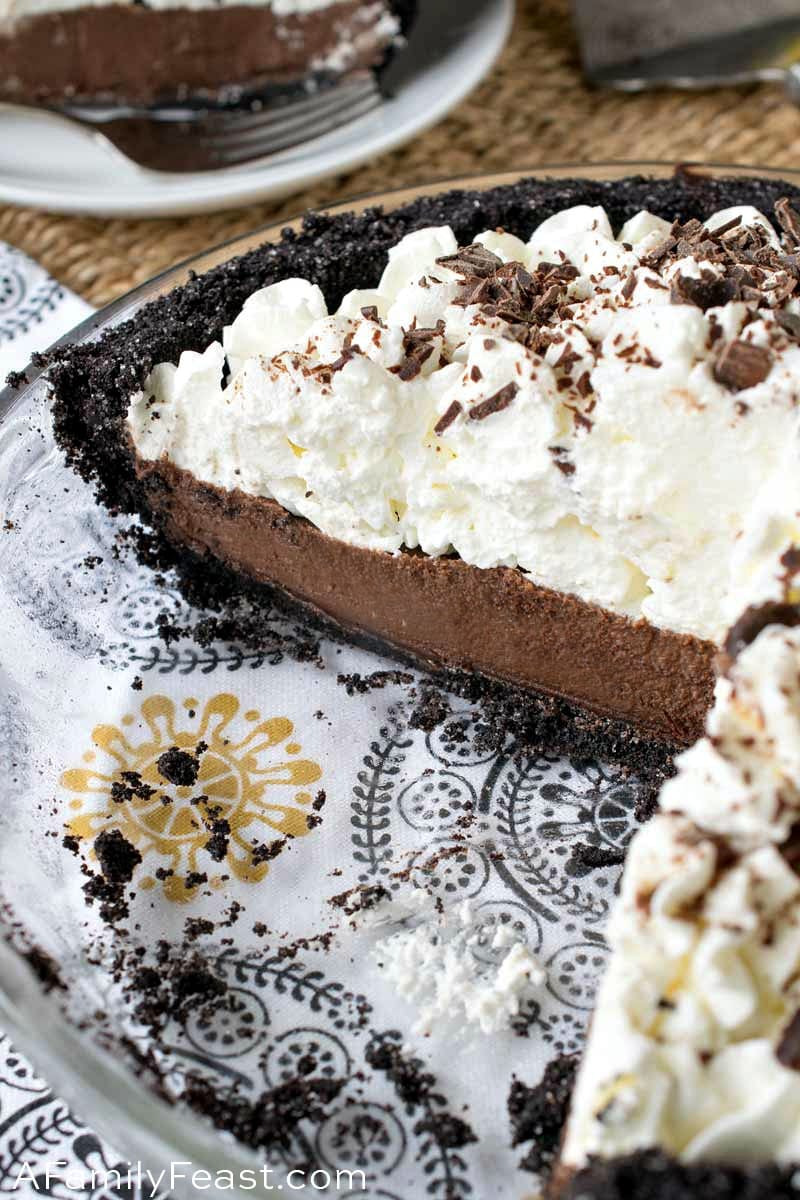
We made our Chocolate Cream Pie with a combination of two parts dark, bittersweet chocolate (70% cocoa) to one part semi-sweet morsels. This gave our pie a deep, rich, and not overly-sweet chocolate flavor. If you want a milder, sweeter chocolate filling, use more semi-sweet morsels and scale back the bittersweet chocolate.
We also added a touch of instant coffee to the filling. This is totally optional – and you can’t really taste the coffee at all – but it does add a nice depth of flavor to the filling.
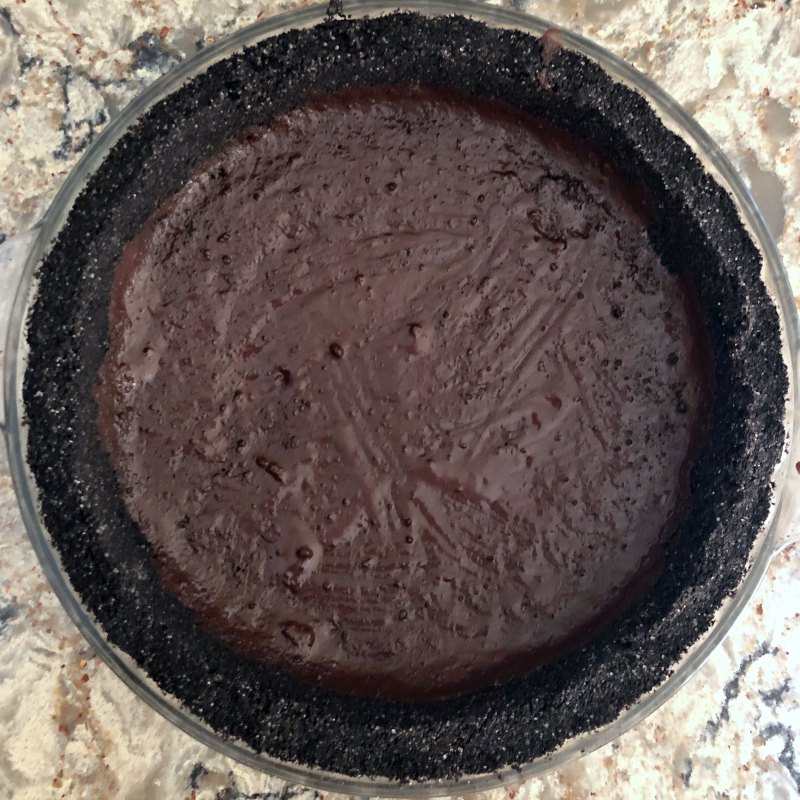
Pour the filling into the prepared crust, then chill for at least eight hours, or ideally overnight to set.
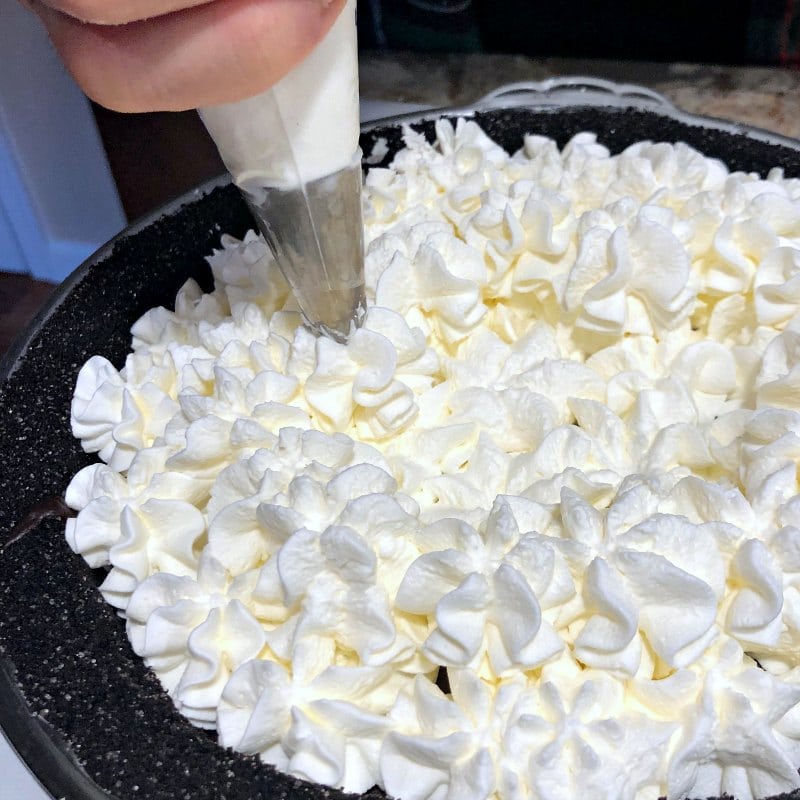
The next day, whip heavy cream with some confectioners’ sugar, then place in a pasty bag fitted with a star tip. Pipe stars over the entire top of your chocolate cream pie. (You can also simply spoon the whipped cream over the top of the pie, if you prefer.) Sprinkle with shaved milk chocolate for decoration.
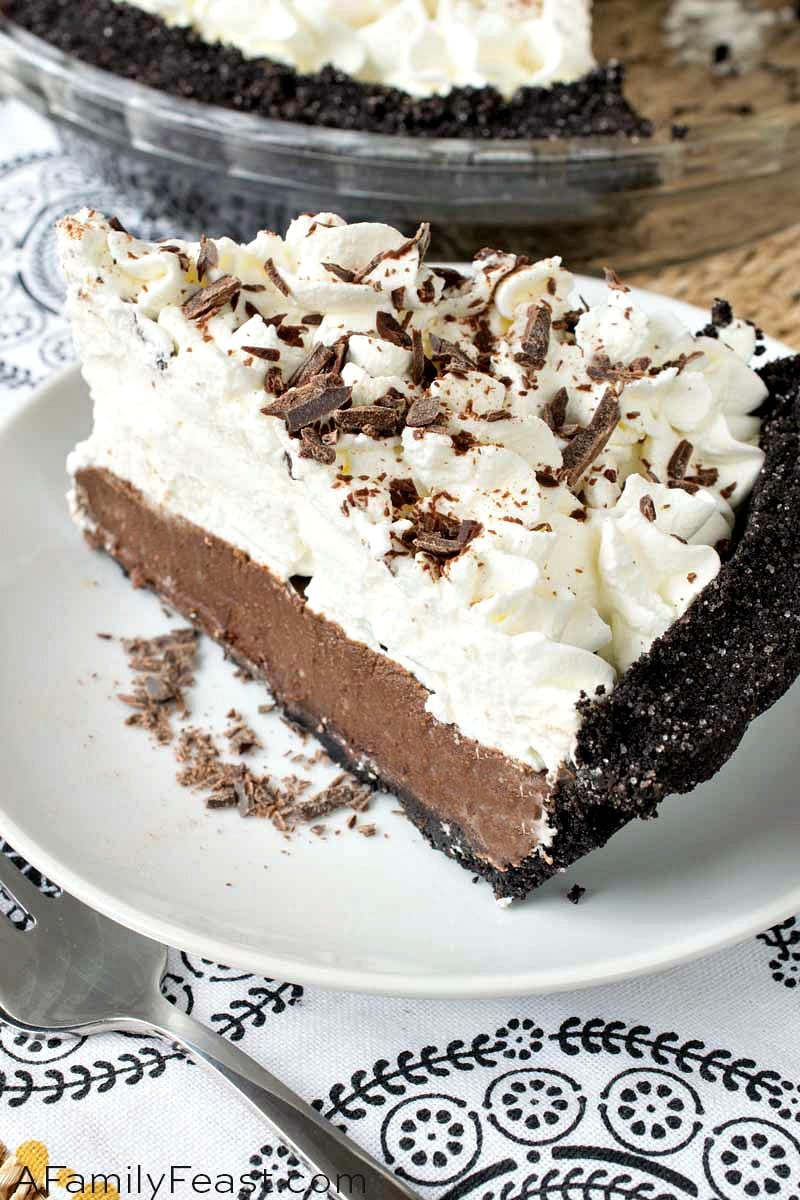
This Chocolate Cream Pie really is a delicious show-stopper of a dessert – and it’s the perfect ending for special meal.
You may enjoy these other chocolate pies:
- Chocolate Chip Peanut Butter Pie
- Malted Chocolate Buttermilk Pie
- Chocolate Peanut Butter Pie
- Chocolate Bourbon Pecan Pie
- White Chocolate Banana Cream Pie
We love seeing what you made! Tag us on Instagram at @afamilyfeast or hashtag #afamilyfeast so we can see your creations!
Chocolate Cream Pie
Ingredients
Crust
1 9–ounce package Famous Chocolate Wafers
1 stick butter, melted (1/2 cup)
1/3 cup granulated sugar
2 ounces dark chocolate (half a four-ounce package)
Filling
4 large or 5 medium egg yolks, room temperature
1/3 cup granulated sugar
3/4 cup half and half
1 cup heavy cream
1 teaspoon instant coffee (optional)
4-ounce package 70% dark chocolate, broken up* (OK to use less dark and more semi-sweet)
2 ounces semi-sweet morsels (about 1/4 cup) * (OK to use less dark and more semi-sweet)
1/4 teaspoon salt
1/2 teaspoon vanilla extract
Topping
2 cups heavy cream
1/3 cup confectioner’s sugar
2 ounces milk chocolate
Instructions
This recipe is made in a 9.5″-10” pie dish.
Preheat oven to 375 degrees F.
Place wafers in food processor and grind to crumbs.
In a medium bowl, mix wafer crumbs, butter and sugar and press into the 10” pie dish using the bottom and edge of a glass or your measuring cup to press into the bottom and up the sides. Make sure the edges are firm and neat.
Bake for eight minutes.
While the crust is baking, use a grater and grate the two-ounce piece of dark chocolate or use the food processor to grind to a fine consistency.
As soon as the crust comes out of the oven, sprinkle the chocolate all over the crust and place back in the oven for 30 seconds.
Remove from oven and use a pastry brush to spread the now-melted chocolate on the bottom and as far up the edges as you can, being careful not to press too hard and disturb the crust.
Cool for ten minutes and refrigerate while you work on the filling.
The filling uses three basic steps: melting the chocolate, heating the dairy and beating eggs and sugar. They are combined and poured into the crust.
Start with a medium bowl and beat egg yolks and sugar and set aside.
Next heat half and half with the one cup of heavy cream and optional coffee granules in a medium nonstick sauce pan over medium high heat getting it hot and scalded but not to a boil. As soon as bubbles start to form on the edges and steam starts to rise, turn the burner off. Stir and set aside.
Heat a sauce pan 1/3 full of water to a boil and set a glass or stainless-steel bowl over the top and lower heat to low. The bowl cannot touch the water. Add both the four-ounce bar of dark chocolate (broken up) along with the semi-sweet morsels and whisk until melted. This should take just a minute or two.
Remove from the hot water and set onto a kitchen towel and slowly whisk in the hot cream mixture.
Next, very slowly whisk the chocolate cream mixture into the egg and sugar mixture until combined.
Pour this mixture back into the non-stick pan that you used to heat the cream and over medium low heat, cook and whisk for seven minutes. You must whisk continually. It will thicken as it cooks.
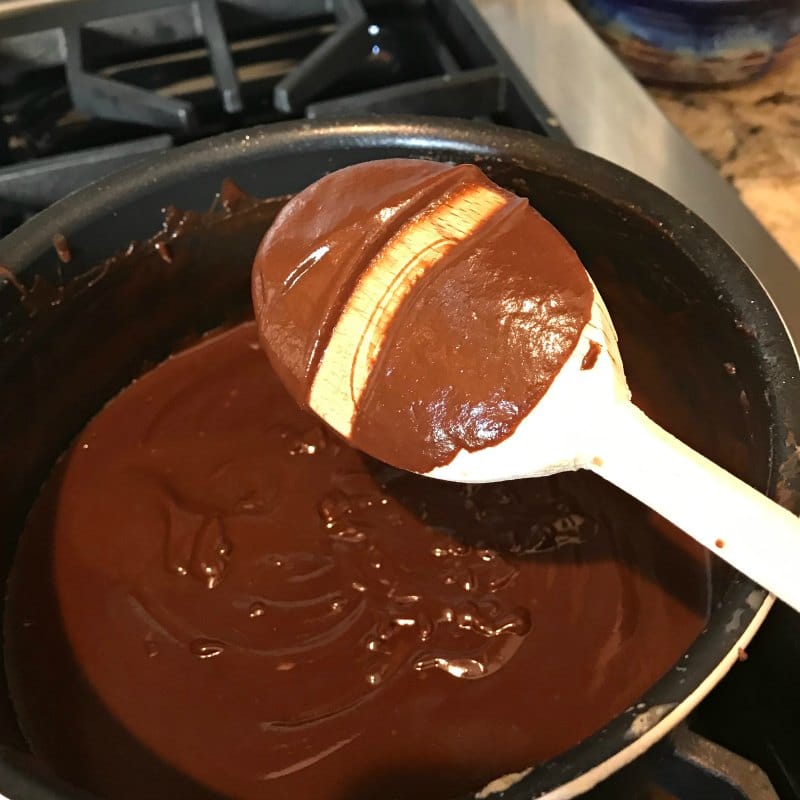
Remove from heat and dip the back of a wooden spoon into the mixture and draw your finger across it. It should leave a bare mark without the chocolate mixture filling in the spot. That tells you it is thick enough. If not, cook for 1-2 more minutes.
Whisk in the salt and vanilla then pour into the prepared crust, smoothing out the top. If the mixture is lumpy, pour through a strainer first before pouring into the crust. I did not need to do this step.
Refrigerate for at least eight hours or overnight.
Just before serving, in the bowl of a stand mixer with the whisk attachment, whisk the cream and confectioner’s sugar to a whipped consistency (just shy of stiff peaks) and place in a pastry bag with a large star tip. The whipped cream should stand up when whipped but be careful not to over whip.
Squeeze straight down making a star and working the outer edge towards the center, make multiple stars just touching each other until you reach the center. Start a new row further in and repeat multiple rows until the center is high, peaking down towards the edges.
Shave the milk chocolate over the top. If you have access to a large thick bar of milk chocolate, soften it slightly and drag a potato peeler over it to produce curls. If you are using standard 4-ounce bars, it will most likely just shred, which is fine. Sprinkle that over the top.
Cut and serve.
Last Step! Please leave a review and rating letting us know how you liked this recipe! This helps our business thrive & continue providing free recipes.
Notes
The proportion of dark to semi-sweet chocolate is up to you as long as the total equals six ounces. Our daughter likes it on the sweeter side so for her, we do half dark, half semi-sweet. We liked the bitter dark against the sweet crust and whipped topping so for ours, we use more bitter sweet than semi-sweet. Totally up to you.

Love it! So delicious!
Thank you!