This post may contain affiliate links. Please read our disclosure policy.
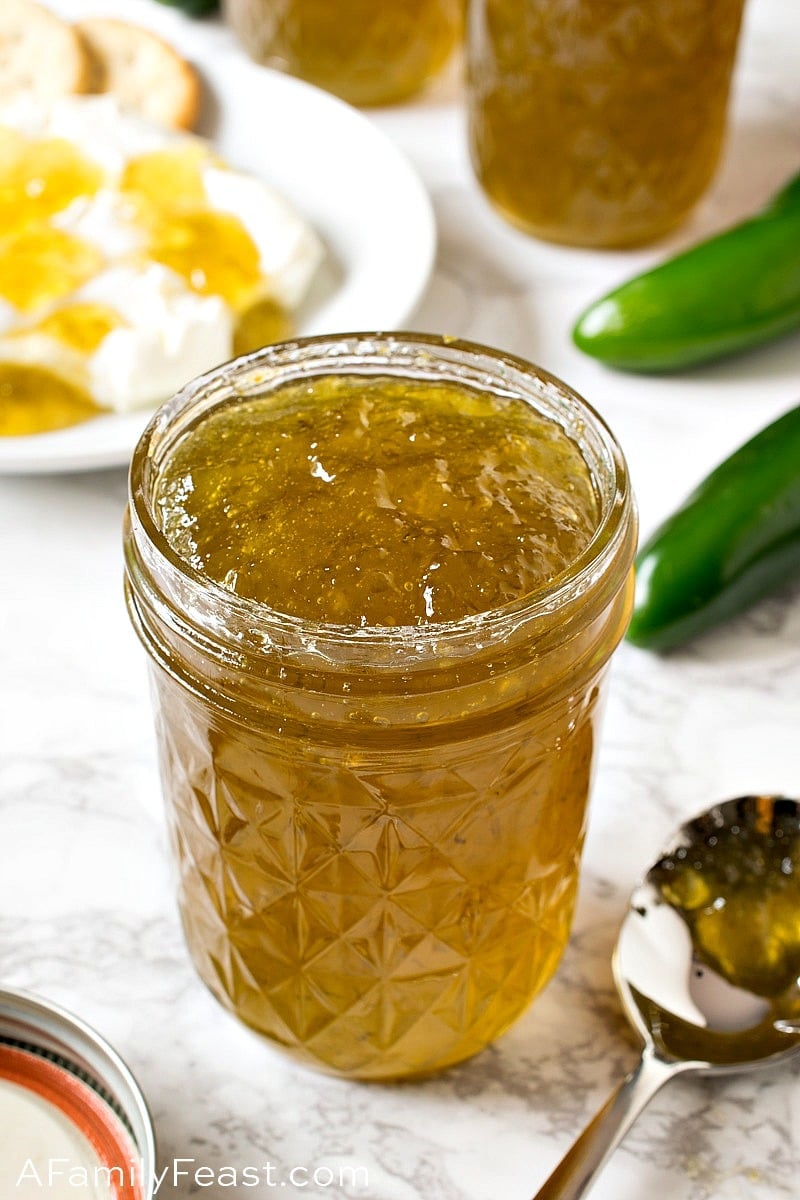
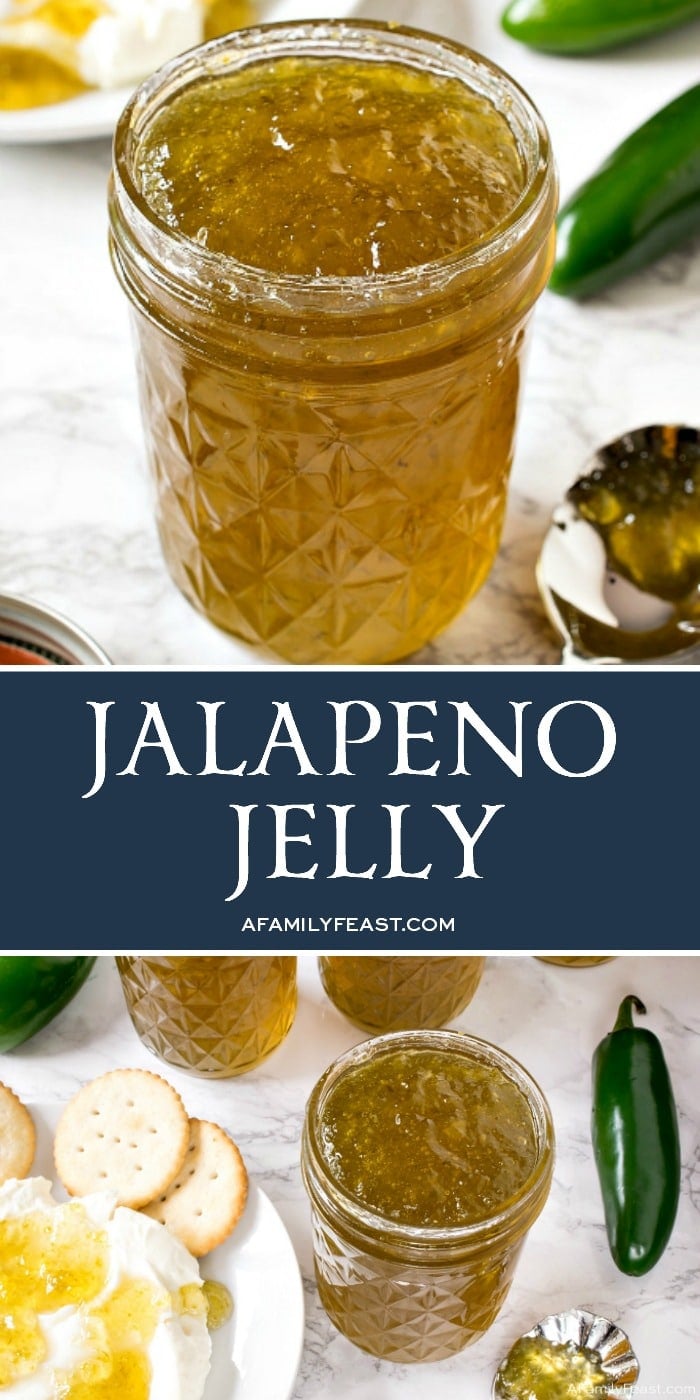
Homemade sweet and spicy Jalapeño Jelly is easy to make and absolutely delicious!
This post is sponsored by Ball® Fresh Preserving. All opinions are 100% mine. #BallProudlyHomemade
We’ve been growing fresh jalapeño peppers in our backyard garden this summer – and today’s Jalapeño Jelly is a delicious way to enjoy their zesty flavors for months to come.
We found this easy Jalapeño Jelly recipe over on BallHomeCanning.com.
We already have a few family members and friends hinting around that they would love a jar or two (or three) of this sweet and zesty homemade Jalapeño Jelly for themselves. 😉 And really…homemade jams and jellies are a great gift idea for the holidays (which, as a friendly reminder, are just a few months away)!
How do you make Jalapeño Jelly?
You’ll start by cleaning and coarsely chopping about a dozen fresh jalapeño peppers. You have a choice here: If you want a very spicy Jalapeño Jelly leave the seeds in, but if you want milder jelly with just a hint of heat, leave the seeds out. (Either way, we recommend that you wear food-safe latex gloves when you cut the peppers, and avoid rubbing your eyes or skin.)
Puree the jalapeños in a blender with some apple cider vinegar, then simmer in a pot with more vinegar and sugar.
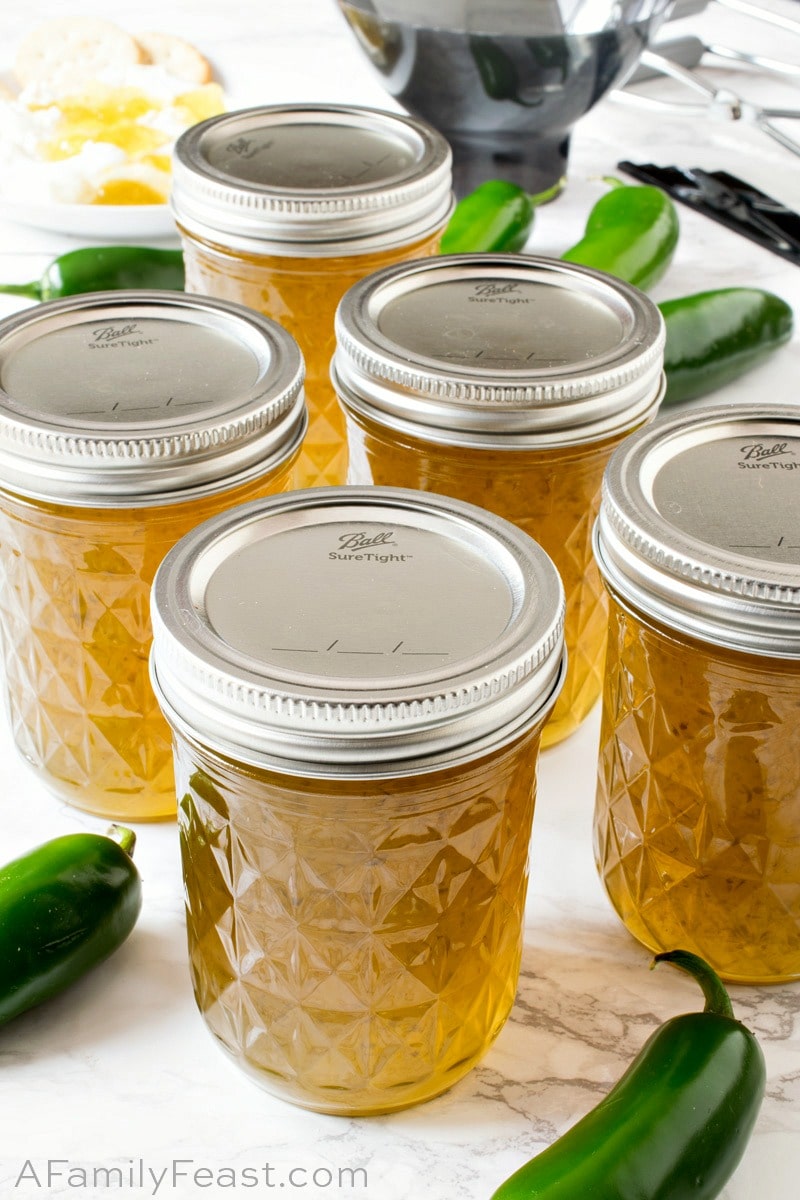
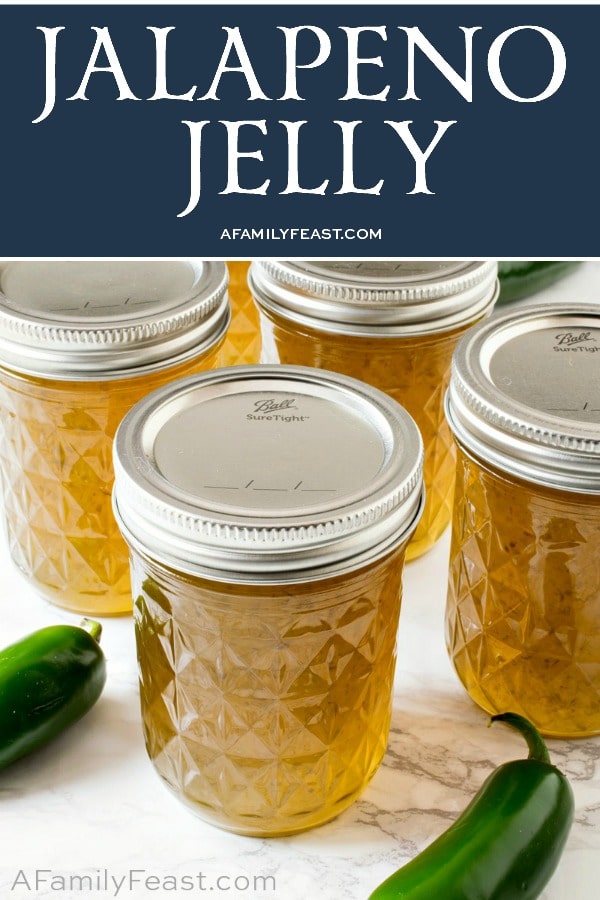
After the jalapeño mixture has boiled, add Ball® RealFruit™ Liquid Pectin, boil for another minute, then skim off any foam before ladling the Jalapeño Jelly into Ball® Half-Pint Mason Jars. (We used the Ball® Half-Pint Quilted Mason Jars in our photos, but any 8 ounce Ball® Mason Jar is great for this jelly recipe.)
Ready to can?
The Ball® Utensil Set for Preserving is a convenient solution for a canner who is looking for replacement utensils. The set contains a Jar Lifter, a Canning Funnel, and Bubble Remover/Head Space Tool. You can find that here.

Click here for a great deal on a 12-Pack of 16-ounce Wide Mouth Ball® Mason Jars too!
How do you serve Jalapeño Jelly?
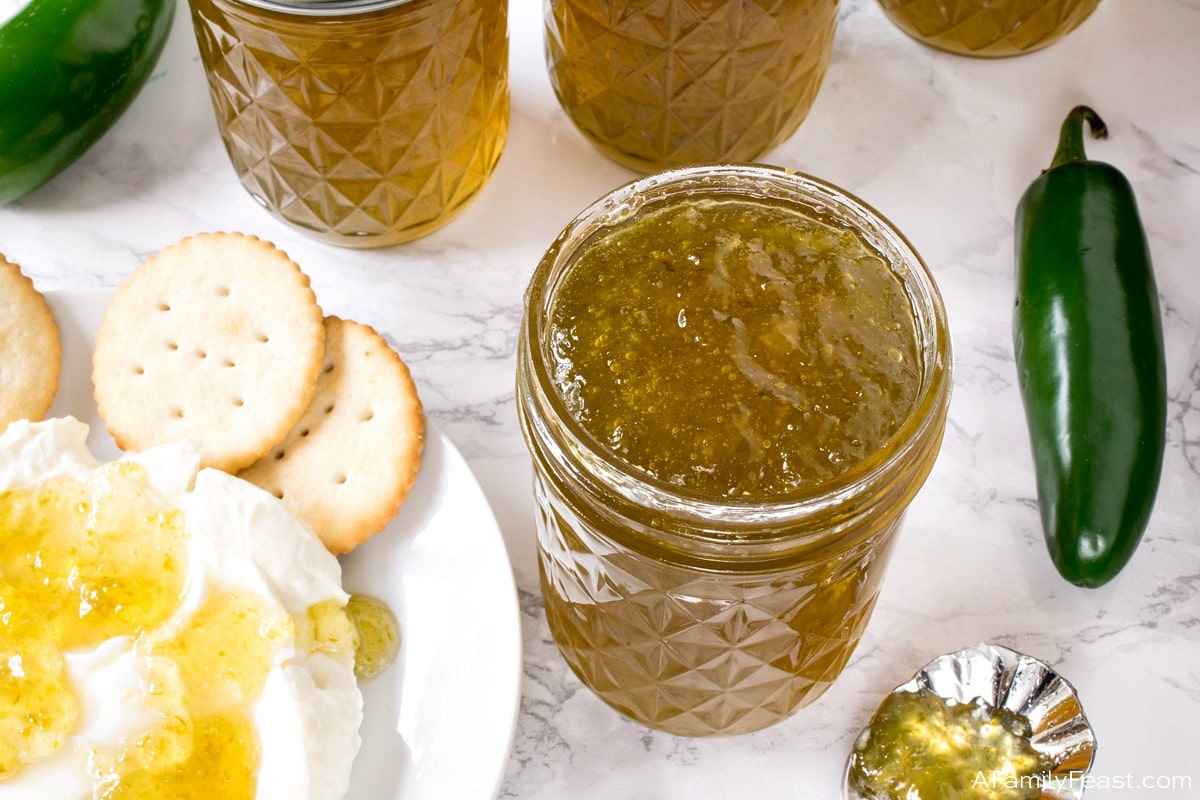
Serve Jalapeño Jelly spooned over softened cream cheese as a dip with crackers – you’ll love the sweet and zesty flavors of the jam with the cream cheese and salty crackers.
Or click here for our Jalapeño Popper Bites recipe. You’ll see that we’ve spooned this Jalapeño Jelly on top of a dollop of cream cheese inside a cheddar thumbprint cookie – for a very delicious bite!

Visit BallHomeCanning.com for new, seasonal recipes from Ball® Fresh Preserving, as well as to find new promotional offers throughout the summer!
We love seeing what you made! Tag us on Instagram at @afamilyfeast or hashtag #afamilyfeast so we can see your creations!

Jalapeño Jelly
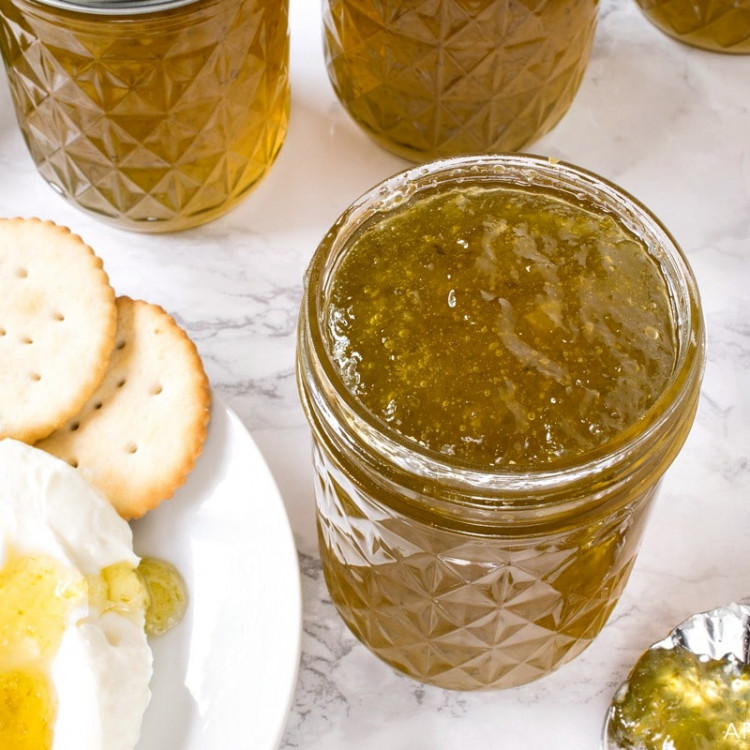
Homemade sweet and spicy Jalapeño Jelly is easy to make and absolutely delicious!
Recipe reprinted with permission from BallHomeCanning.com
Ingredients
12 ounces rinsed and stemmed jalapeño peppers (about 12 medium)
2 cups cider vinegar, divided
6 cups granulated sugar
1 3-ounce pouch Ball® RealFruit™ Liquid Pectin
Green food coloring, optional
5 Ball® (8 oz) half pint glass preserving jars with lids and bands
Instructions
Prepare boiling water canner. Heat jars in simmering water until ready to use. Do not boil. Wash lids in warm soapy water and set bands aside.
While wearing latex gloves, cut stems from fresh jalapeños, then cut peppers in half. Remove the seeds from the jalapeños for a less spicy jelly (Helpful hint: Run a teaspoon along the inside of each cut jalapeno to remove the seeds), or leave the seeds in if you’d like very spicy jelly.
Coarsely cut peppers, then place in a food processor or blender with 1 cup of vinegar. Puree until smooth. Do not strain.
Pour pureed jalapeño mixture into a medium pot along with the remaining 1 cup vinegar and all of the sugar.
Bring the mixture to a boil over high heat. (Be very careful here, this mixture WILL foam up and over the top unless you are careful.) Just as it starts to come to a boil, lower heat and with a ladle, skim off any foam. Then, increase the temperature under the pot to a point where it will gently boil, but not rise up and over the top.
Boil for 10 minutes then while whisking, add one pectin pouch and boil hard for an additional minute. Remove from heat, skimming any additional foam if necessary.
We chose not to add the optional green food coloring to our jelly. But if you’d like your jelly to be a darker green, add one or two drops and stir to combine.
Ladle hot jelly into hot jars leaving ¼ inch headspace. Wipe rim. Center lid on jar. Apply band until fit is fingertip tight.
Process in a boiling water canner for 10 minutes, adjusting for altitude. Remove jars and cool. Check lids for seal after 24 hours. Lid should not flex up and down when pressed in center.
Last Step! Please leave a review and rating letting us know how you liked this recipe! This helps our business thrive & continue providing free recipes.
Easy and delicious!
Thanks Katie – Glad you enjoyed the jelly!
Recipe turned out great, thanks for sharing.
You’re welcome!
This is the second year making this recipe. This year I doubled the recipe because it is in high demand by family and friends. It is delicious poured above cream cheese and eaten with crackers or chips. Yummmmmmmy!
Thanks Renee – agree – this is great with cream cheese!
I followed the X2 recipe but used dry pectin instead of liquid. To do this I added the pectin powder to the blender with the peppers and vinegar just before it was done. Poured into big pot added the remainder of vinegar. Brought to full Rolling boil for 1 minute then added sugar, another minute at full boil. It turned out great. Just had to do it using the dry pectin method.
Thanks Patsy – appreciate the instructions for other readers who want to use dry pectin.
Everyone has loved this!
Thanks Sue!
This recipe is AMAZING! I have had to make it in 2 double batches so far because everybody loves it!
Thanks Kathleen!
Just made this recipe today. How long does it take for the jelly to gel? It seems runny. Please help me evaluate.
Hi Patty – While the jelly is still hot, it will be softer and runnier. Once it cools it should be thicker but still spoonable. If yours is still very runny, you can try reheating it and adding more pectin.
I love this recipe for Jalapeño jelly. The only thing I would like better is the cup amount of the peppers after I pukse them down would be much easier when doubling or tripling the size.
Thanks for your feedback Eva. This recipe is directly from Ball Canning…they might be able to provide that to you. Just note that for the best recipe accuracy and proportions of ingredients, the original 12 ounce weight measurement before chopping (times however many batches you plan to make) is probably the best to go by because the size of your pulsed/chopped pieces may vary from another person’s chopped pieces. Smaller/larger pieces can throw off a cup volume measurement so weight is going to be the most accurate. Hope that helps.
Mine did not thicken up like it should have
I’m sorry to hear this Suzanne – you could try reheating the mixture and adding another pouch of the liquid pectin to achieve a thicker jelly.
I added drained crispy bacon when I puréed my jalapeños will that make a difference
Hi Donna – If you plan to can the jelly with the bacon added, I’d say yes it will make a difference. Safe canning practices require a certain acidity level to make it safe for long term storage. Adding a meat product will definitely change the overall acidity levels. If you just plan to eat the jelly with bacon added you’ll be fine however.