This post may contain affiliate links. Please read our disclosure policy.

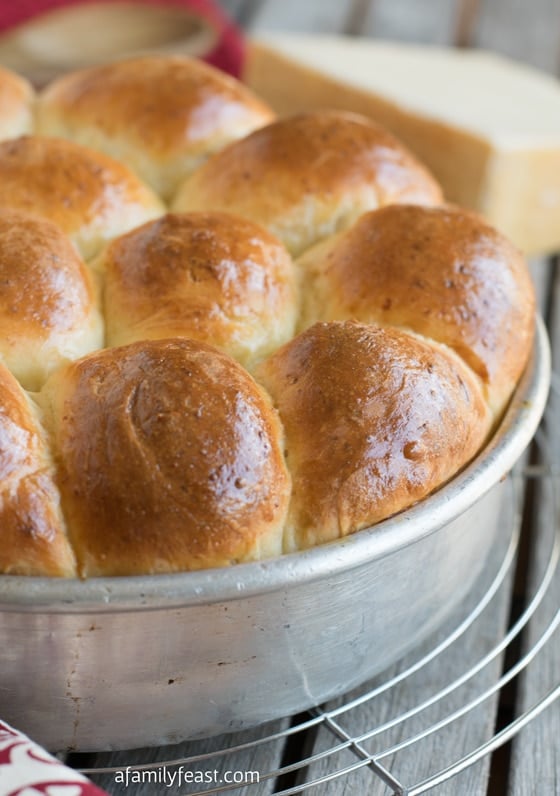
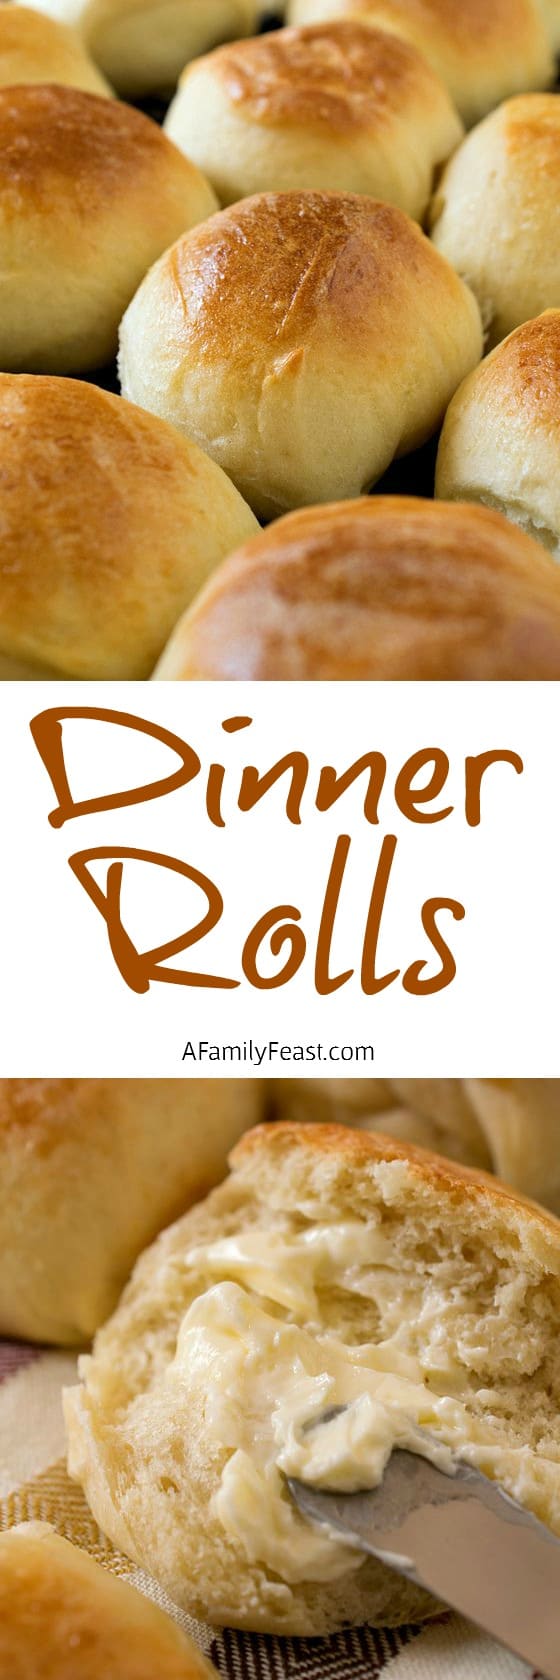
There is nothing better than the smell of freshly baked Dinner Rolls coming out of the oven…am I right? 🙂
If you are a regular reader here at A Family Feast – we gave you a sneak peek at these delicious dinner rolls last week!
These dinner rolls were shown as part of our Wolf Gourmet Countertop Oven product review and giveaway post (have you entered yet – you only have until October 31st!) and while we made these dinner rolls in that awesome countertop oven – any conventional range or wall oven will also work well.

The dough for these dinner rolls mixes up quickly and is very easy to handle, but you do need to let the dough proof for a few hours – right after you mix it, and then again after the dough is formed into balls – before baking them in the oven.
This dinner roll recipe is perfect for a special holiday dinner but easy enough for every day! It is also very versatile! You could use this same recipe to make equally-delicious dinner rolls topped with sesame seeds or poppy seeds – just sprinkle the seeds on right after the egg wash step in the recipe.
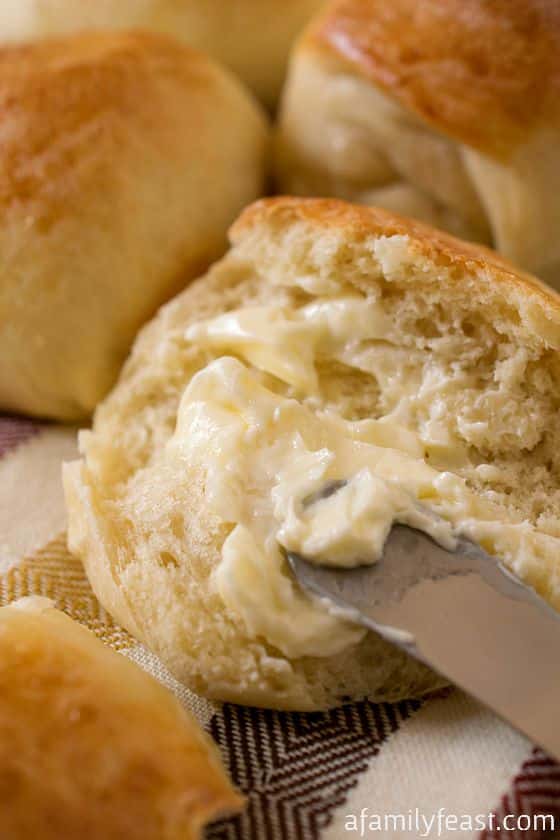
You can also bake these dinner rolls in advance and freeze them. Just defrost then wrap a few in foil and place in a moderate oven until warm.
Don’t forget the butter!
Adapted from The Bread Baker’s Apprentice: Mastering the Art of Extraordinary Bread (affiliate link).
We love seeing what you made! Tag us on Instagram at @afamilyfeast or hashtag #afamilyfeast so we can see your creations!
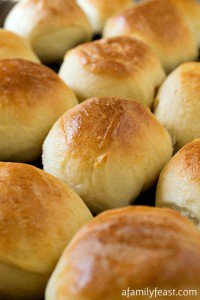
Dinner Rolls
Ingredients
- 4 3/4 cups unbleached bread flour
- 1 1/2 teaspoons salt
- 1/4 cup powdered milk
- 3 1/4 tablespoons granulated sugar
- 2 teaspoons instant dry yeast
- 1 large egg, room temperature and beaten slightly
- 3 1/4 tablespoons unsalted butter, melted
- 1 1/2 to 1 3/4 cup room-temperature water
- 1 egg whisked with one teaspoon of water to use as an egg wash
Instructions
- In the bowl of a stand mixer with the paddle attachment mix flour, salt, dry milk, sugar and yeast.
- Add egg, butter and 1 ½ cups of the water and mix to combine.
- Slowly add some or all of the remaining ¼ cup of water to form a soft subtle dough. It should be slightly tacky. If needed, add a little more flour to get the correct consistency.
- Knead the dough with a dough hook or by hand for 6-8 minutes. Pull out a piece after 6 minutes and stretch it flat and see if you can see through the stretched dough without it breaking. This is called the windowpane test. If not, knead for two more minutes.
- Oil a large bowl, coat the dough ball in the oil and cover with plastic wrap.
- Ferment in a warm place (80 degrees is ideal) for 1 ½ to 2 hours or until doubled in size.
- Roll the dough into a log and cut into 18 pieces. Cut in half then each half in thirds then each third into thirds for a total of 18 pieces. Roll each piece into a ball by pulling the dough to a center point and pinching. Then place seam down on the counter, mist with a little spray oil, cover with a towel and let rest 20 minutes.
- After 20 minutes transfer to two parchment lined sheet pans, nine per pan evenly spaced.
- Mist with spray oil, cover with a towel or plastic and proof 90 minutes or until doubled in size.
- Preheat oven to 400 degrees F.
- Remove towel or plastic and brush the tops with the egg wash, being careful to not let it drip down to the pan.
- Bake rolls for 15 minutes or until golden brown and try not to eat them all before serving.
Last Step! Please leave a review and rating letting us know how you liked this recipe! This helps our business thrive & continue providing free recipes.
Notes
Although we did not add sesame seeds or poppy seeds in our version, you can if you wish by sprinkling them on top of the dough after the rolls are brushed with the egg wash (just prior to baking).
You may also like:
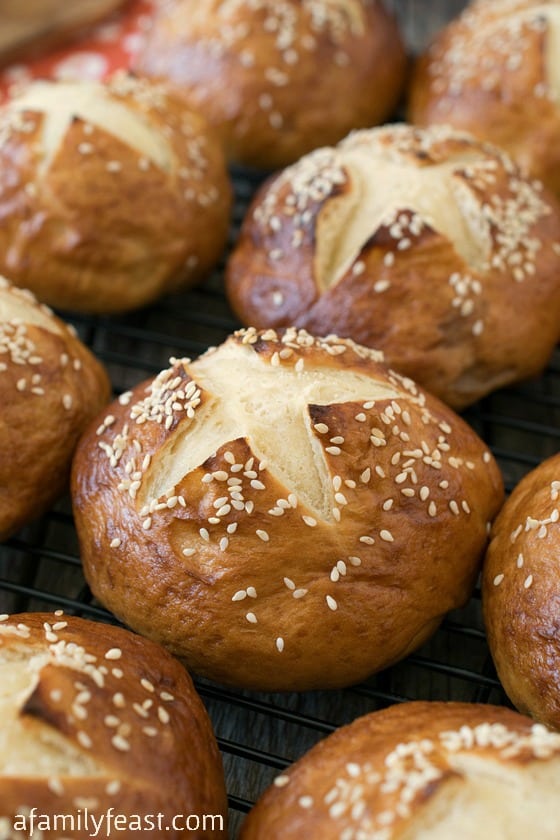
Soft Honey Sesame Pretzel Rolls

Hi!
I would love to make these, but I just checked my local supermarket website and they don’t sell unbleached bread flour. (I’m in the UK!) Can you suggest an alternative, as I Googled and it didn’t really come up with a definitive answer?
Thank you!
Hi Laura! You can use all-purpose flour. The rolls might be a little heavier in texture but it should still be delicious. Hope that helps!
These rolls look fabulous! I am curious about the step where it says to form a ball and then place it on the counter for 20 min, before moving to the pan. Why not place them directly in the pan to rest? I am looking for a good “make the day before” recipe for rolls as we will be traveling for Thanksgiving this year, and my usual recipe is much better eaten the same day.
Hi Rebecca – Great question! Jack and I just went back to the original recipe in The Bread Baker’s Apprentice – and they don’t specifically state why the rolls should rest on the counter vs the pan. (The step as you probably know is to allow the gluten to rest a bit before baking but why it can’t rest in the pan is not clear.) After talking it over – our thought is maybe as the rolls rest, they will expand a bit and perhaps that extra step of moving the dough from the counter to the pan prevents the bottom from sticking as much as you bake it? Again – that is just our guess!! We’ve had such good luck with the recipes in this cookbook, I’d tend to follow the recipe as written – but if you do try the resting step directly in the pan, we’d love to hear how it comes out! Thanks for your question! Martha
Thank you for the reply. I’ve been making dinner rolls for years and have never come across that step before. I think I’ll stick with your directions for now, and see how they turn out : )
Please let us know how you like the recipe!