Last year we published a delicious recipe for Nutella Crunch Ice Cream Cake. That simple three-ingredient recipe became VERY popular – and over on Pinterest, as of today, it’s been pinned over 1.5 million times!

So as you might imagine – that recipe has become one of our ‘signature’ desserts and we make it often! But recently, we decided to change things up a bit – swapping the Nutella for Biscoff Spread – and our Biscoff Crunch Ice Cream Cake is on its way to becoming another family favorite!
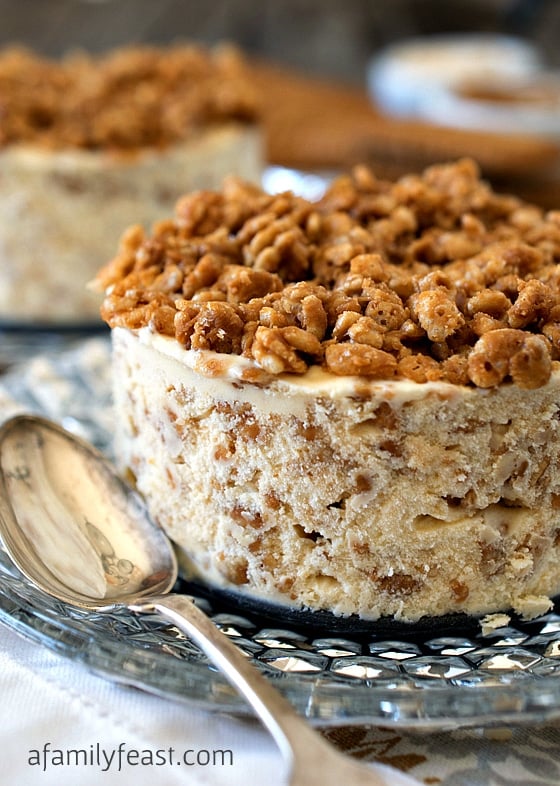
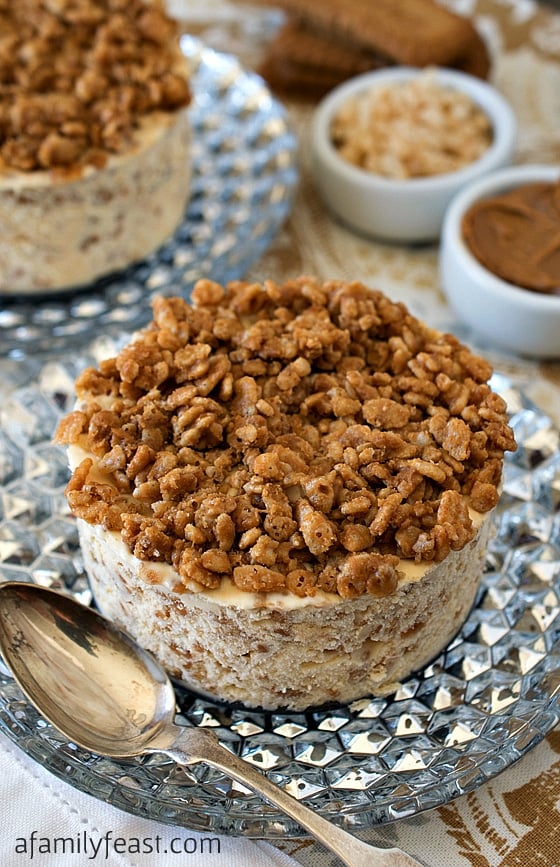
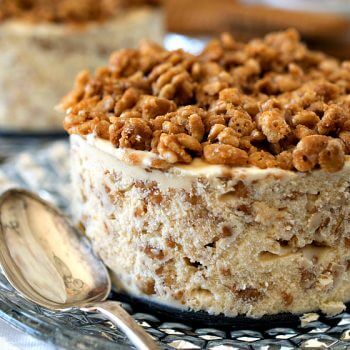
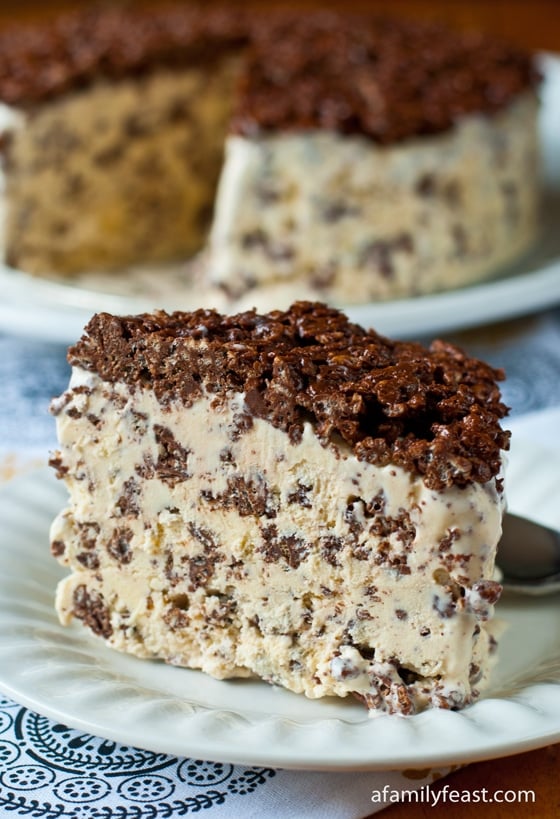
Like the original recipe, three simple ingredients make up this Biscoff crunch ice cream cake – Biscoff spread (sometimes called cookie butter), Rice Krispies cereal, and vanilla ice cream – simply combined together into a really fantastic dessert!
If you’ve never tried Biscoff before – you really must! It’s made from Biscoff cookies that have been blended into a cookie butter (you’ll want to buy the smooth version for this recipe) and it has a wonderful, sweet cinnamon flavor – and it actually reminds me a bit of caramel flavor too. Like Nutella, the Biscoff is also really wonderful combined with the vanilla ice cream, and the coated cereal mixture gives the ice cream cake a light, crispy texture too.
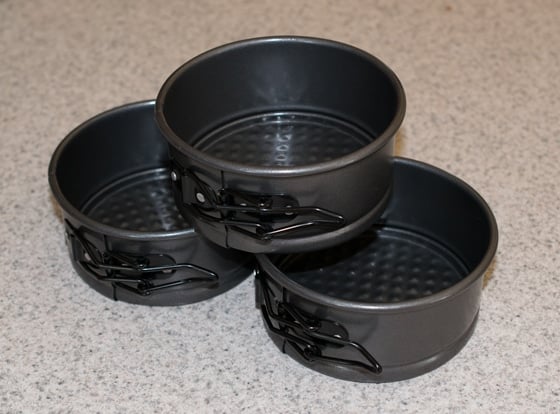
We decided to change up the recipe a bit and make the cakes in mini springform pans – but if you are feeding a crowd, just increase the proportions to make a full-size springform cake like in the original Nutella version of the recipe!
My husband Jack brought this Biscoff crunch ice cream cake to a neighborhood poker game last weekend – and needless to say – it was a big hit with the guys! Jack actually prefers this over the Nutella version – I like them equally as much! Enjoy!
PrintBiscoff Crunch Ice Cream Cake
- Prep Time: 6 hours
- Cook Time: 5 mins
- Total Time: 6 hours 5 minutes
- Yield: 8–10 servings 1x
- Category: Dessert
- Method: Frozen
- Cuisine: American
Ingredients
- 1 cup Biscoff Spread
- 3 cups Rice Krispies cereal
- 1/2 gallon vanilla ice cream
Instructions
- Place 4 4-inch mini springform pans, as well as a very large mixing bowl in the freezer to chill.
- In a large saucepan over low heat, combine the Biscoff and Rice Krispies cereal. Mix well until the Rice Krispies are completely coated with the Biscoff. Remove from heat.
- Line a sheet pan or tray with parchment or wax paper. Pour the Biscoff-Rice Krispies mixture onto the lined cookie sheet and spread evenly. Place the cookie sheet in the freezer to chill.
- While the coated cereal mixture is cooling, remove the ice cream from the freezer and place in the refrigerator to soften.
- After about 30-45 minutes (you want the Biscoff coating to be cooled and firm but not frozen at this point) – break the coated cereal into bite sized pieces. Place back into the freezer, if necessary until the ice cream is softened.
- Once your ice cream is softened (it should be just softened enough to stir in the coated cereal but not so melted that it is runny), remove the large mixing bowl and the springform pans from the freezer.
- Reserve 1-1/2 cups of the Biscoff-Rice Krispie mixture (this will be used as the topping on the min cakes).
- Quickly combine the ice cream and remaining coated cereal in the chilled mixing bowl, then pour the mixture into the chilled springform pan, packing it firmly so that there are no air pockets. Top the cake with the reserved Biscoff-Rice Krispie mixture.
- Cover with plastic wrap and place the springform pans back into the freezer for at least 4-6 hours or overnight until completely frozen.
- Remove the cake from the freezer about 5 to 10 minutes before serving and place in the refrigerator to soften a bit.
- When ready to serve, place the cakes on a individual dessert plates and remove the sides of the springform pans. Serve immediately.
Disclaimer: This post contains affiliate links.
You may also like:
Crispy Chocolate Biscoff Truffles


Made as written EXCEPT I made doubled the recipe and made in an 8 inch springform pan. ALSO made a crust using Biscoff Cookies. Excellent!!
Thanks Pat! Glad you enjoyed the recipe!